How to Batch Process photos?
There are no editing restrictions for Batch Processing: any edits that can be applied to a single photo can also be applied to a group of photos, including metadata updates.
The guide shows how to crop, resize, and filter group of photos of different sizes, formats and orientations, and save the results to the Photo Library in their original photo formats.
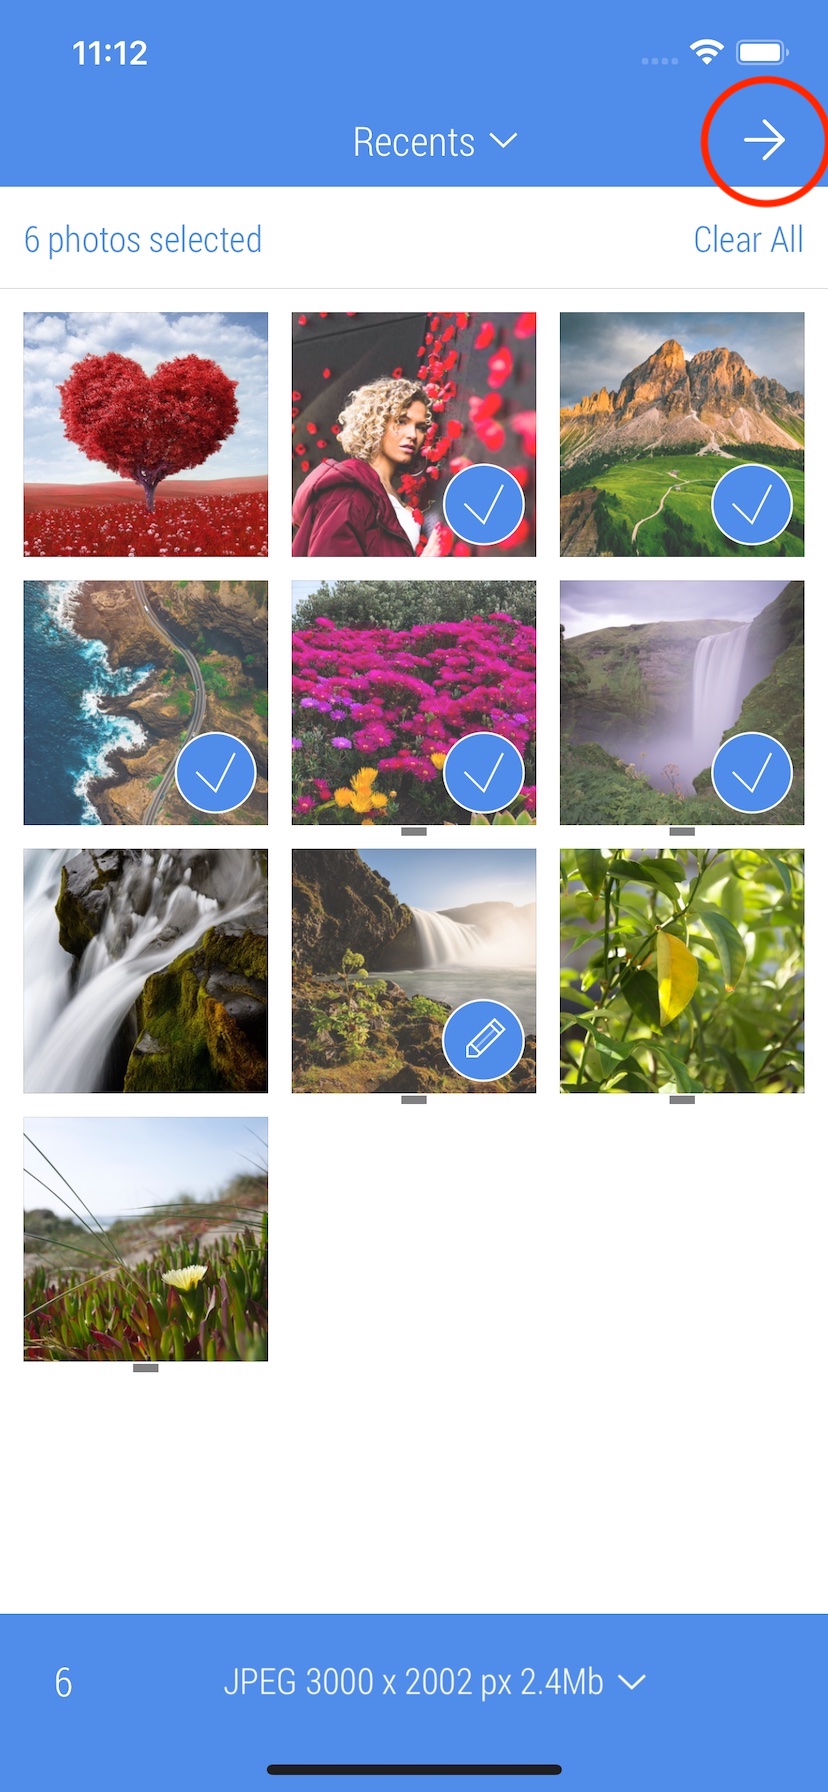
1. Select photos and tap the upper right button to start editing. Keep in mind that only the last photo in the batch is visible during editing, it's the Key photo.
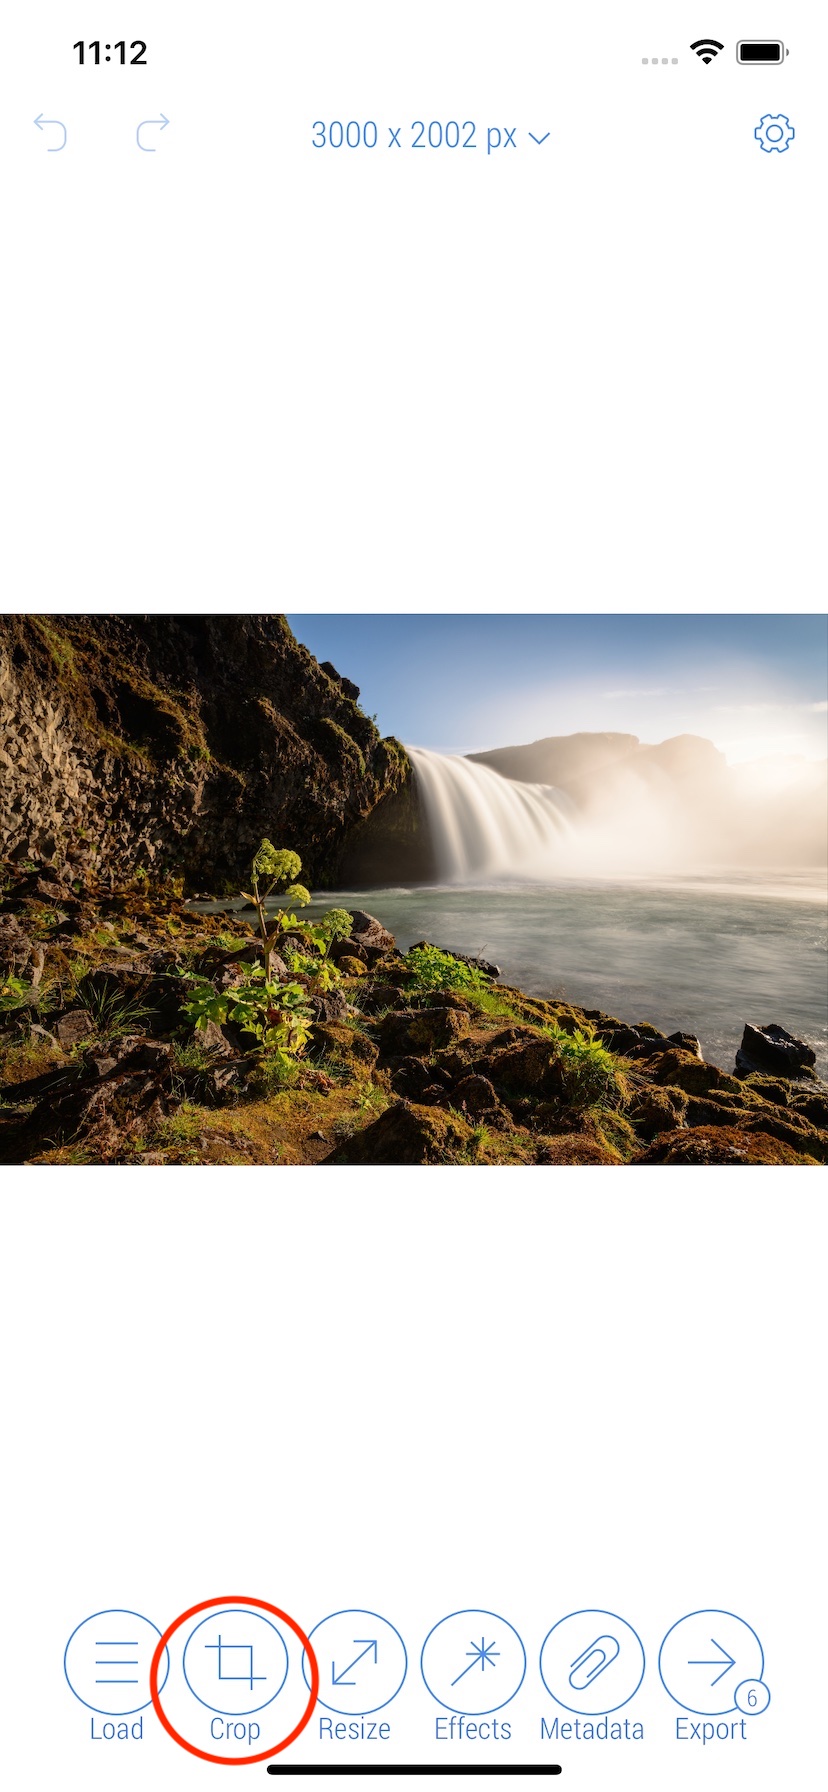
2. Tap 'Crop' button on the bottom bar.
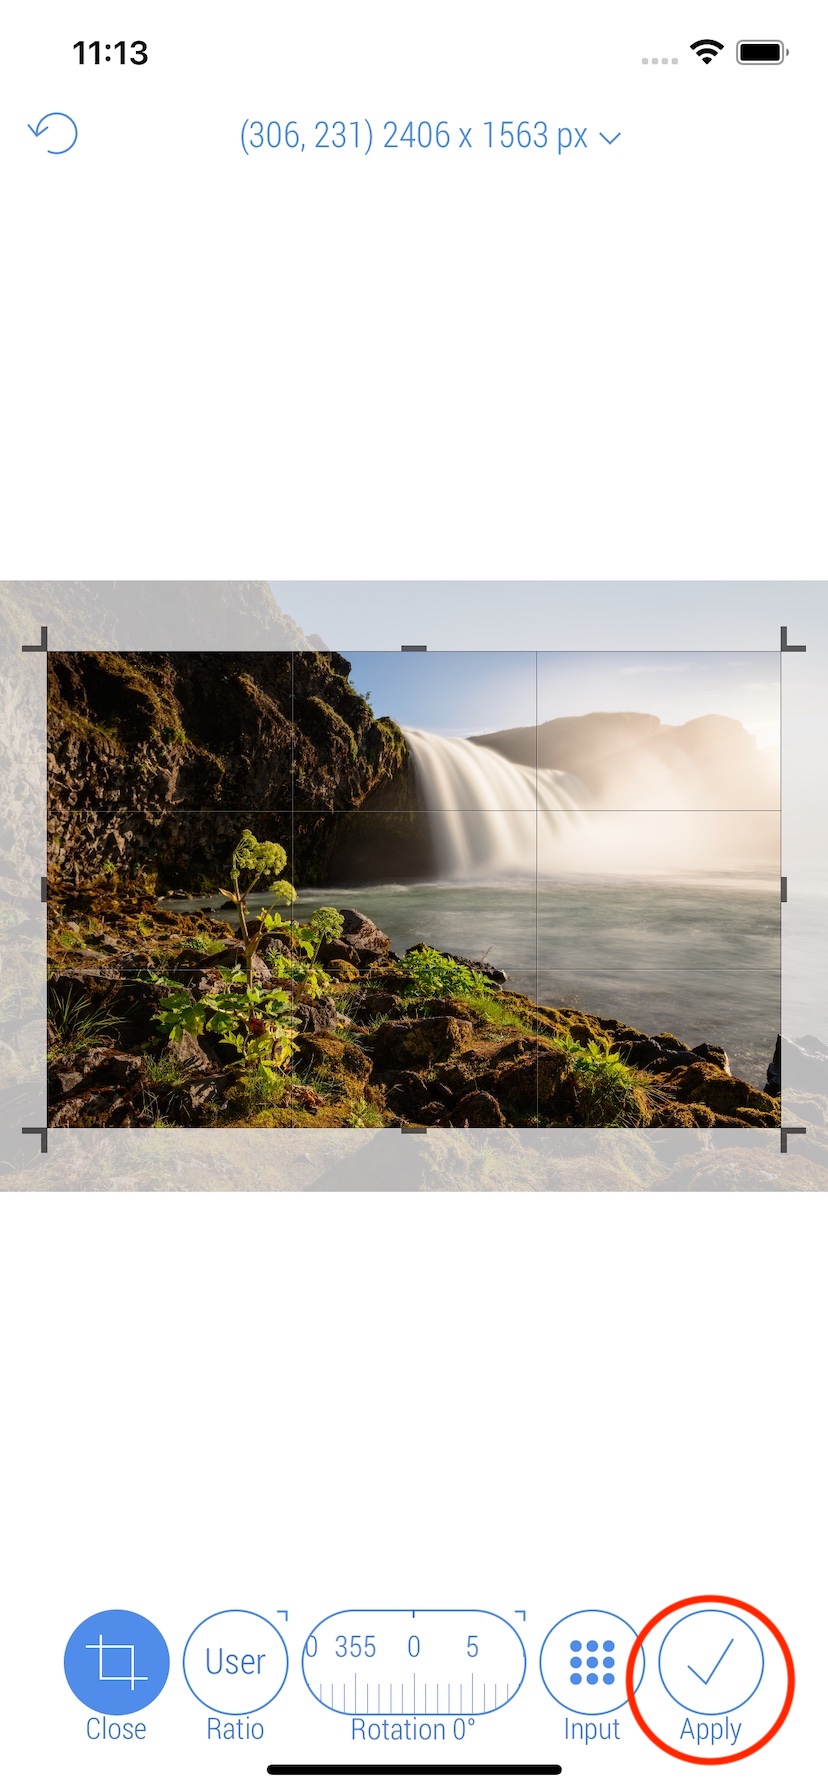
3. Set the cropping frame and tap 'Apply' button on the bottom bar. To learn more about how to Crop, check out crop guide.
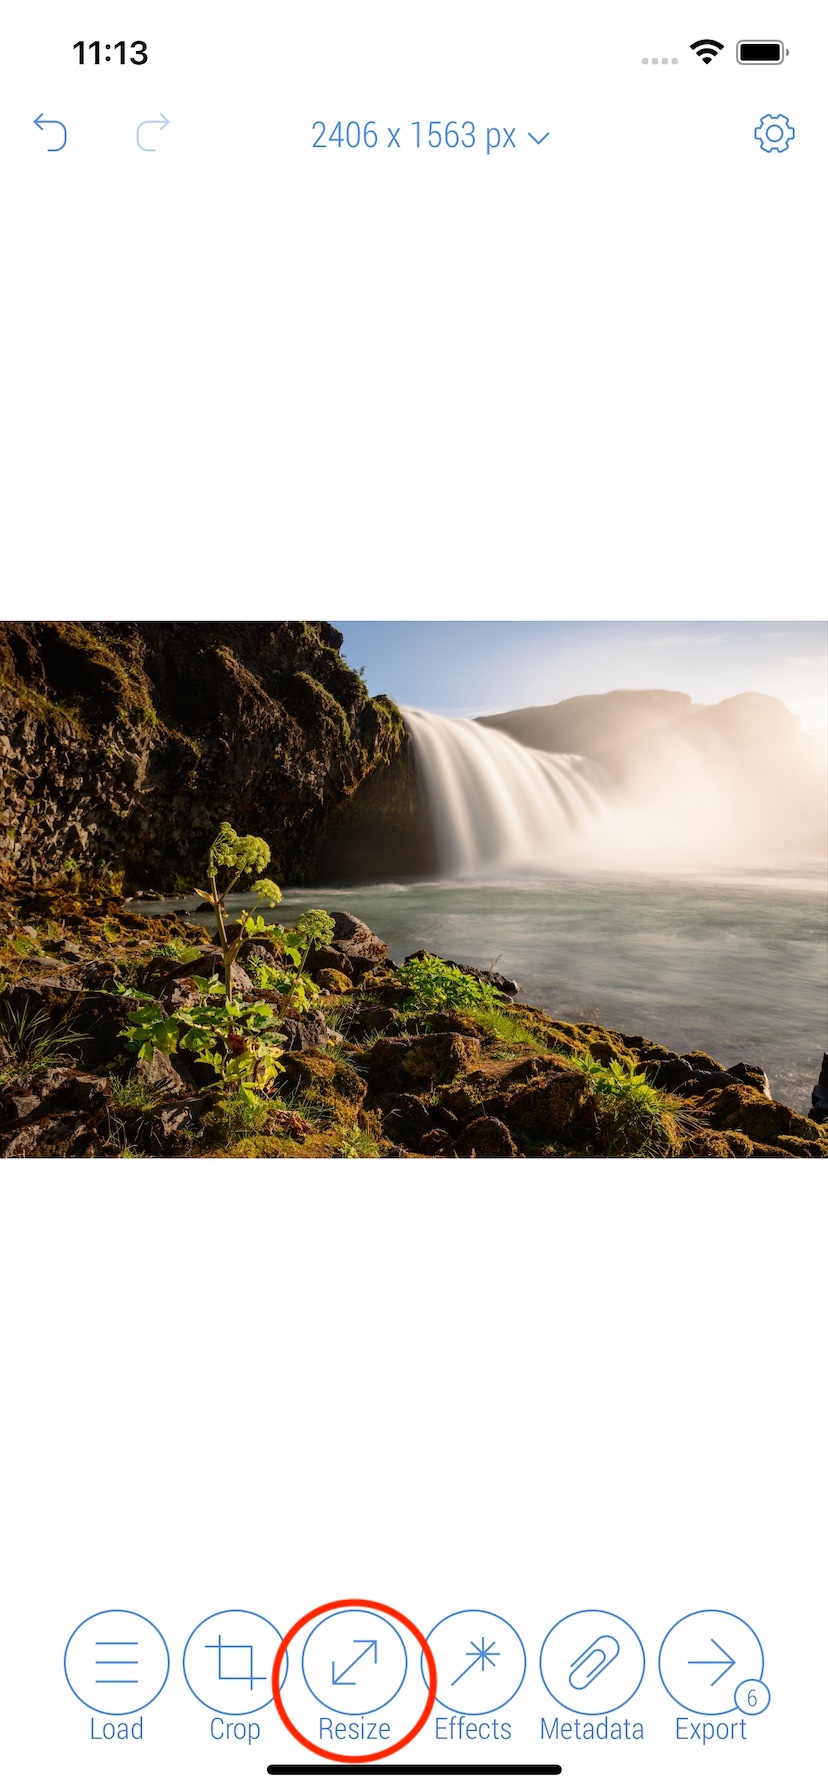
4. Tap 'Resize' button on the bottom bar.
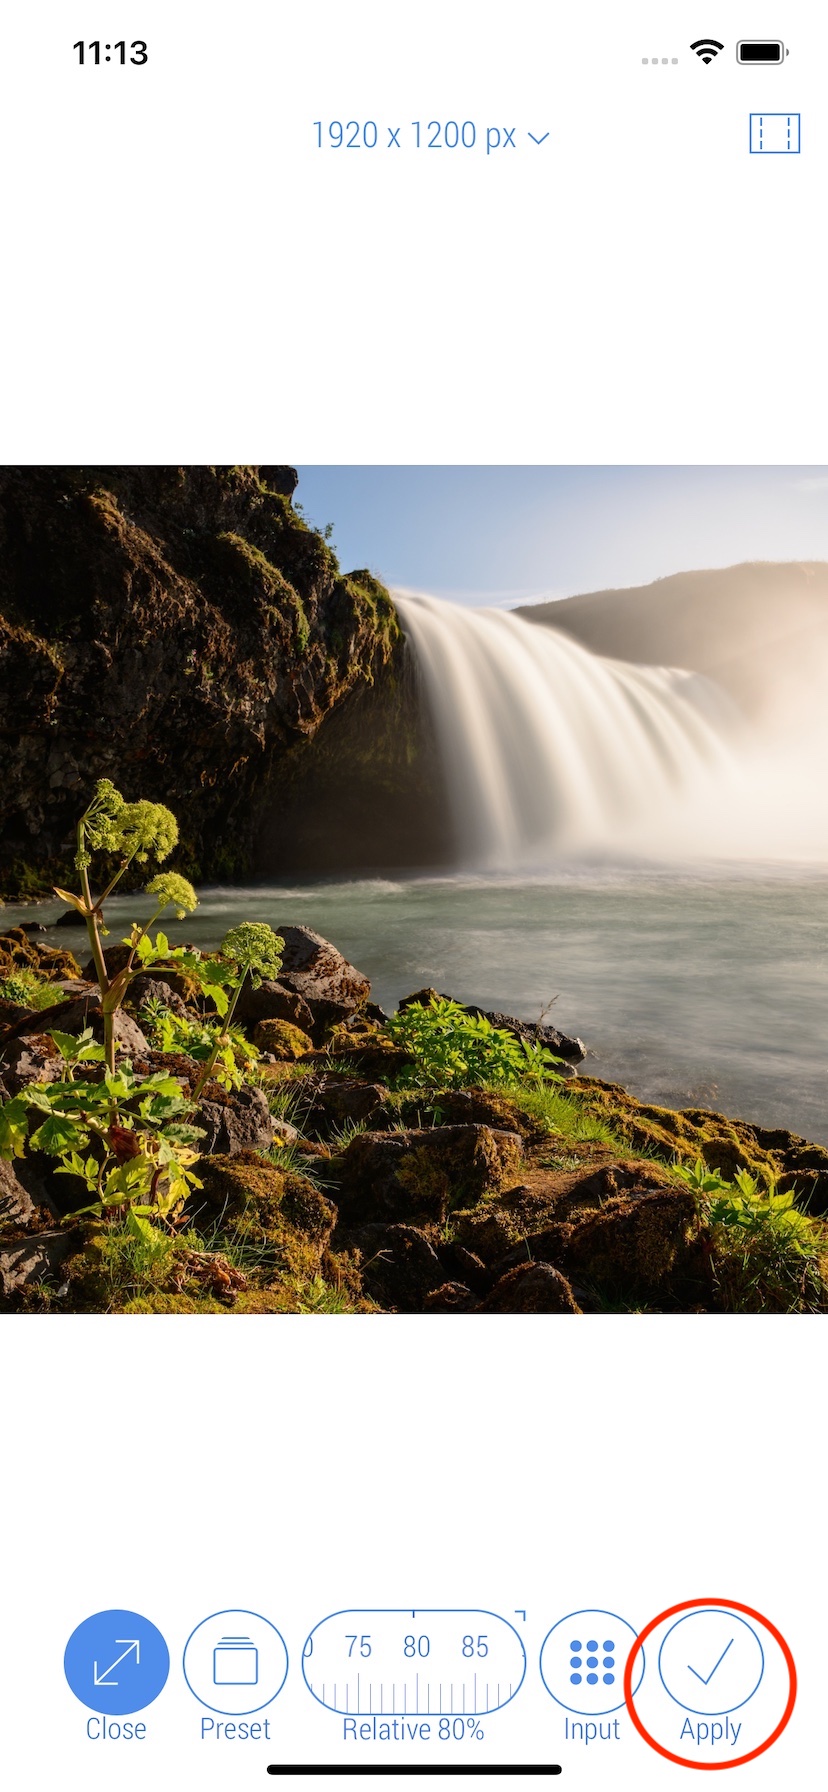
5. Set the new size 1920 x 1200 pixels using presets or manual input. Tap 'Apply' button on the bottom bar to apply the new size to the photo. To learn more about how to Resize, check out resize guide.
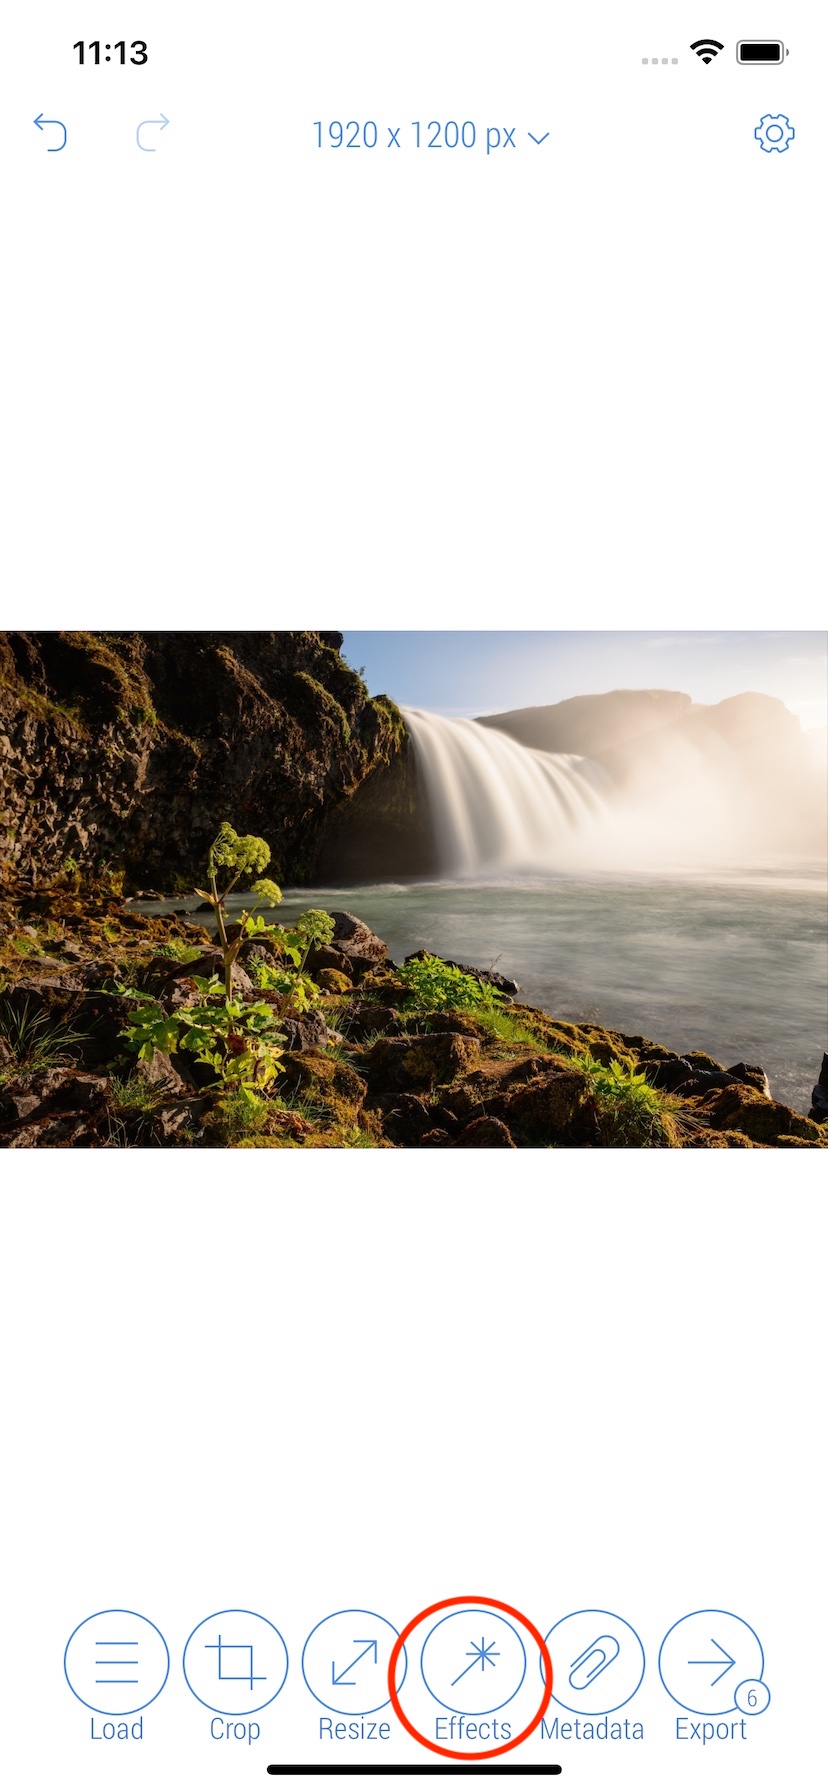
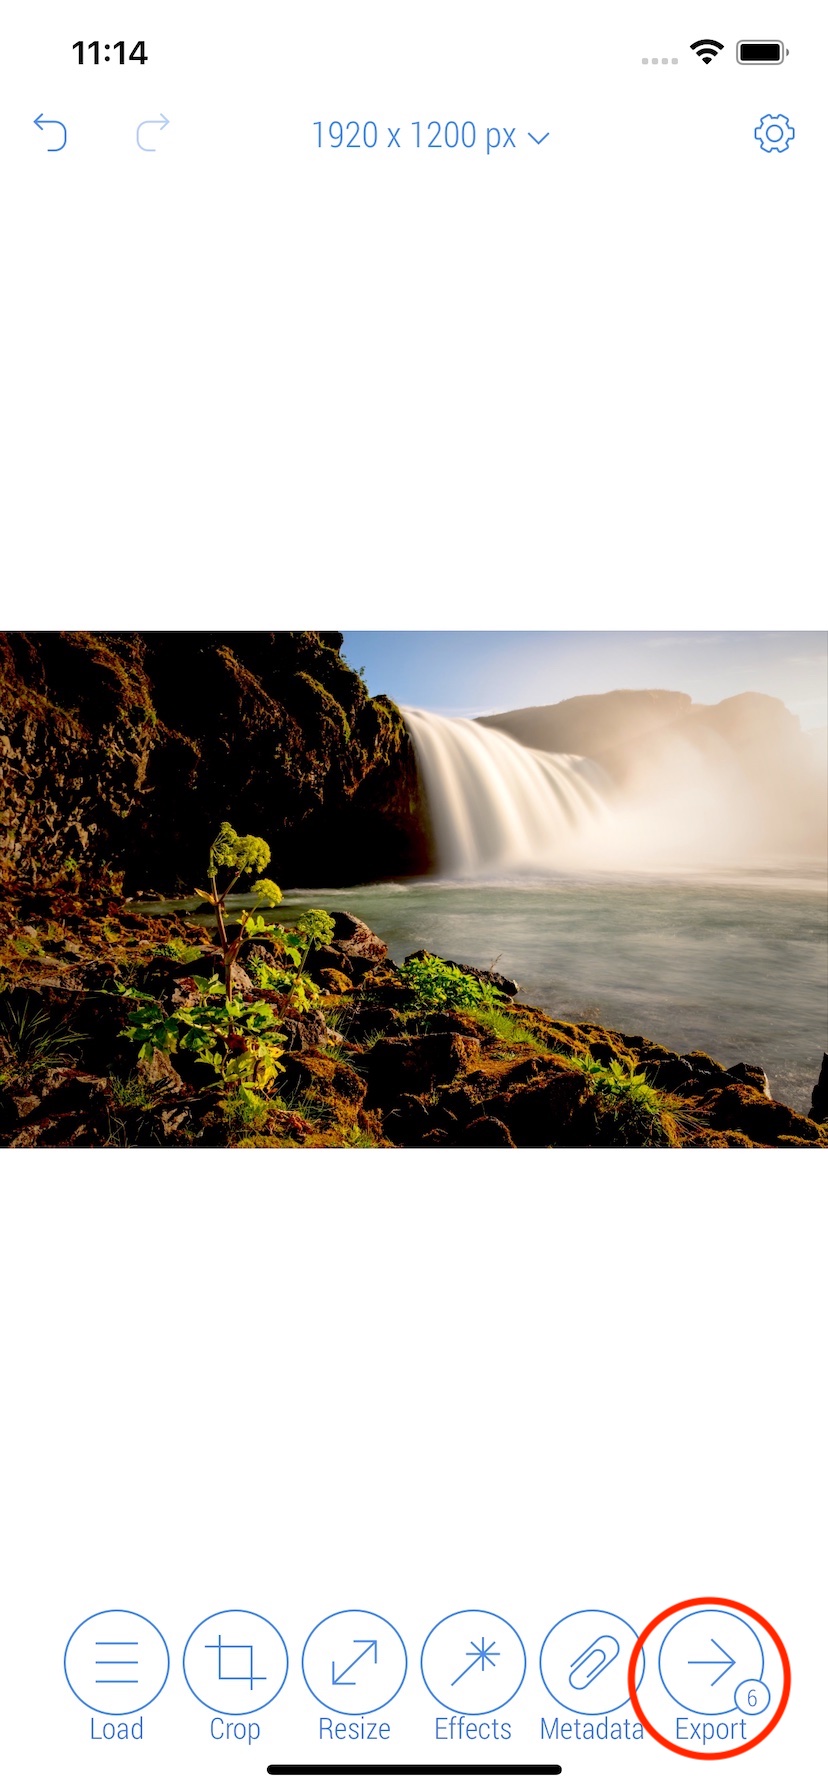
6. Tap 'Effects' button on the bottom bar.
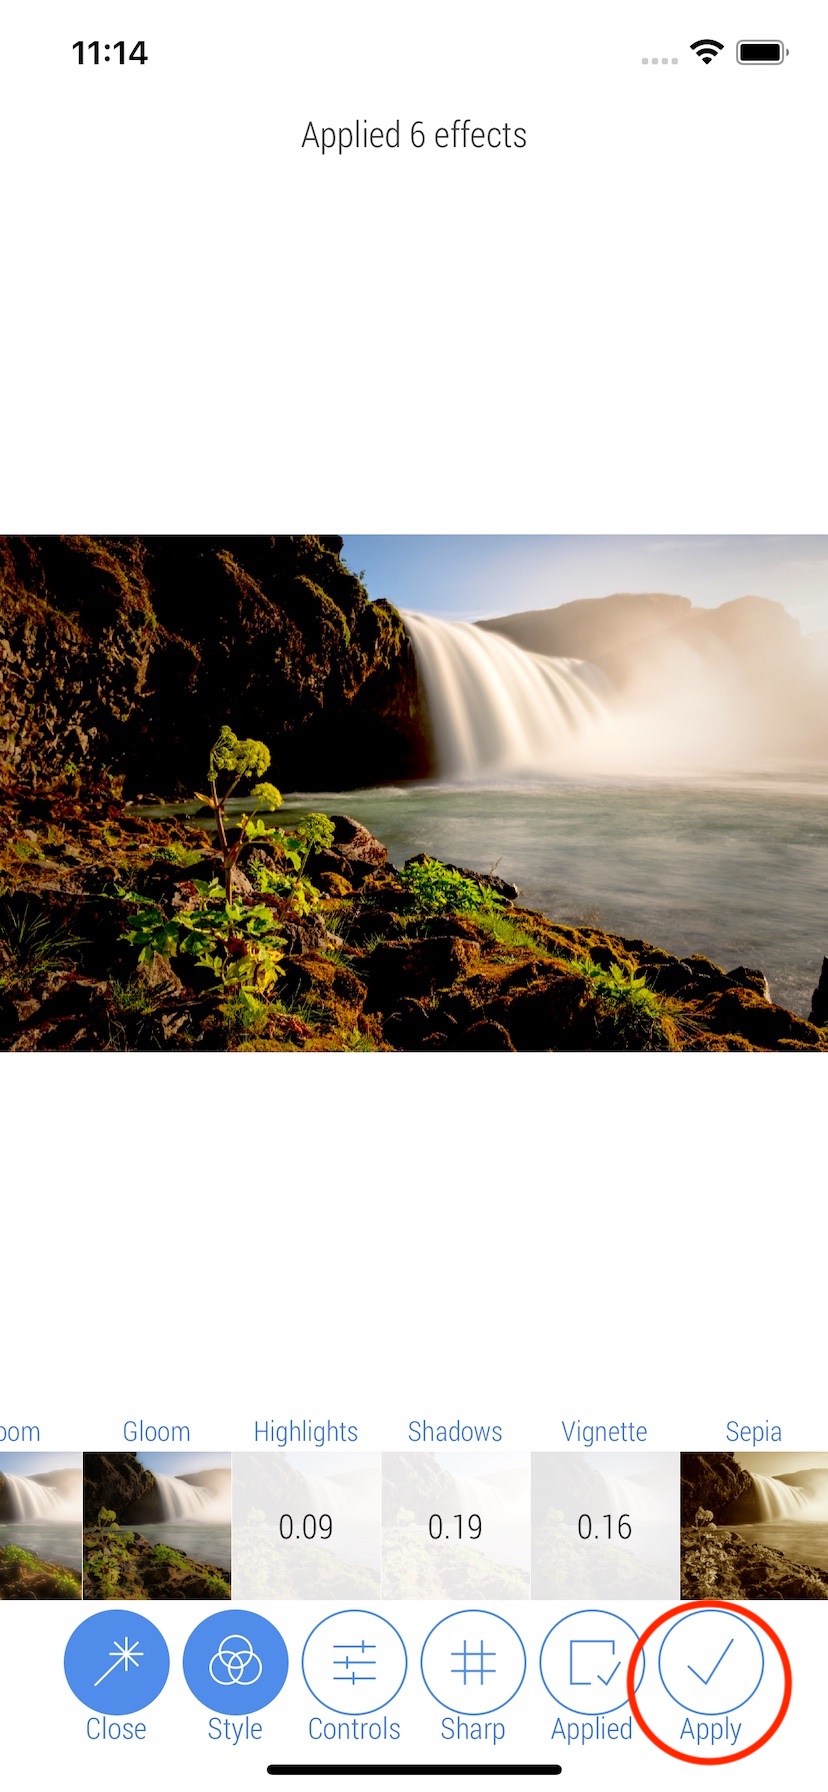
7. Set the six filters and Tap 'Apply' button on the bottom bar. To learn more about how to Filter, check out filter guide.
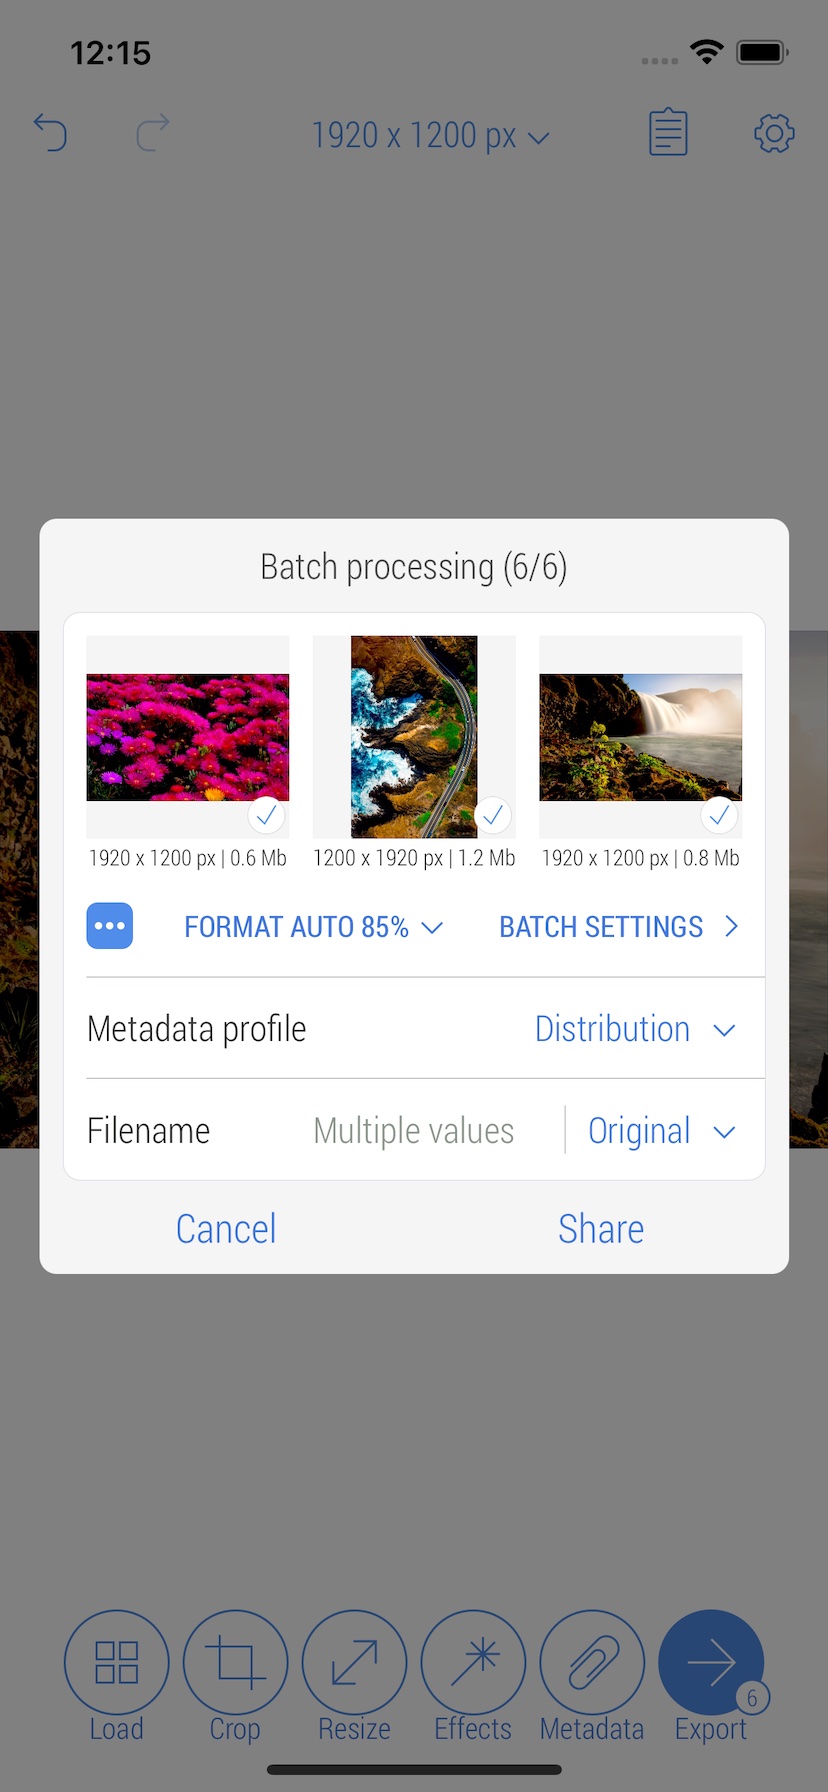
8. Tap 'Export' button on the bottom bar.
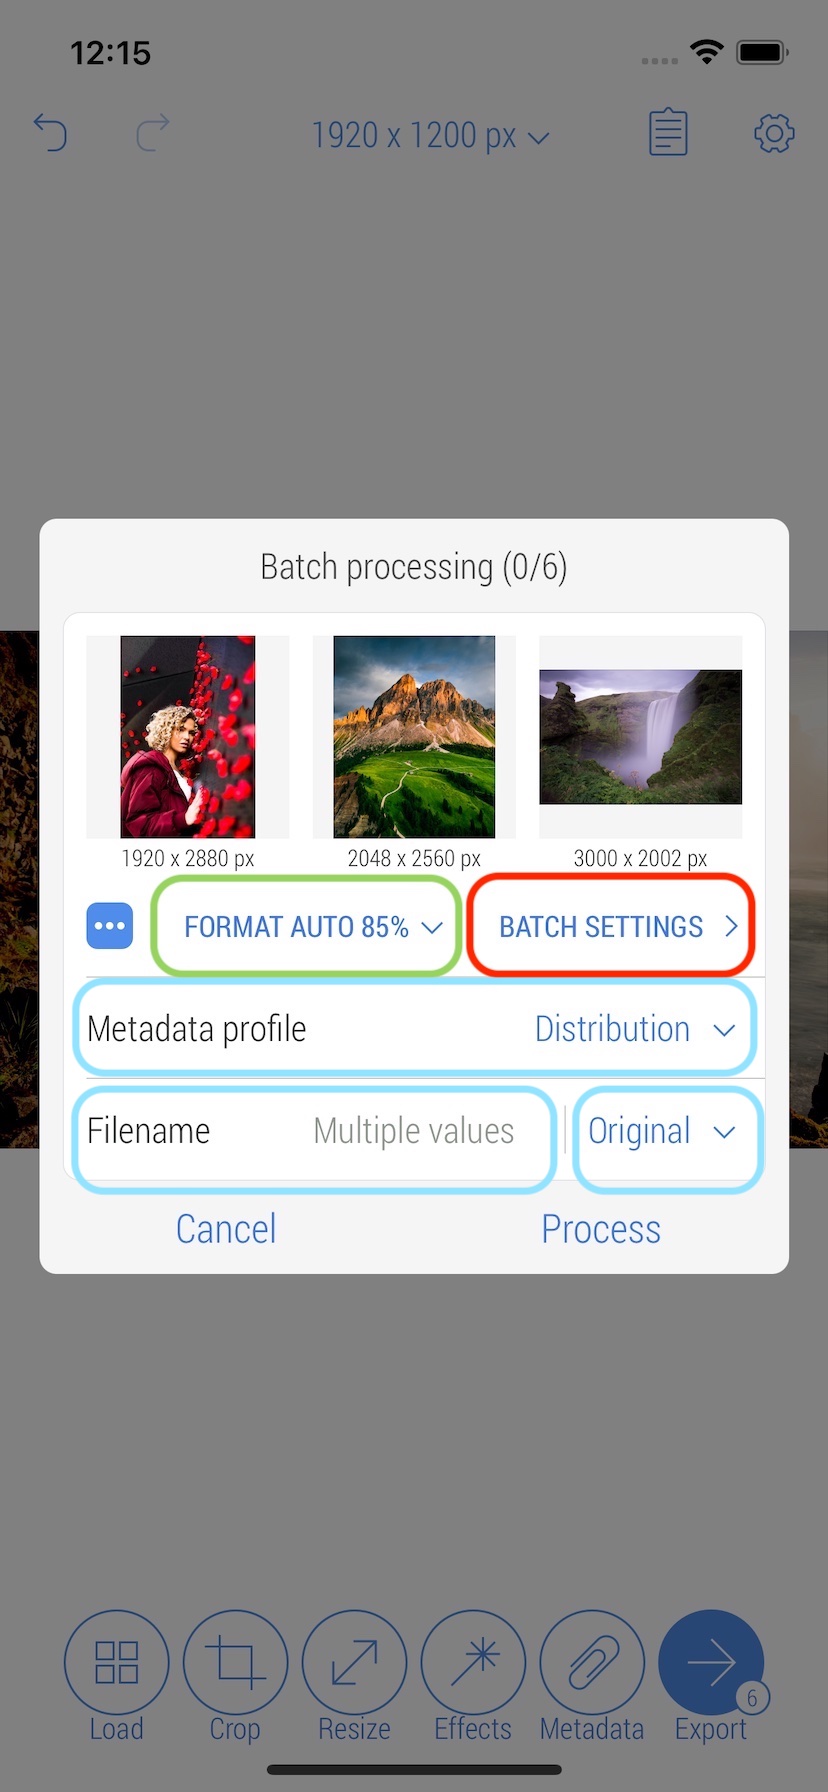
9. Use 'Format' button to set 'Auto' format, which means keeping the original format as long as it is supported (marked green). It is also possible to select Metadata Profile and specify Filename or even Filename pattern on this screen (marked light blue). To set size and position behavour for photos with different size and/or orientation during processing tap 'Batch Settings' button (marked red).
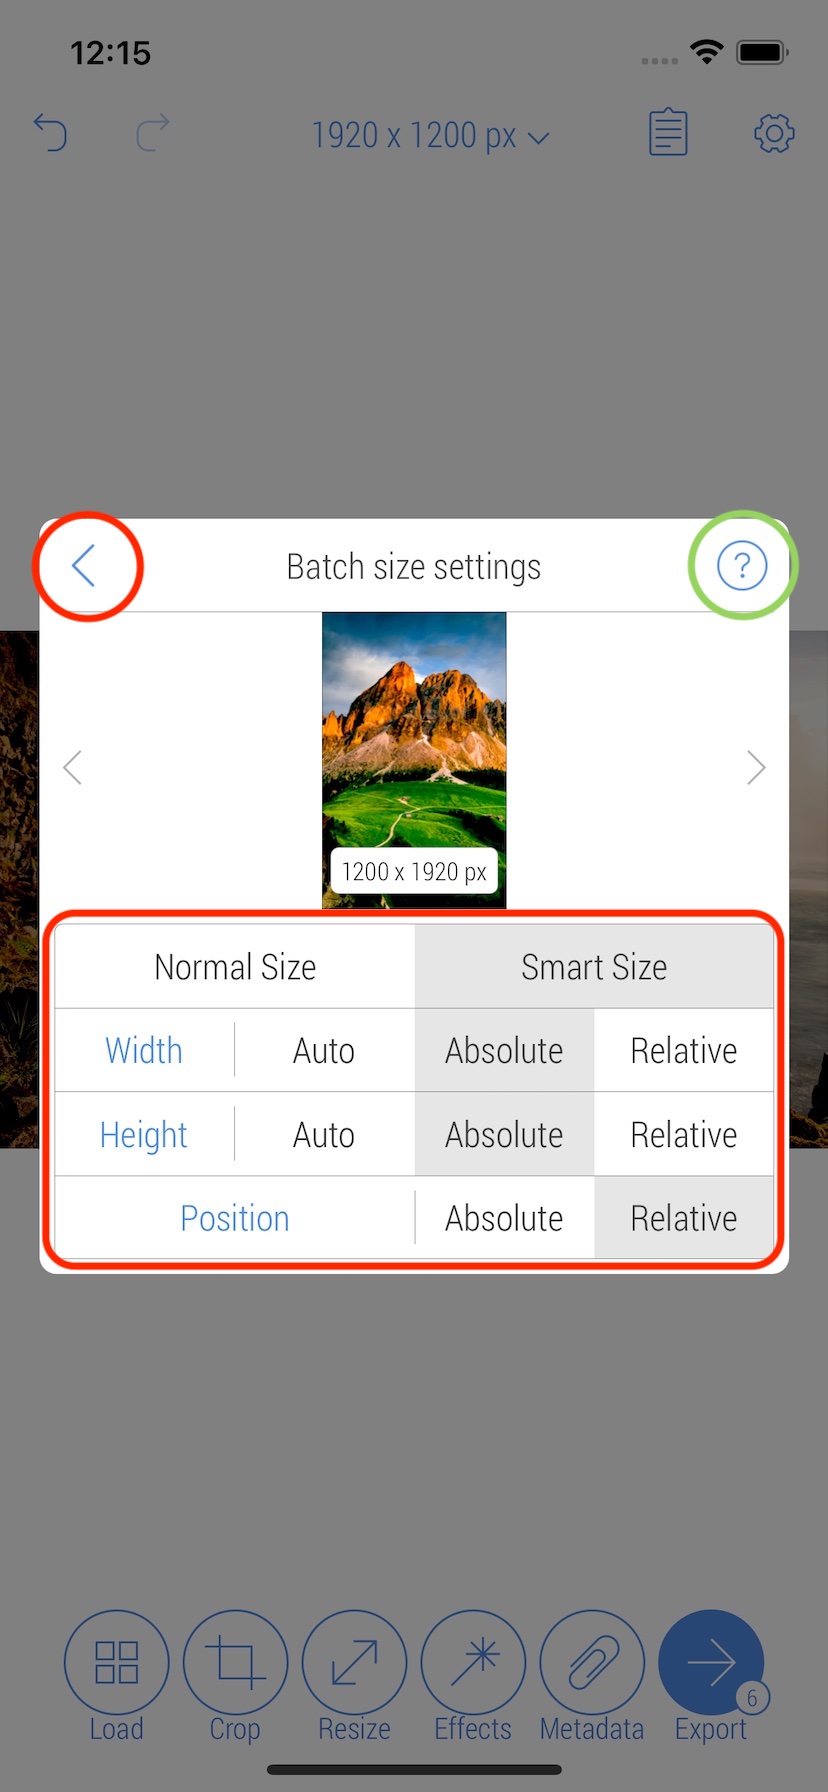
10. Set the batch size settings as show on the screen (marked with the red rectangle). To learn more about each option, tap 'Help' button in the upper right corner (marked green). For example, 'Smart size' option allows to resize portrait and landscape photos together. When all is set, tap 'Back' button in the upper left corner to return to the prevous screen.
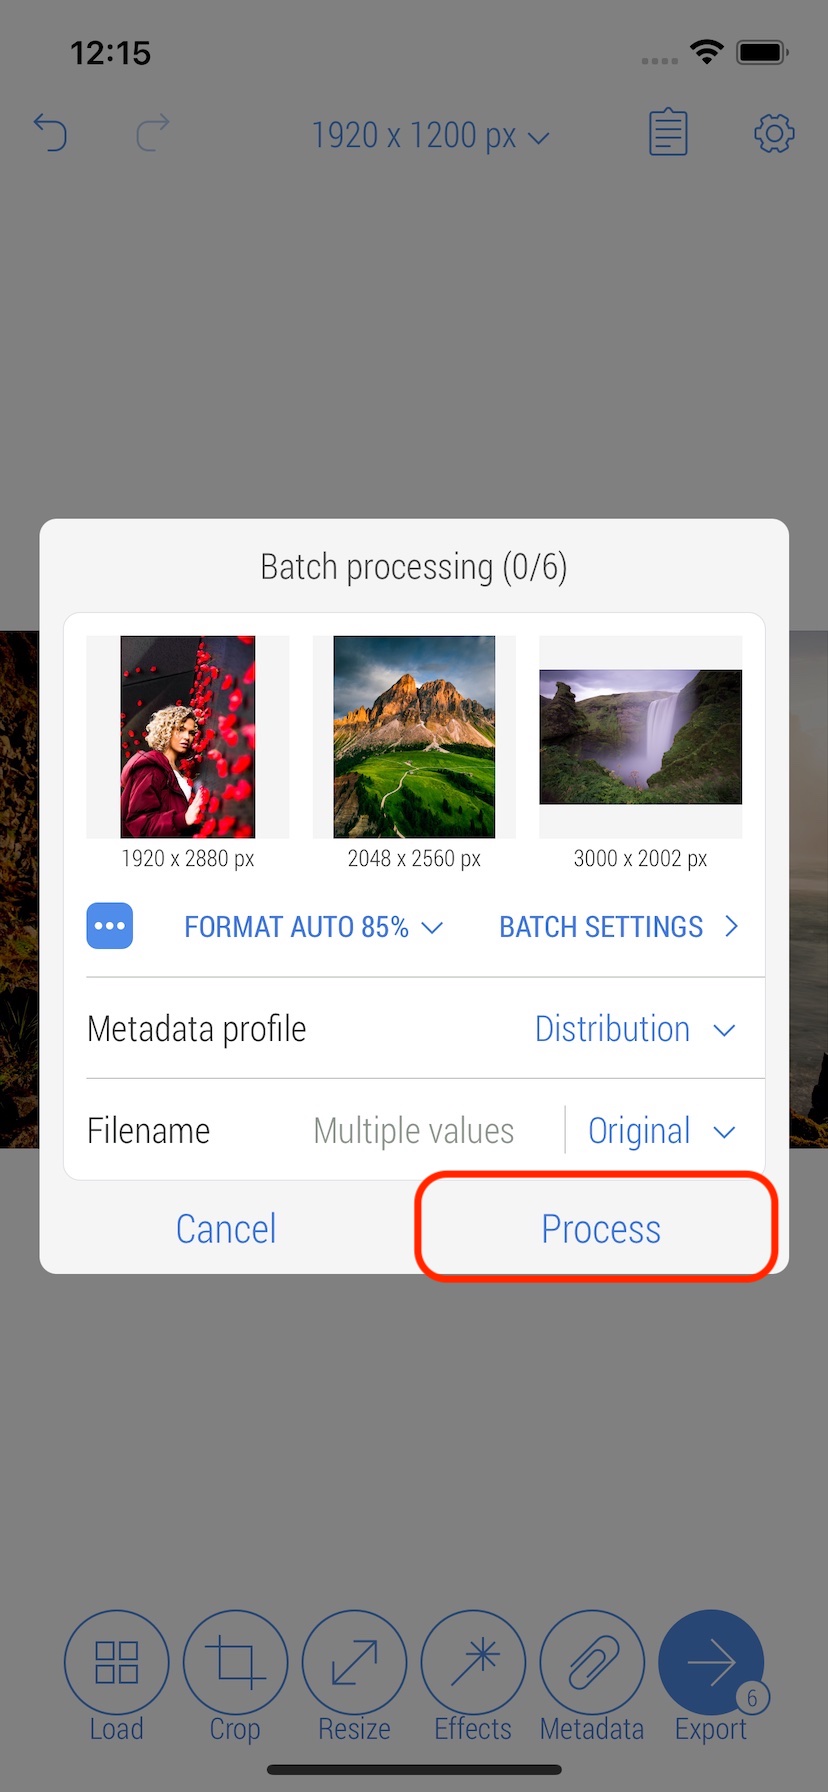
11. Tap 'Process' button at the bottom of the pop-up screen to start processing.
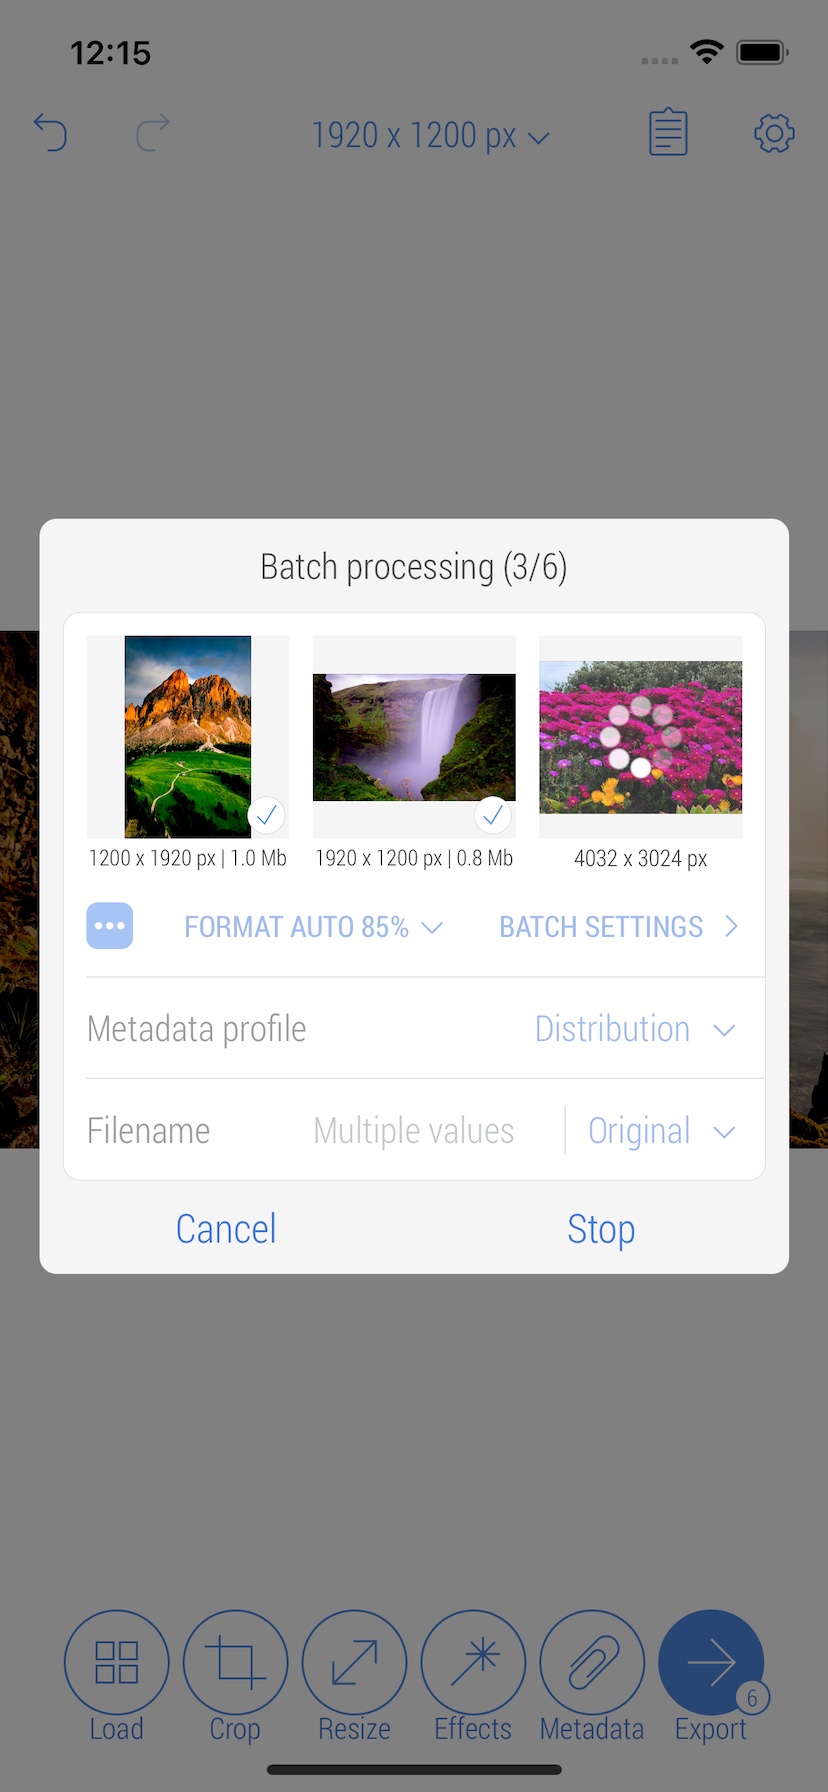
12. Follow the progress. It is not recommended to minimize the application or run any other 'heavy' app during processing, as it often requires a significant amount of device memory and processor resources.
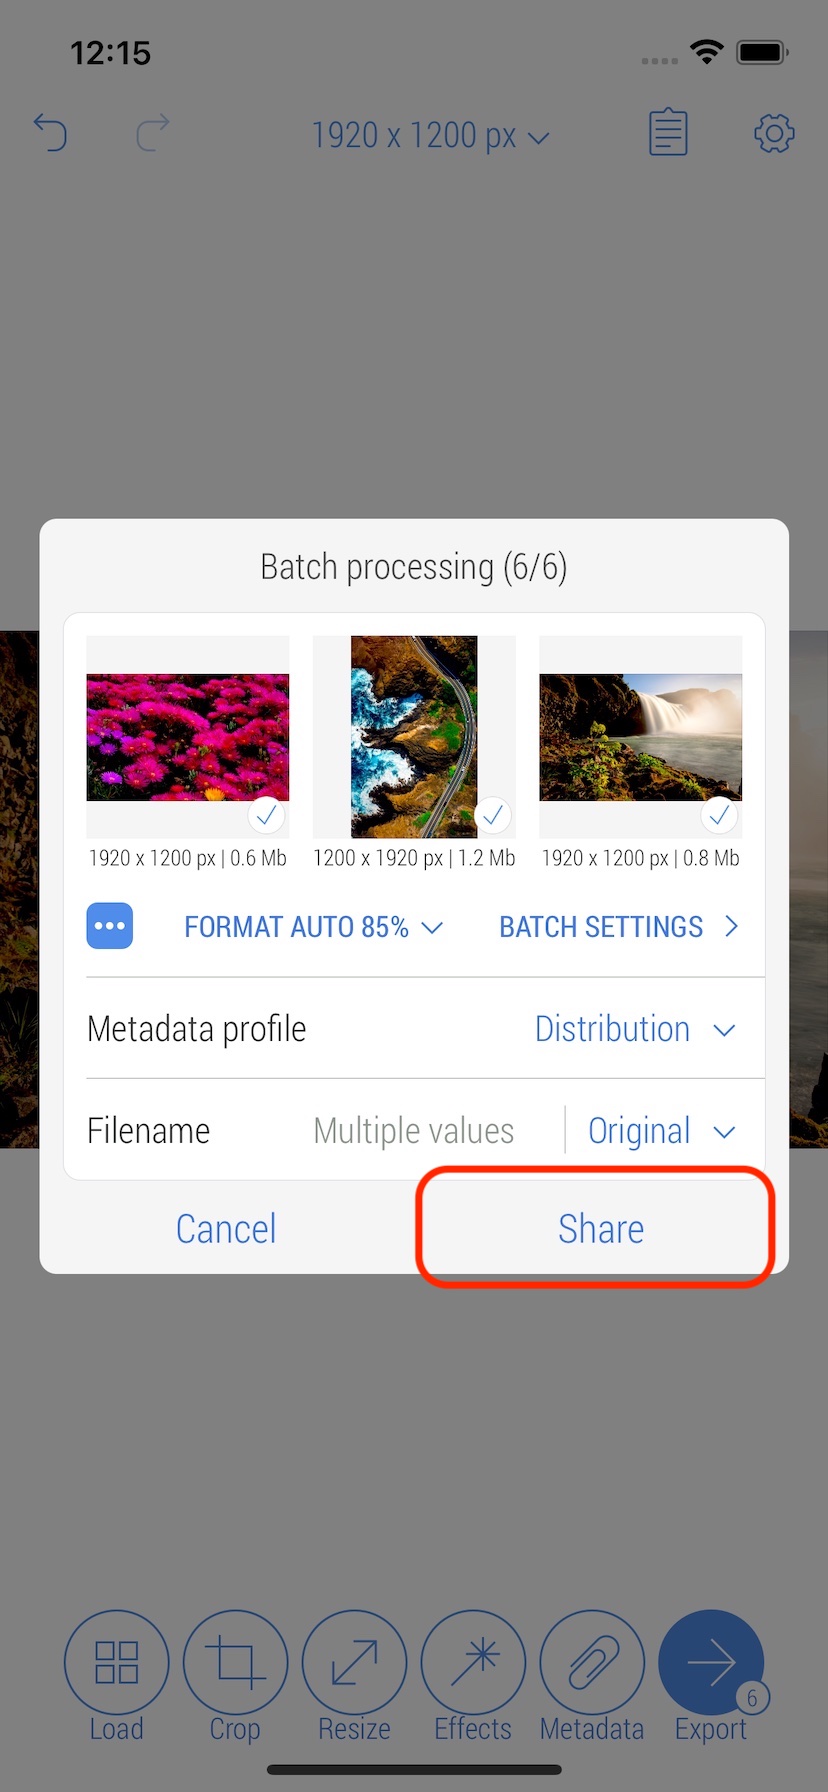
13. Once processing is complete, tap 'Share' button at the bottom of the pop-up screen to share the results.
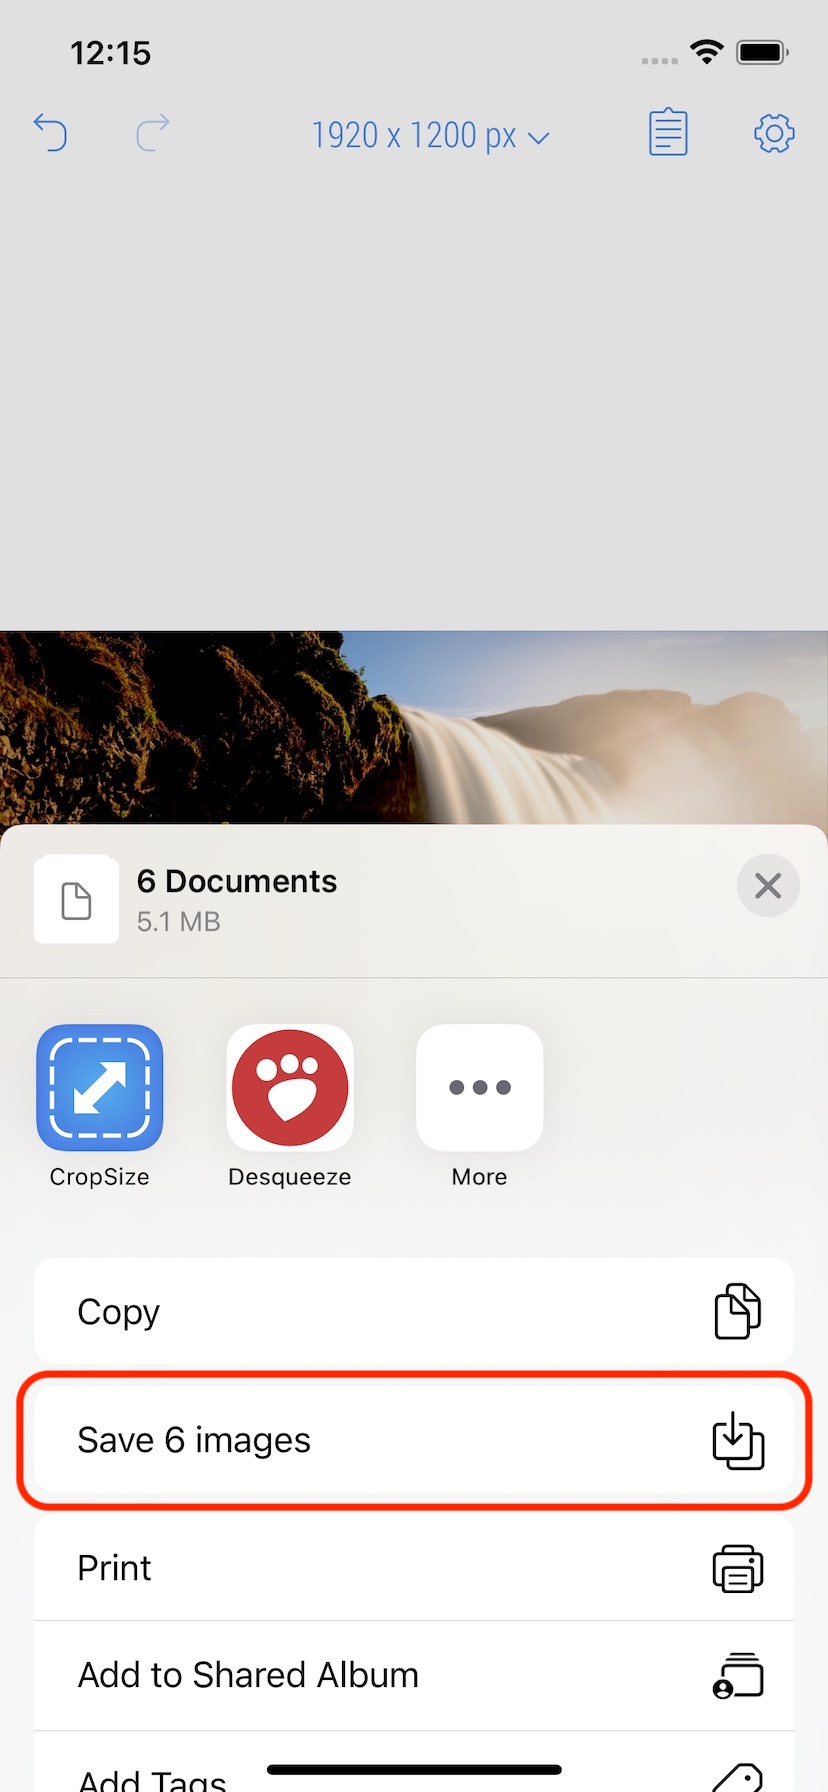
14. Tap 'Save 6 images' to save the results to the Photo Library.
16. To share the same results with other destinations tap 'Export' button on the bottom bar again. If no changes occur since previous processing, the results will be available for sharing without any additional processing.