What is 'Program' tool and how to use it?
Program is the app's unique tool that allows to save entire editing user session to the app's storage, and then use it at any time to apply all saved edits to a new photo or batch of photos.
Programs can greatly speed up most routine editing tasks and produce the 'equally processed' results.
The guide shows how to create a Program with size, effects and metadata edits, and then apply it to three other photos, and save the results to the Photo Library in their original formats.
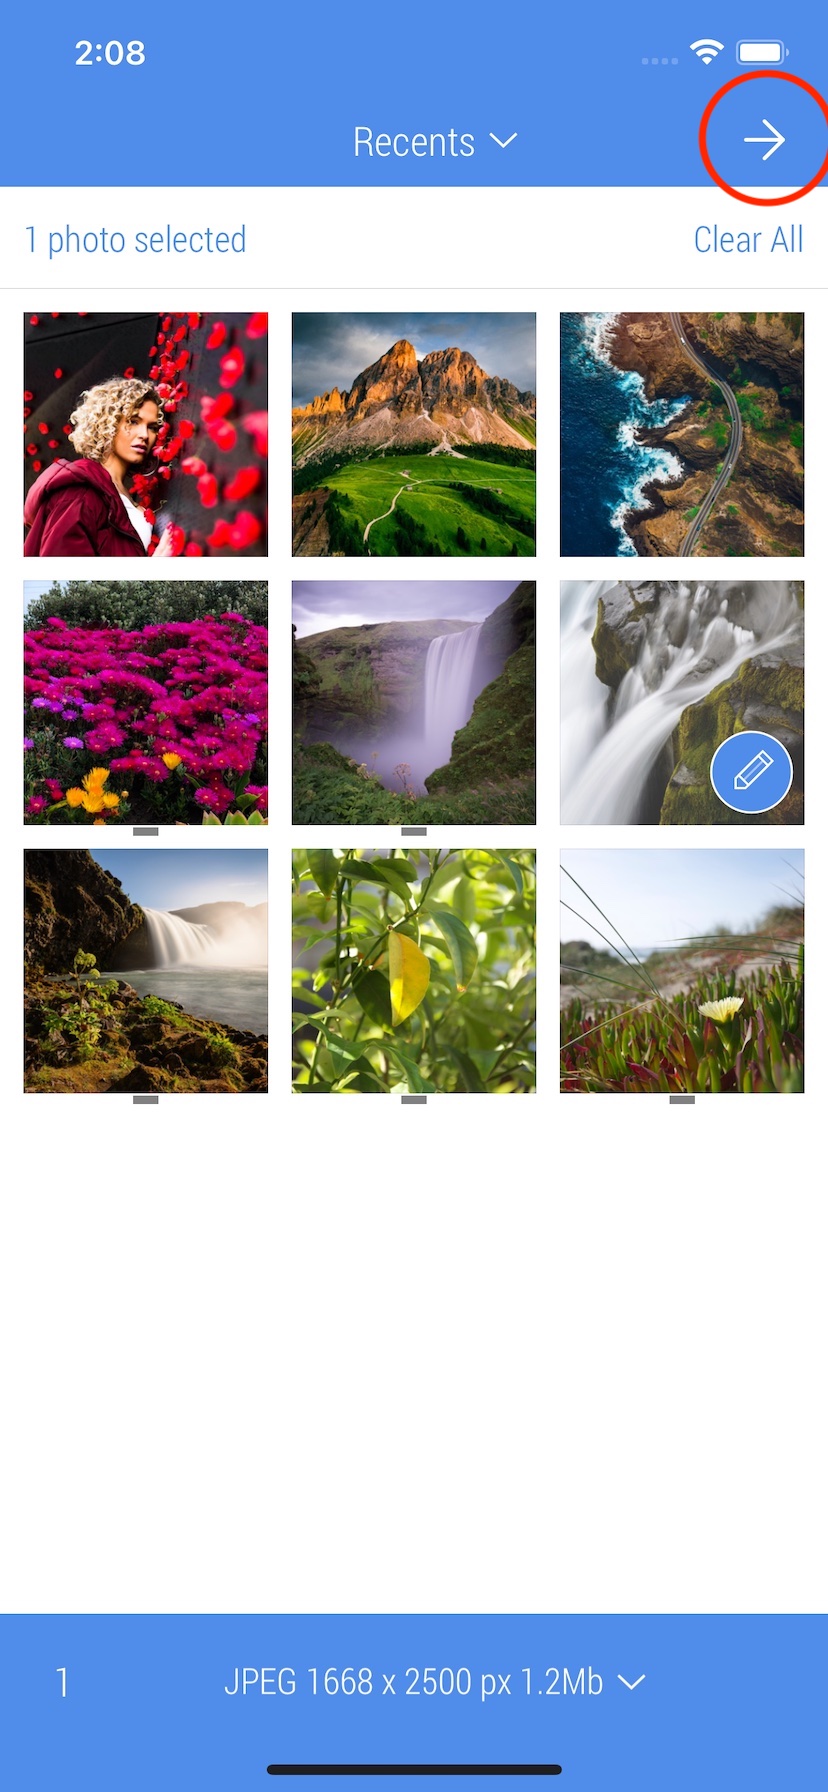
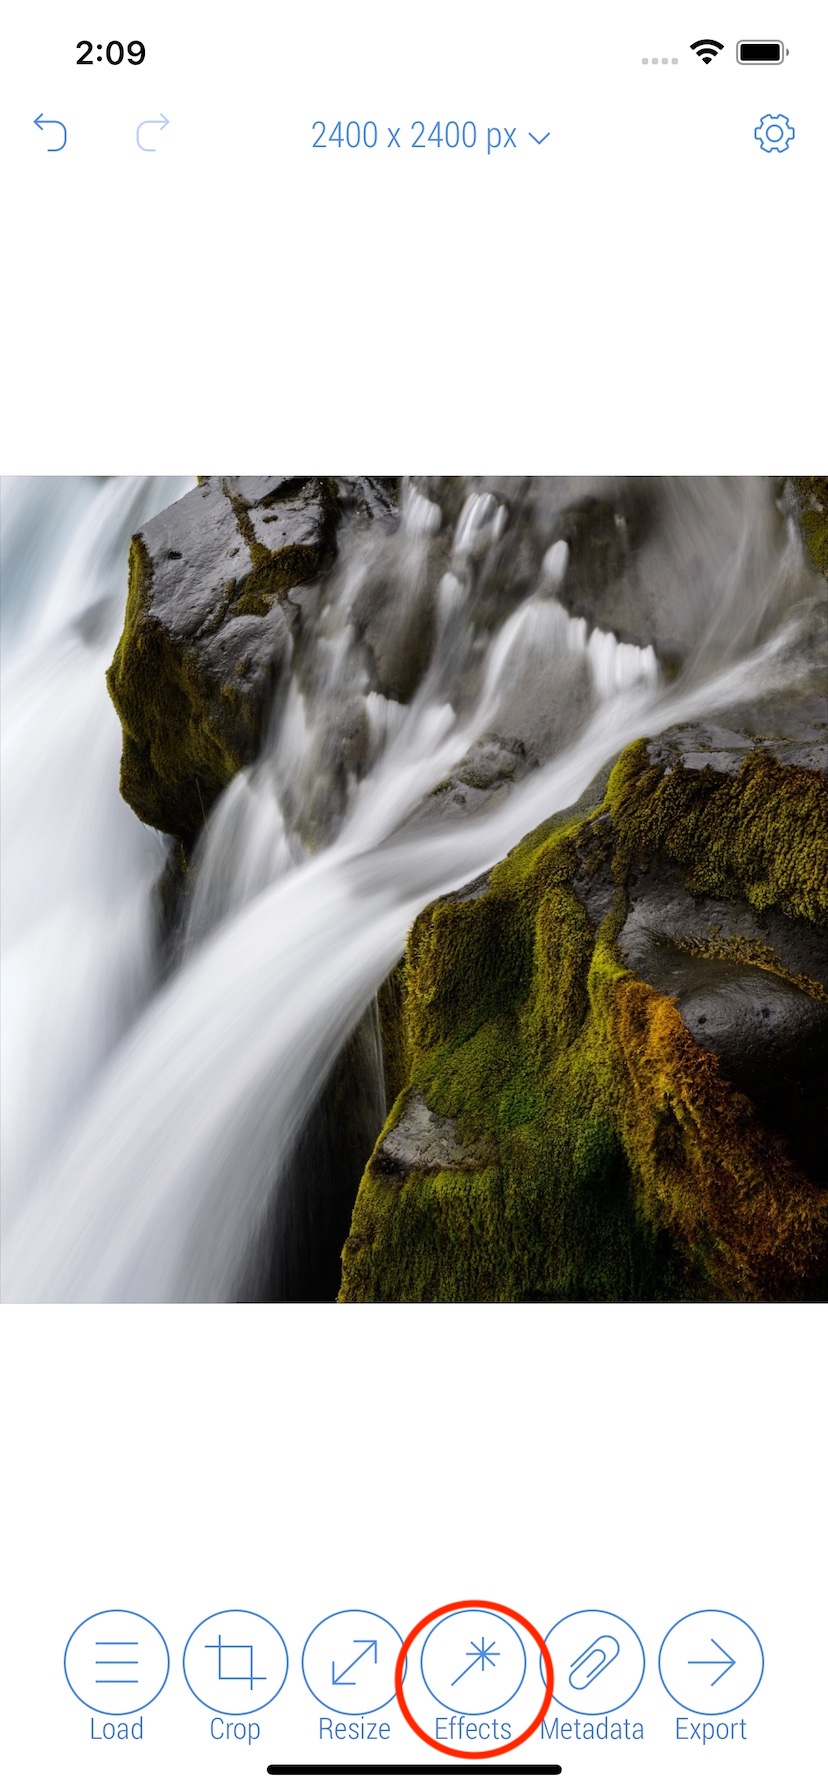
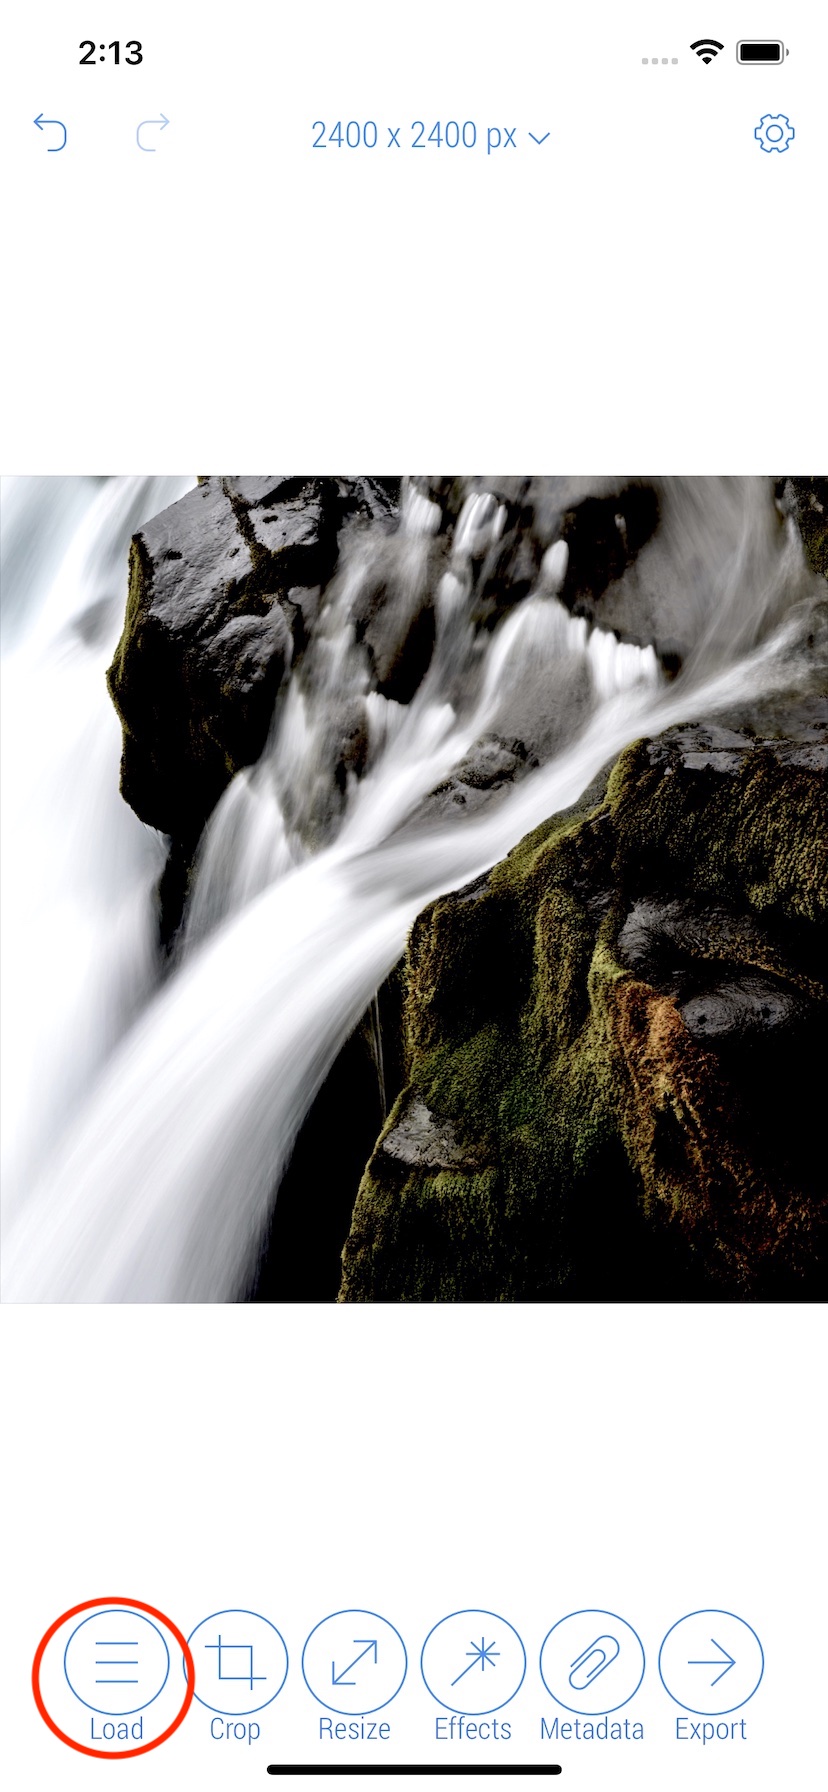
1. Select a photo or batch of photos and tap the upper right button to start editing.
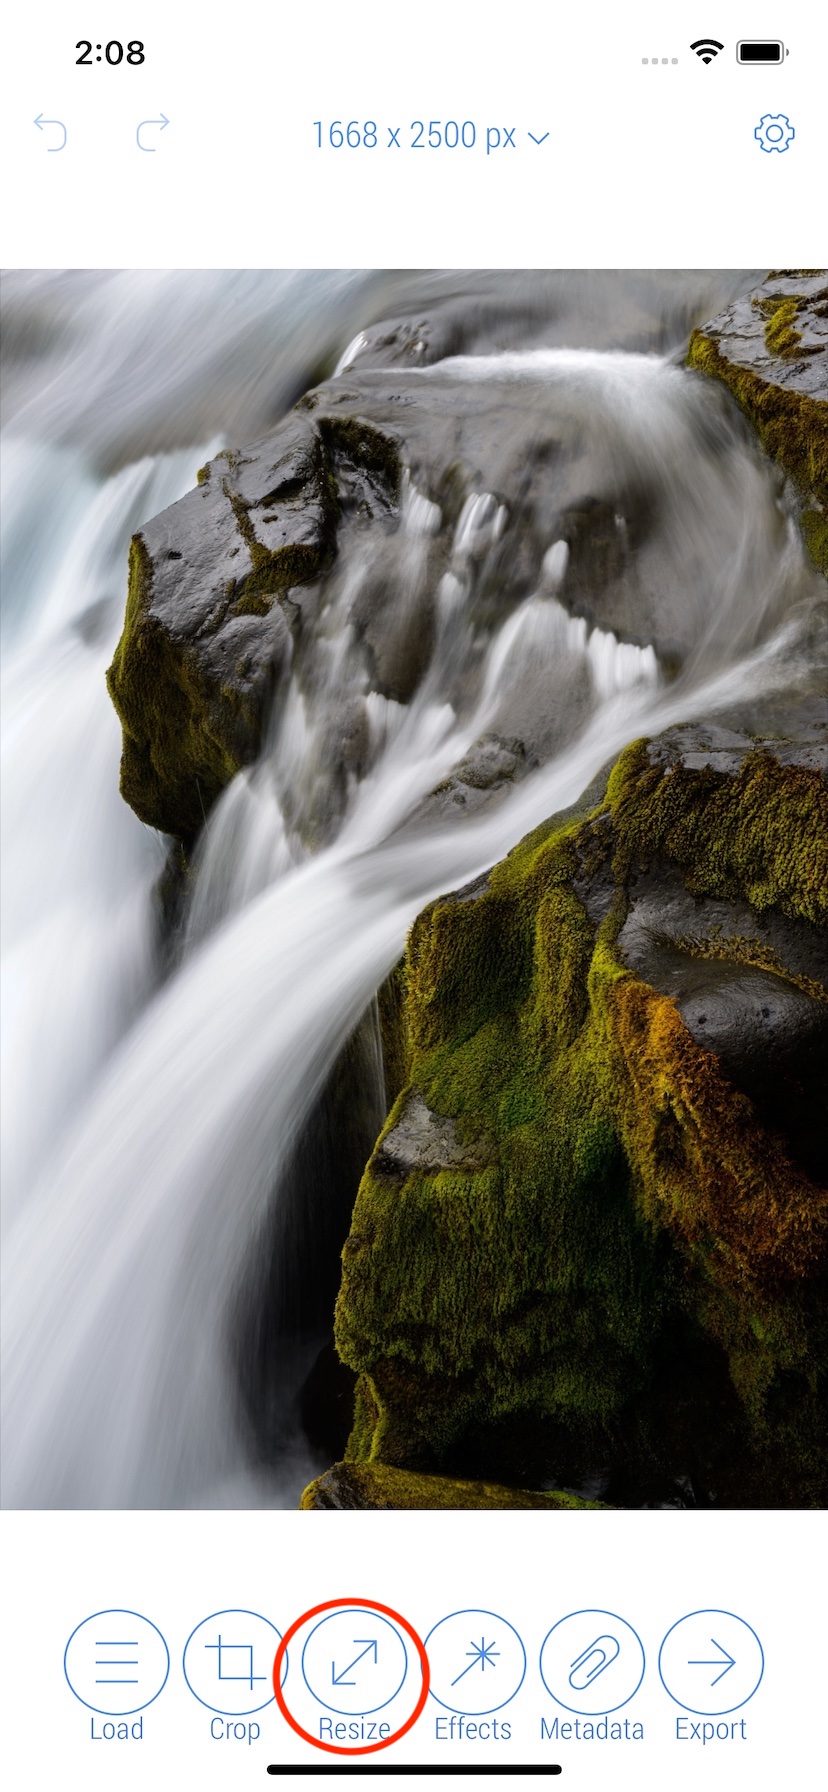
2. Tap 'Resize' button on the bottom bar
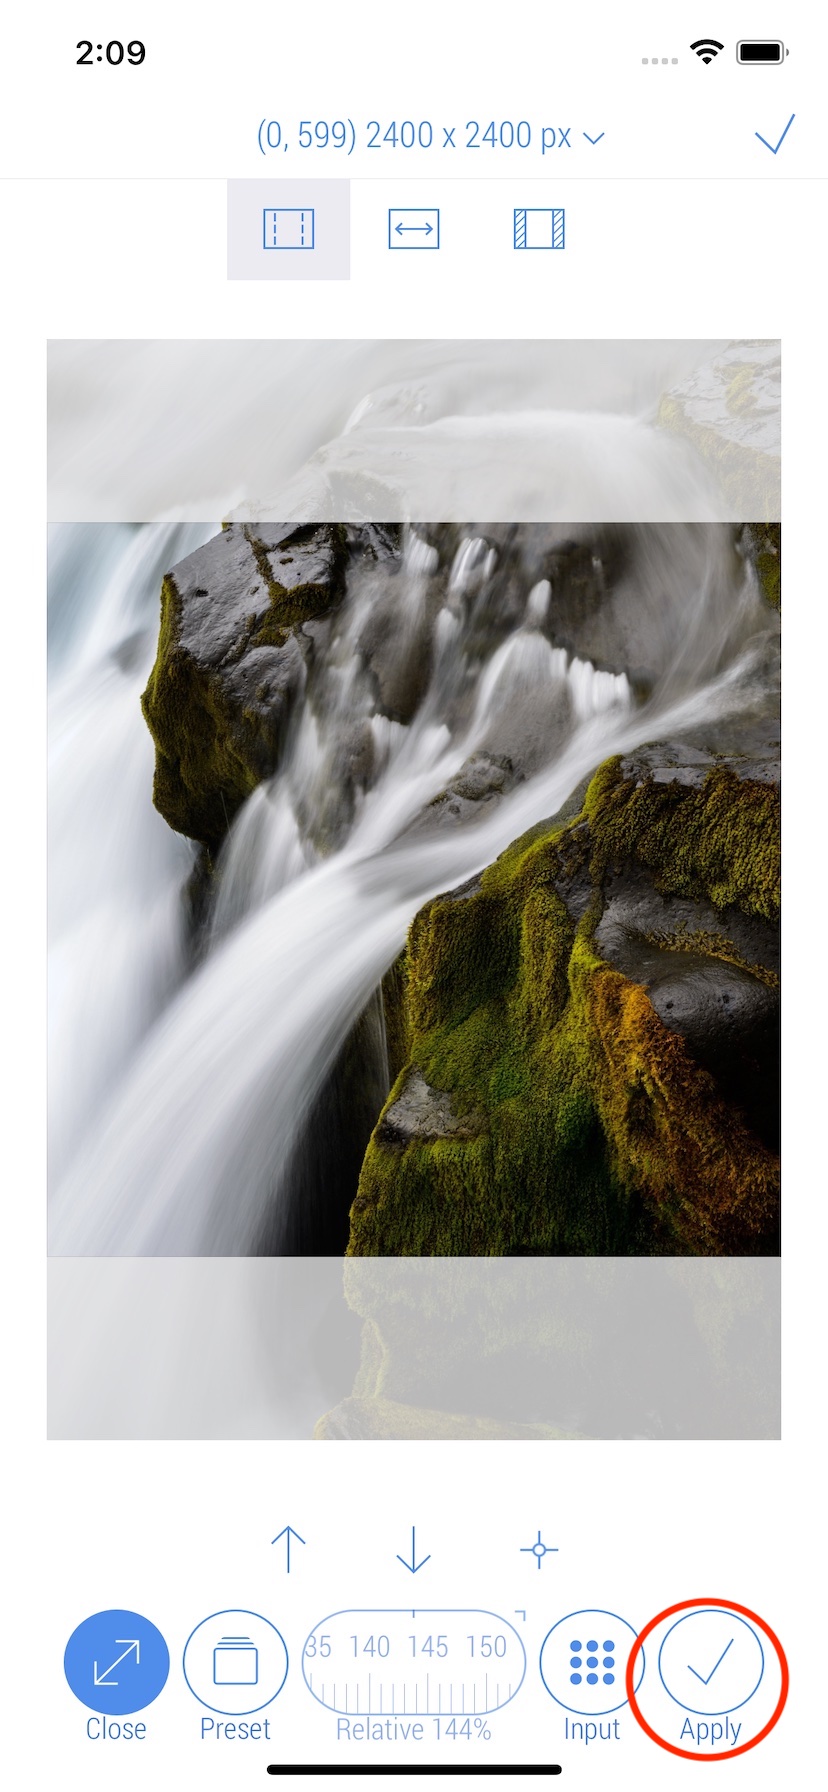
3. Set the new size 2400 x 2400 pixels using presets or manual input. Tap 'Apply' button on the bottom bar to apply the new size to the photo. To learn more about how to Resize, check out resize guide.
4. Tap 'Effects' button on the bottom bar.
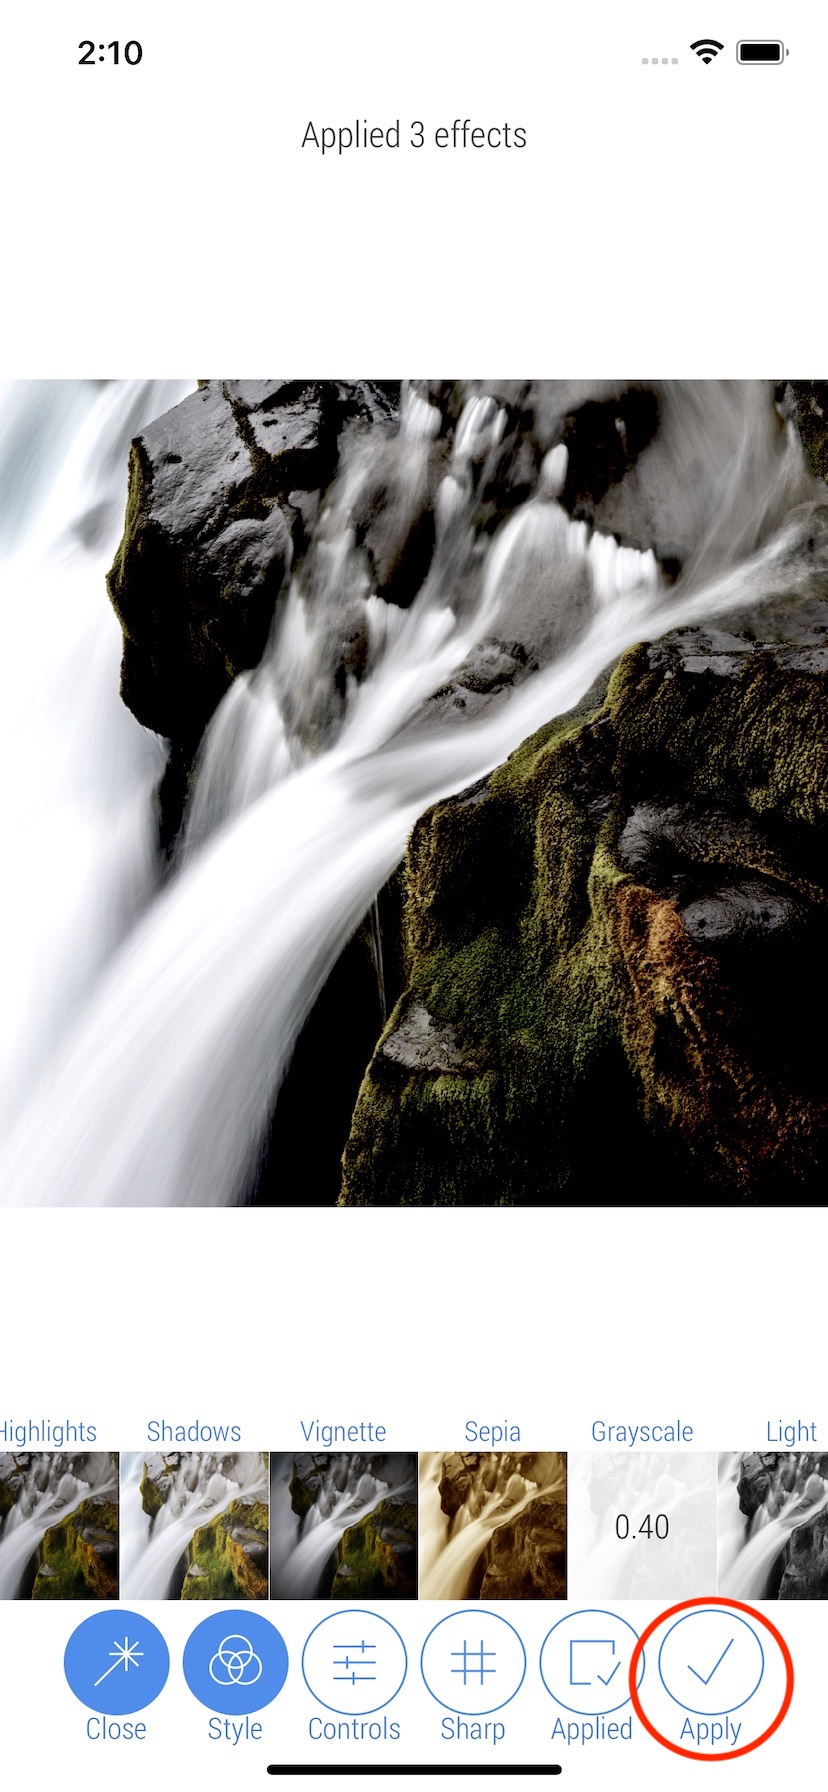
5. Set the three filters and Tap 'Apply' button on the bottom bar. To learn more about how to Filter, check out filter guide.
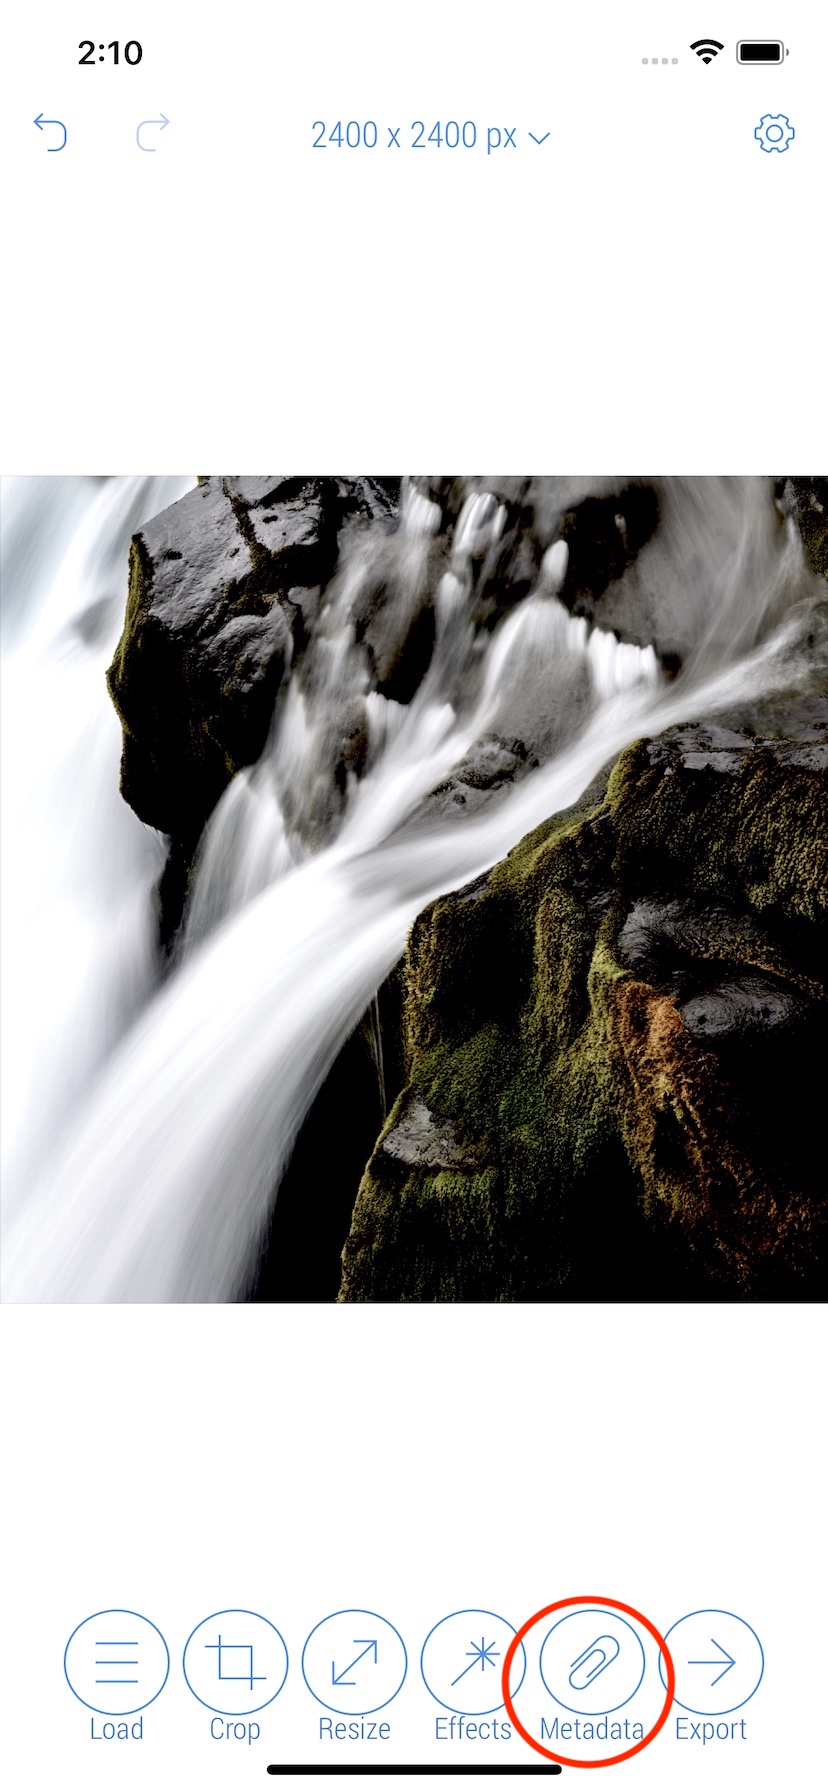
6. Tap 'Metadata' button on the bottom bar.
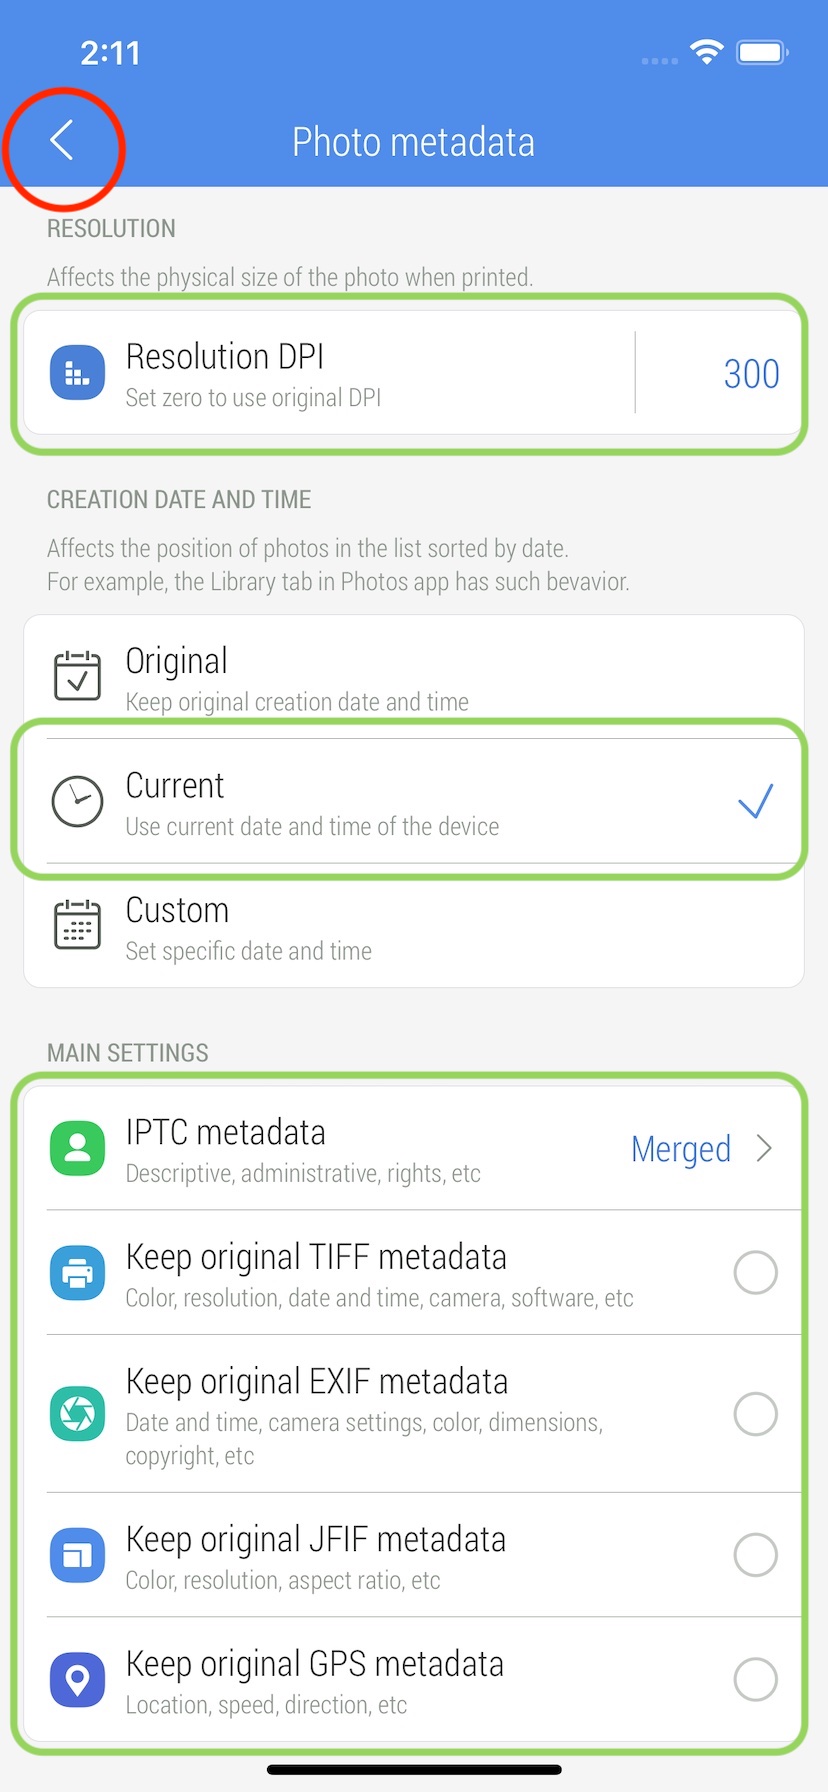
7. Set the resolution to 300 DPI, current creation date, uncheck all source metadata tags and add IPTC in merged mode, then tap 'Back' button on the top bar. To learn more about how to Update metadata, check out metadata editing guide.
8. Tap 'Export' button on the bottom bar.
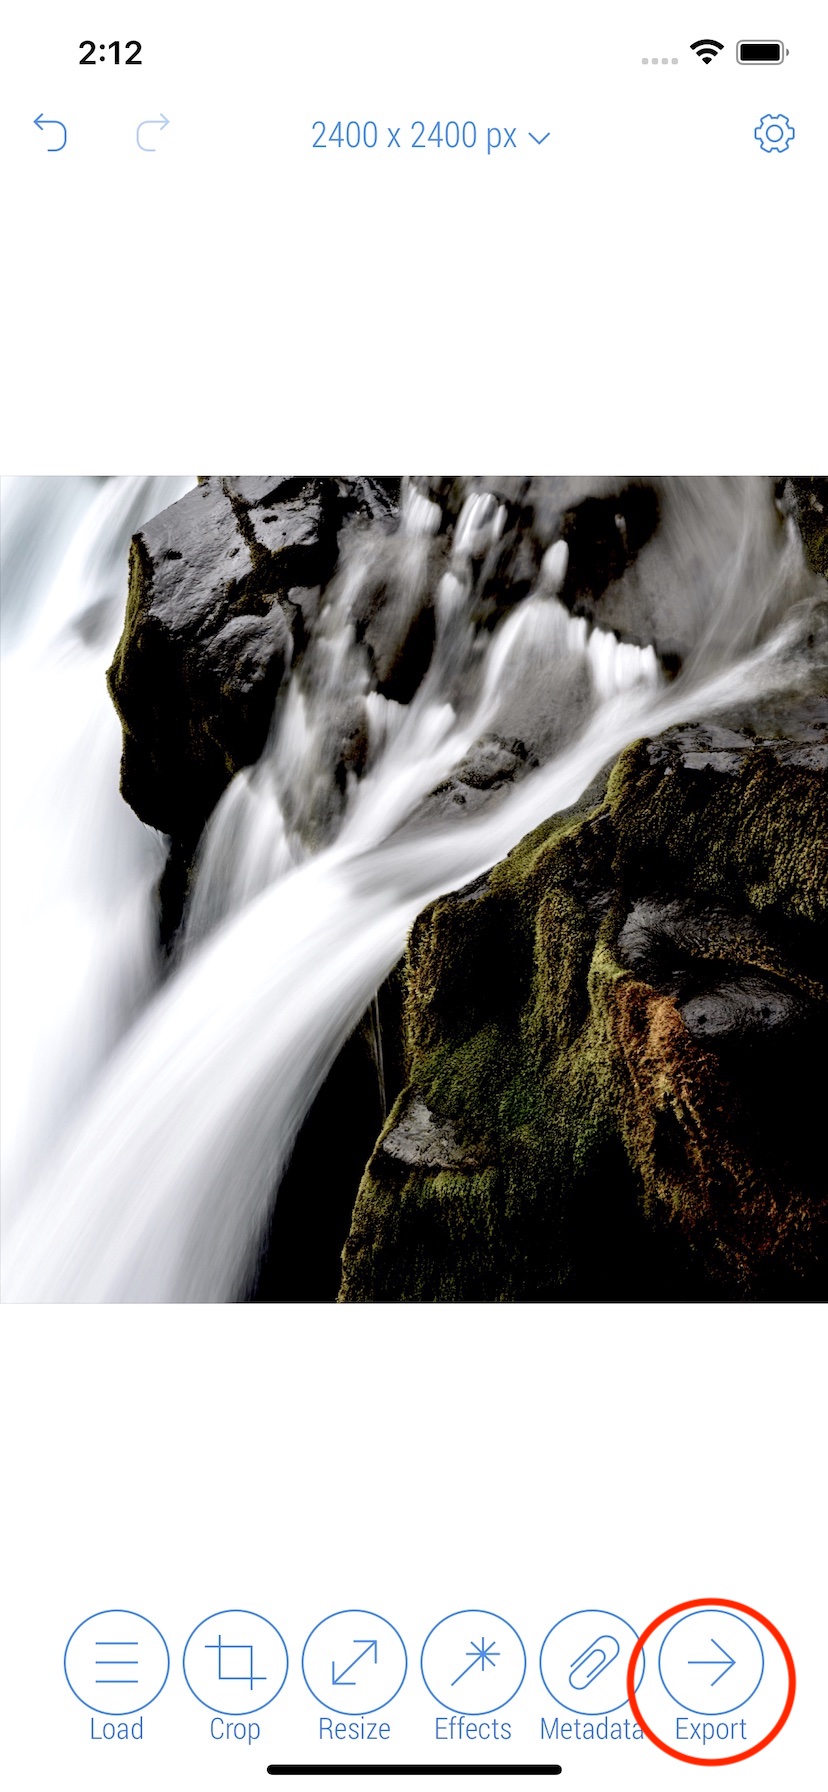
9. On the Export screen tap 'Program' button on the bottom bar.
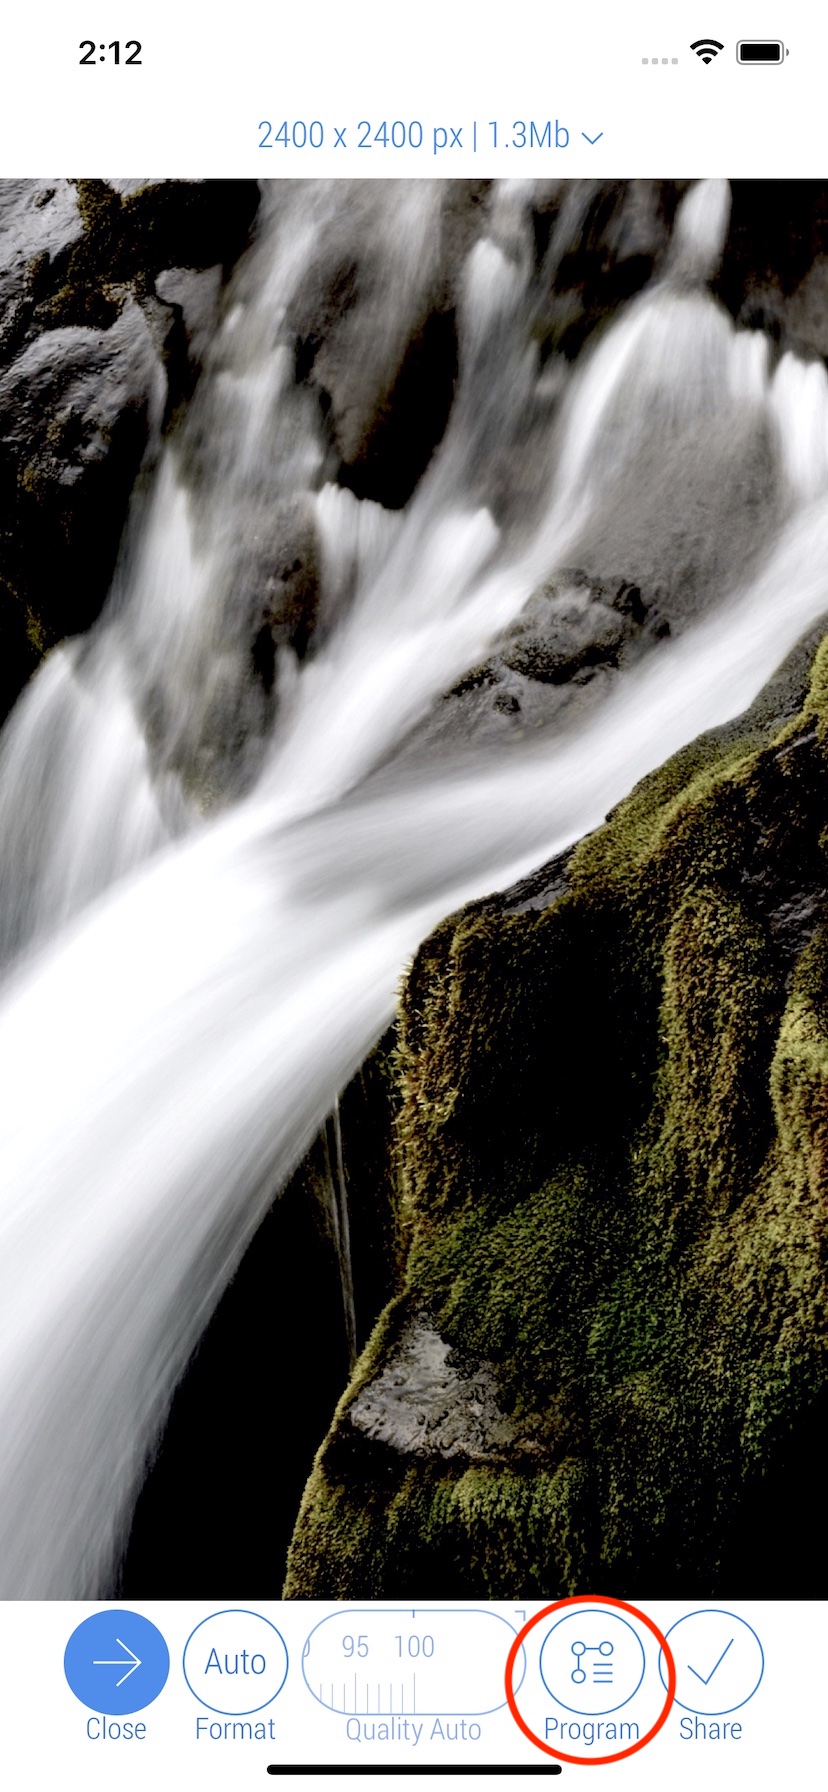
10. Enter a title for the new Program using the Keyboard, and then tap 'Save' button at the bottom of the pop-up screen.
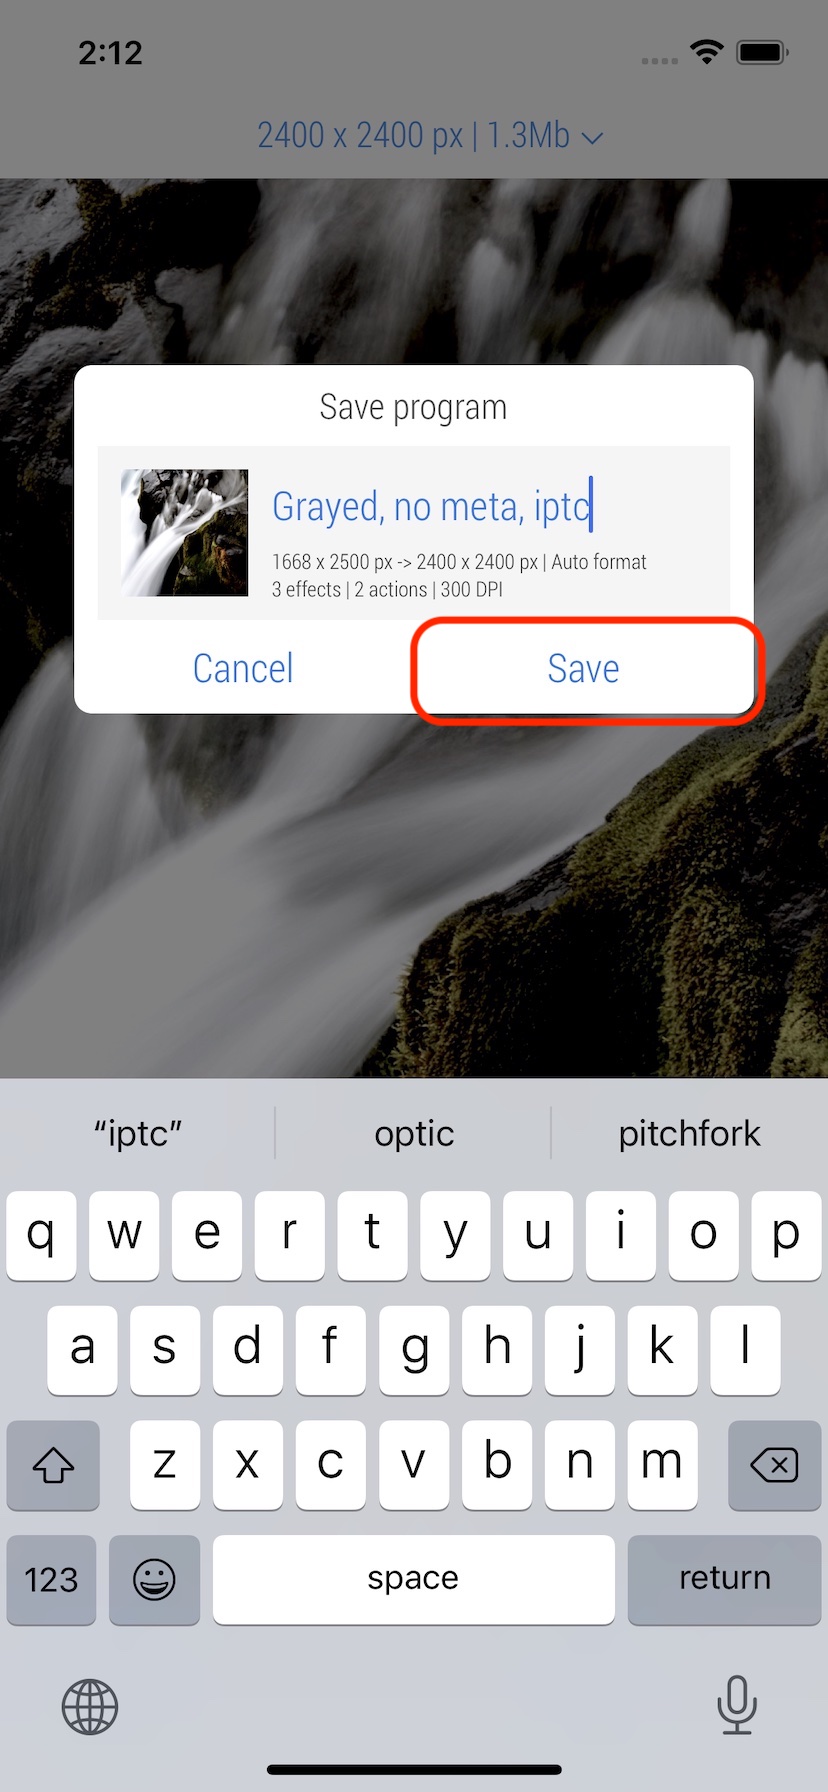
11. The new Program is added to the app's storage. Keep in mind, it is possible to share result at any time before or after saving a Program; a saved Program does not affect the edited photo or editing session at all. Tap 'Close' button on the bottom bar to return to the Main screen.
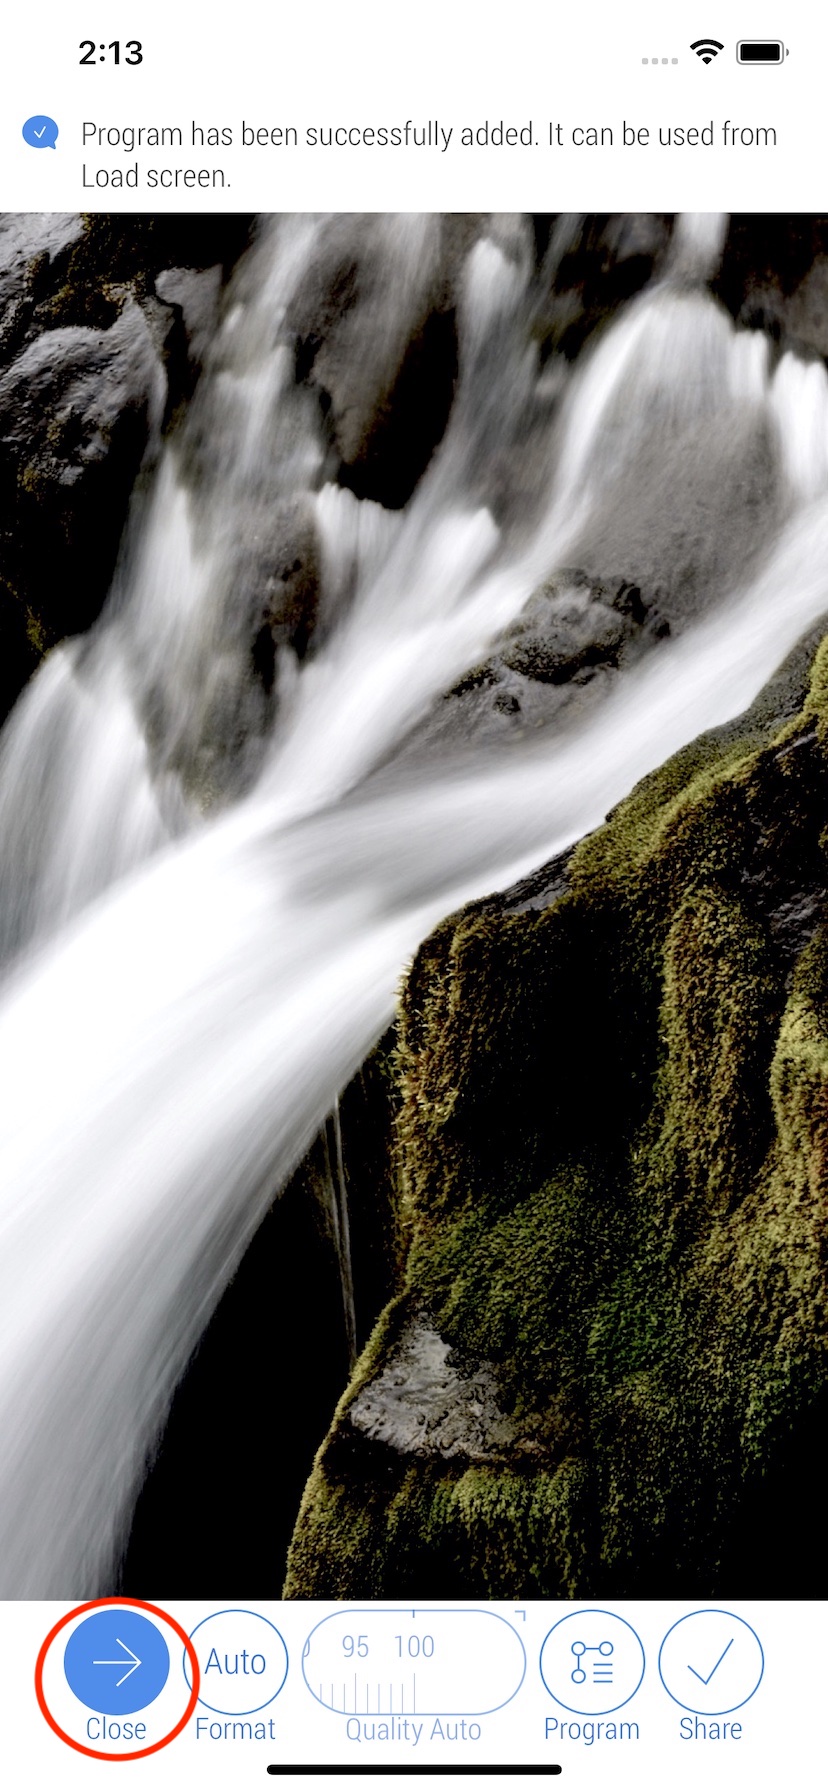
12. Tap 'Load' button on the bottom bar.
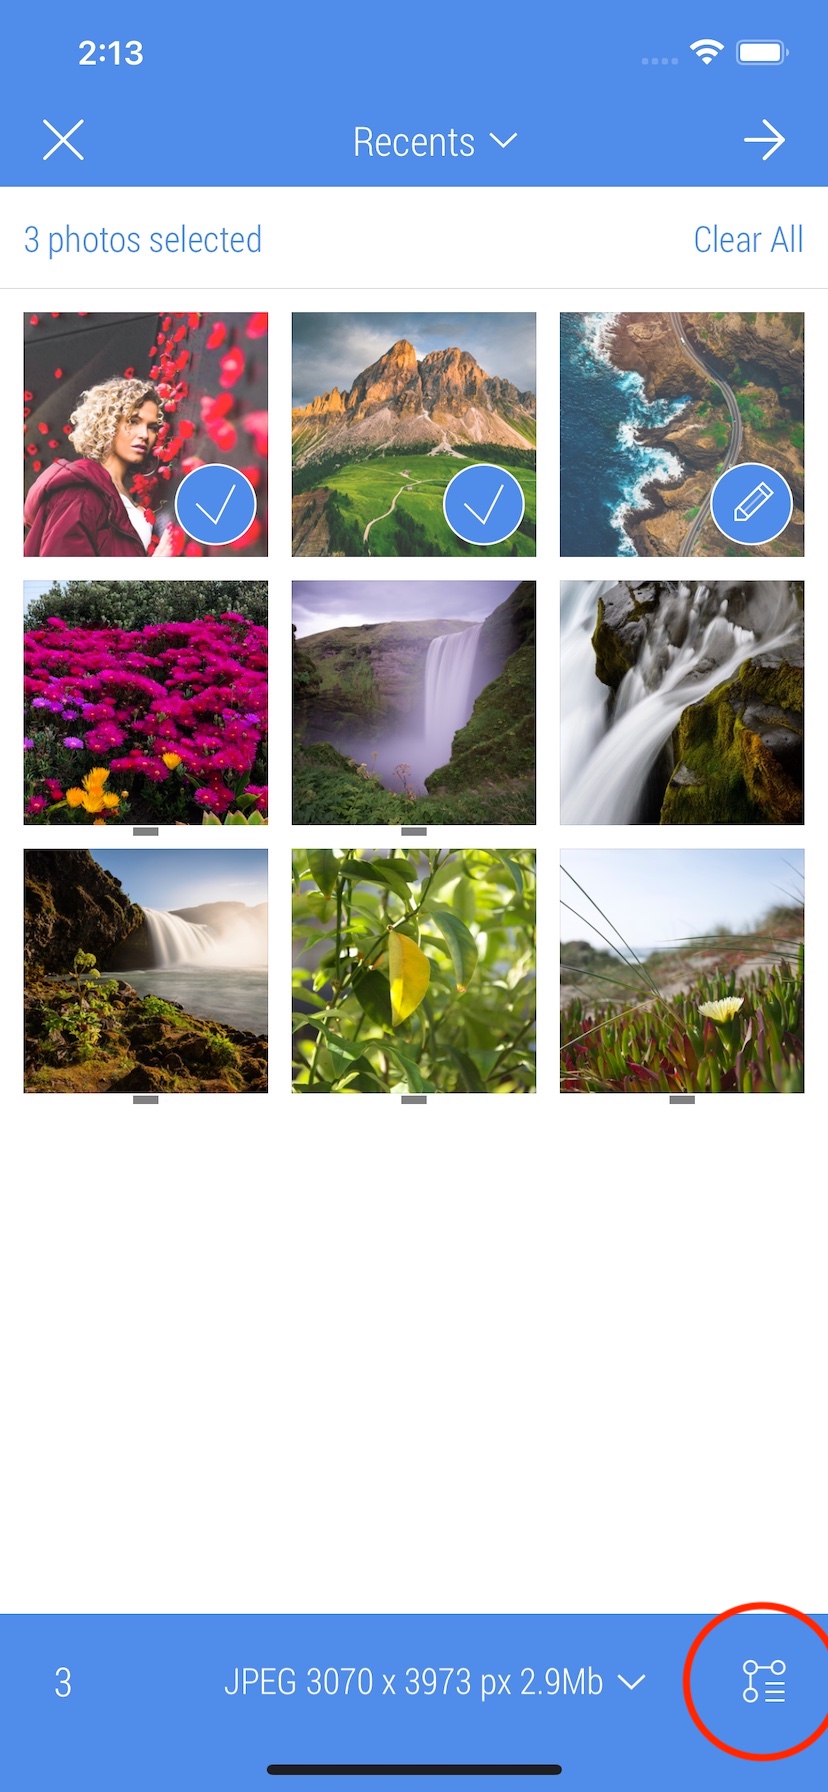
13. Select new photos and tap 'Program' button on the bottom bar. This button is only visible if at least one Program has been added.
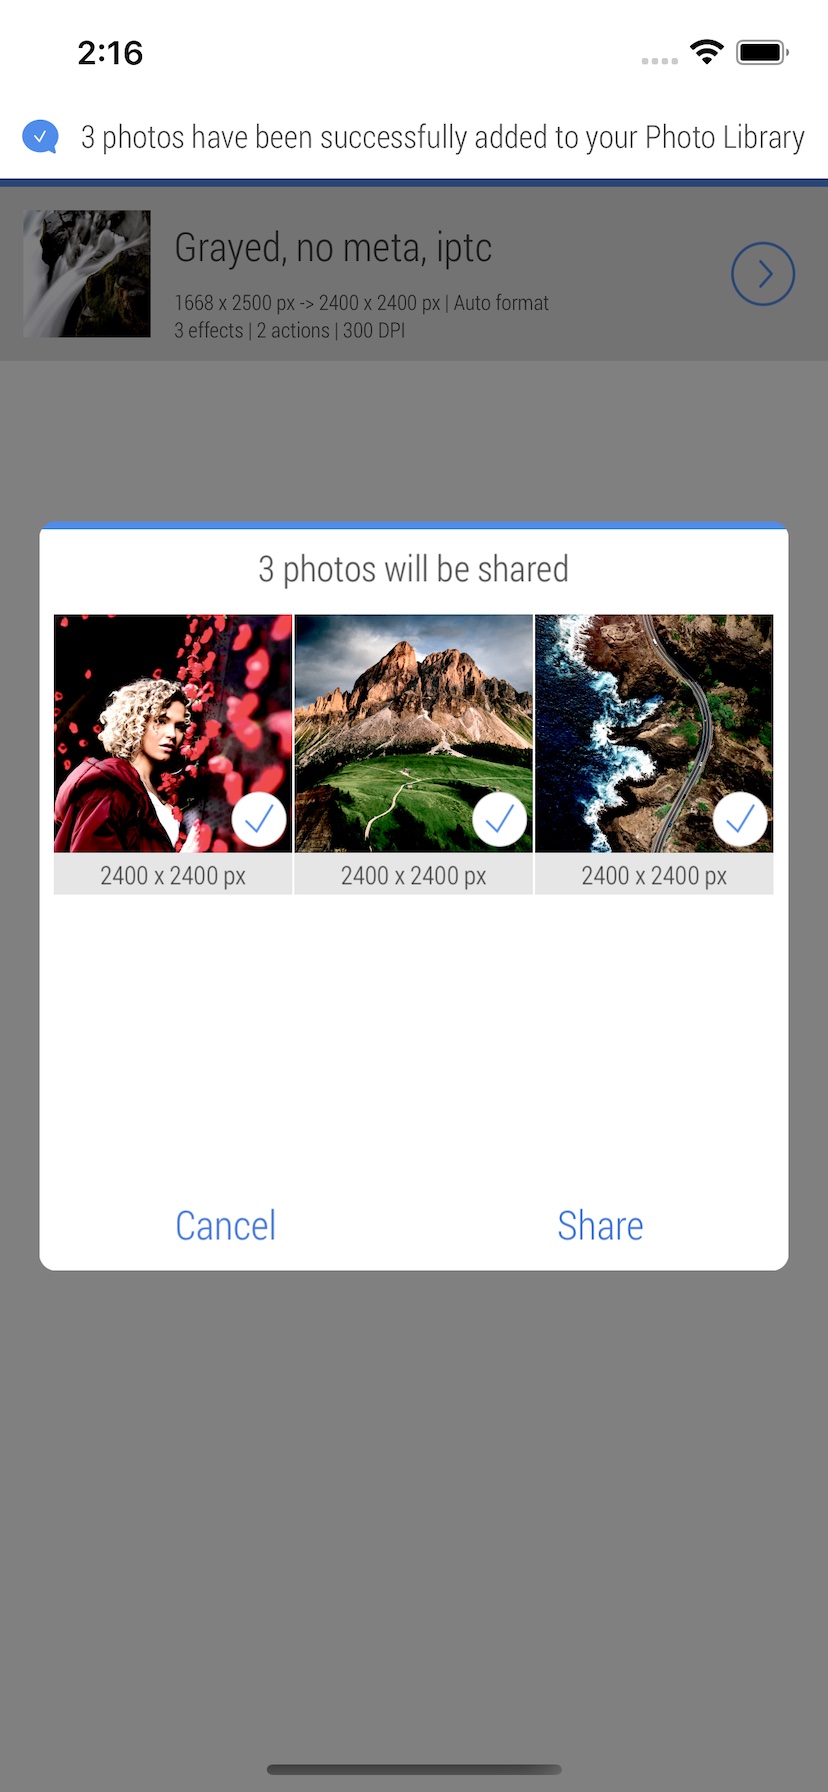
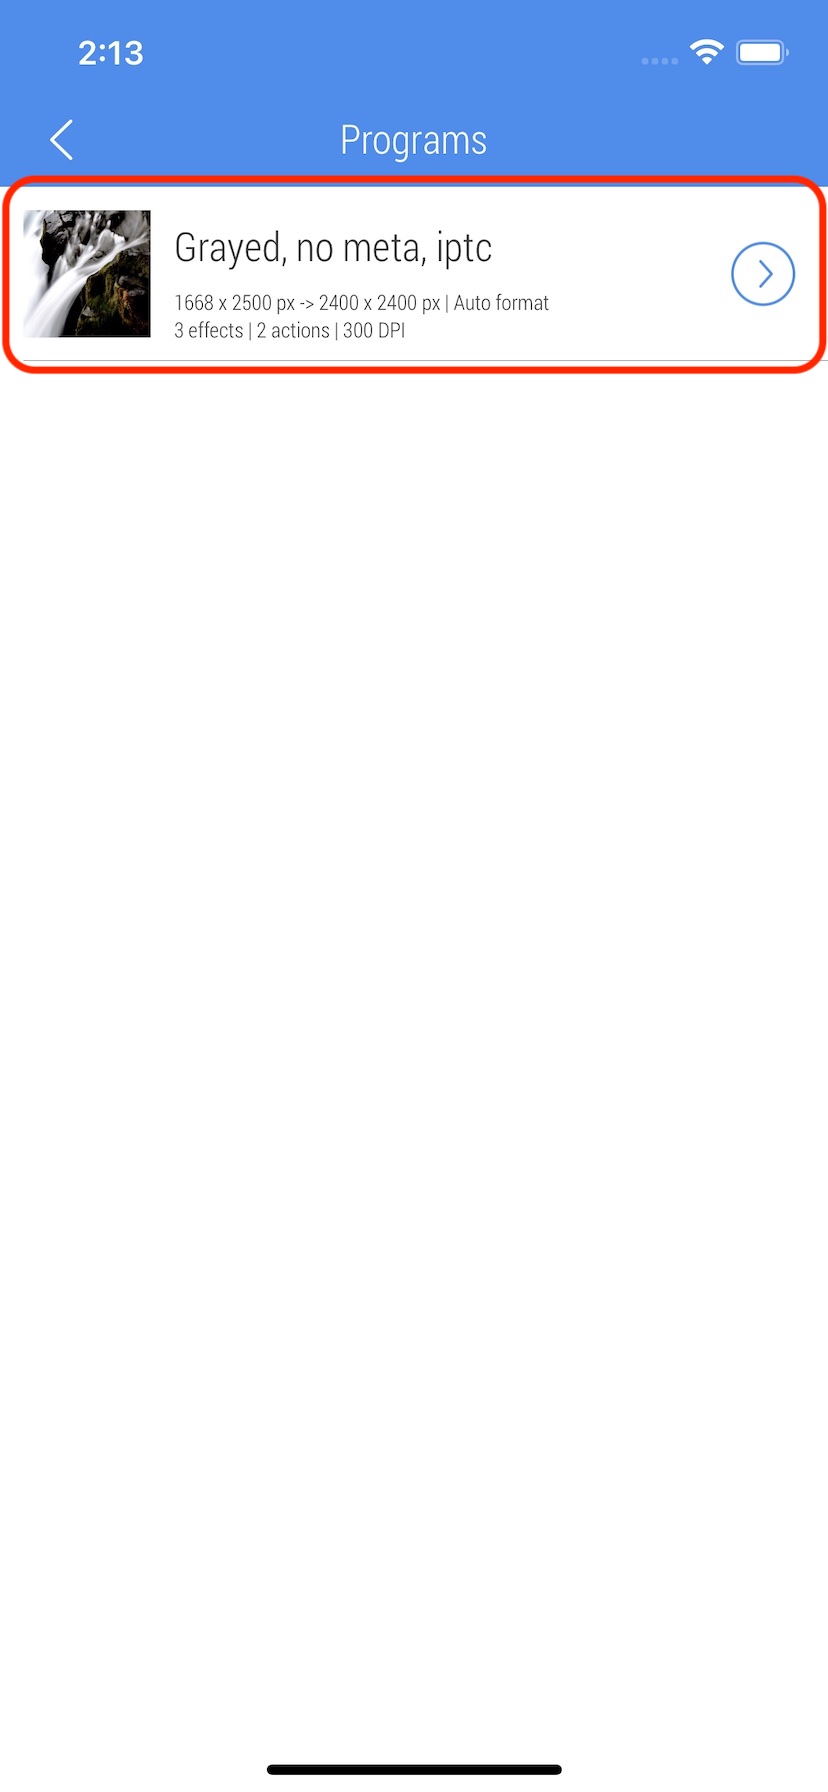
14. Tap the desired Program to select it and prepare for execution. To view Program details, click the arrow on the right side of the Program button.
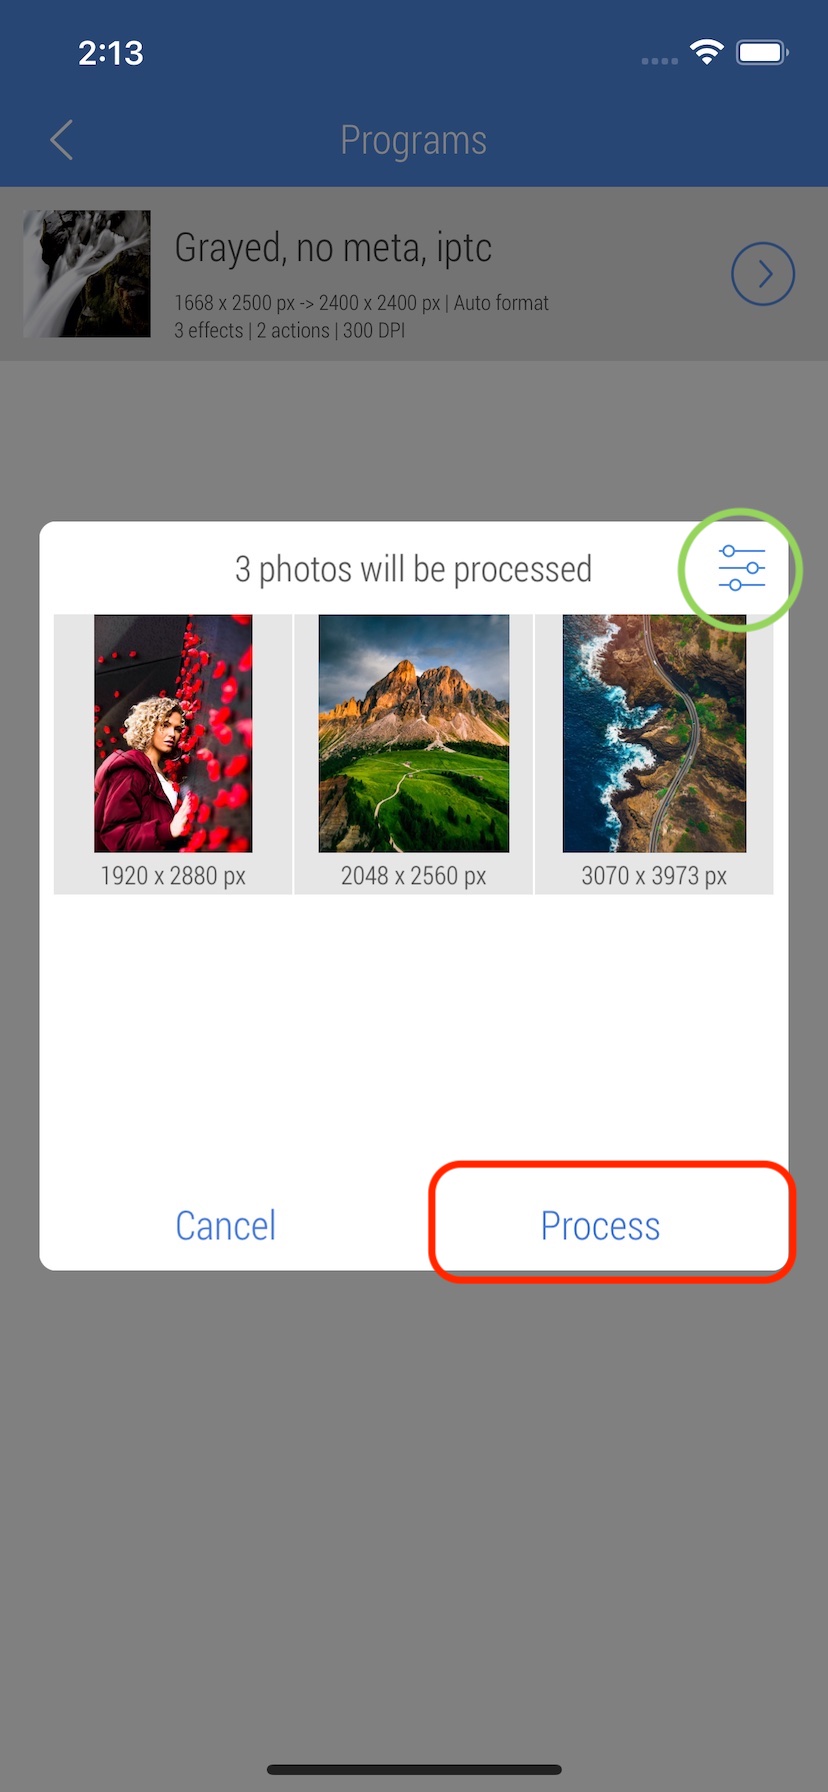
15. Use the right upper button to specify 'Batch size settings' (when available). Tap 'Process' button at the bottom of the pop-up screen to start processing. To learn more about this pop-up screen, check out batch processing guide.
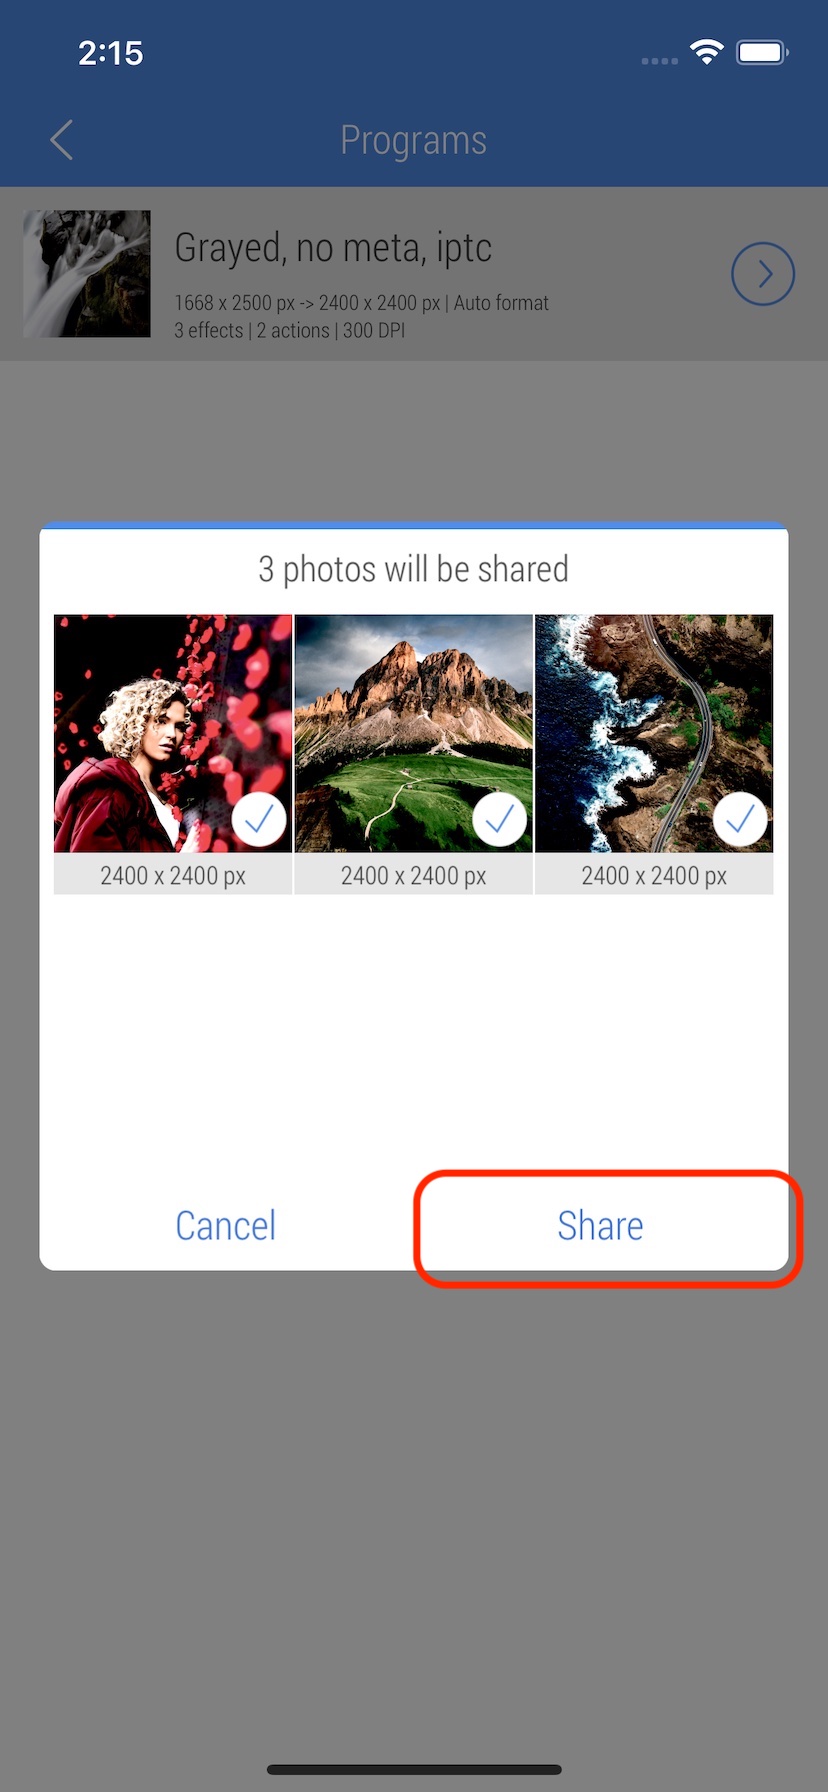
16. Once processing is complete, tap 'Share' button at the bottom of the pop-up screen to share the results.
17. Tap 'Save 3 images' to save the results to the Photo Library.
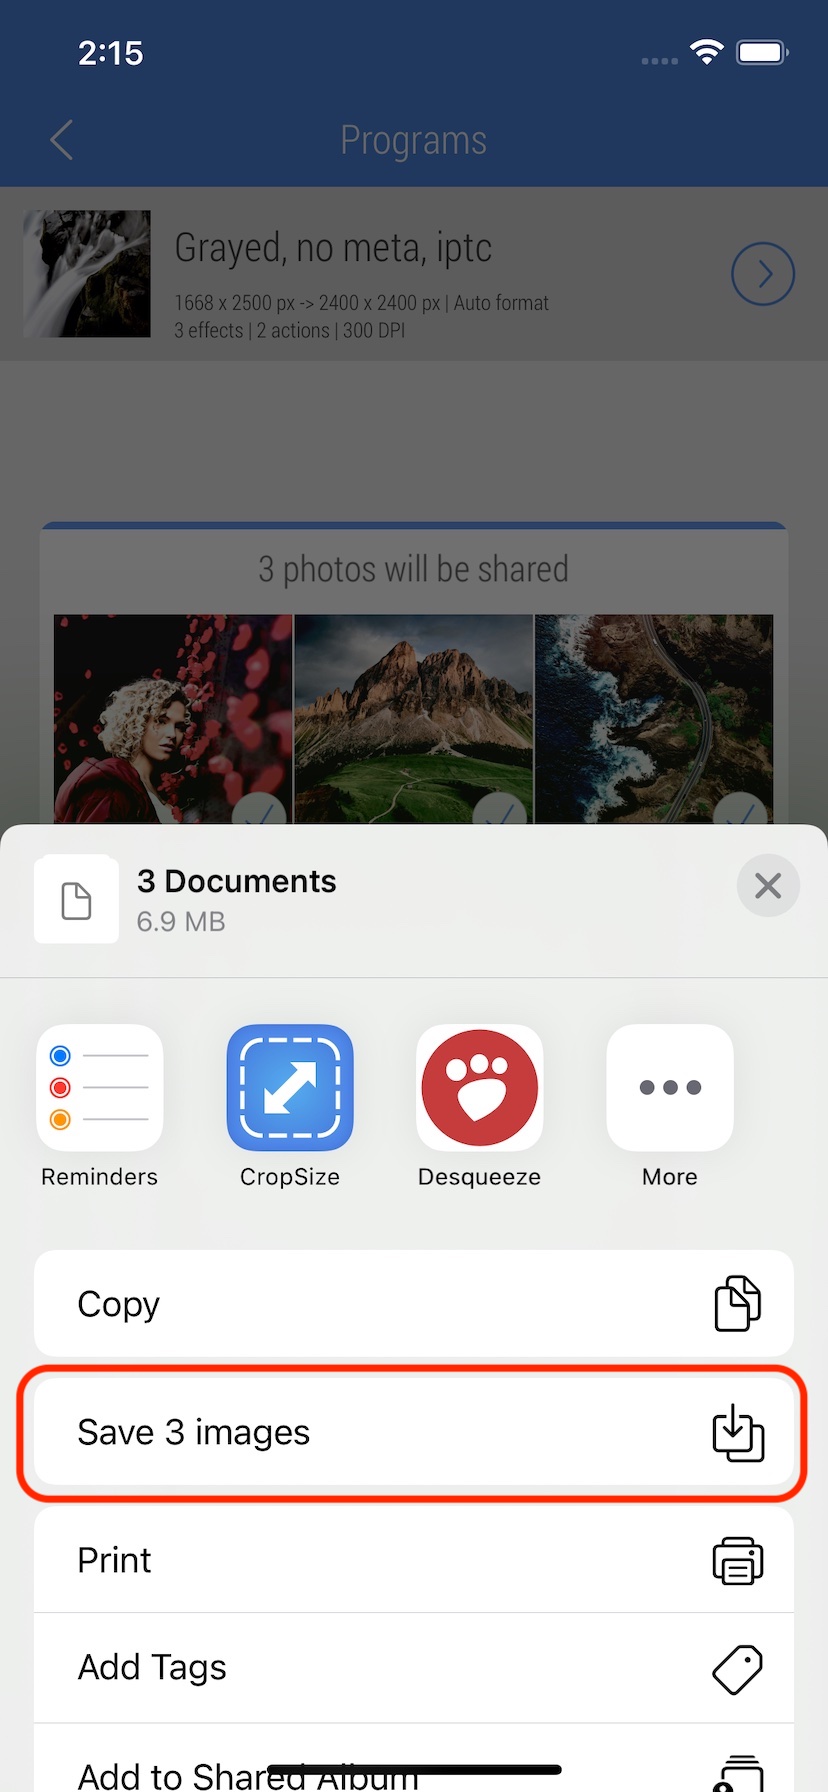
18. While the screen is still active, It is possible to share the results with other destinations without any additional processing.