How to Filter a photo?
The guide shows how to filter a single photo using multiple filters simultaneously and save a result to the Photo Library in HEIC format at 100% compression quality.
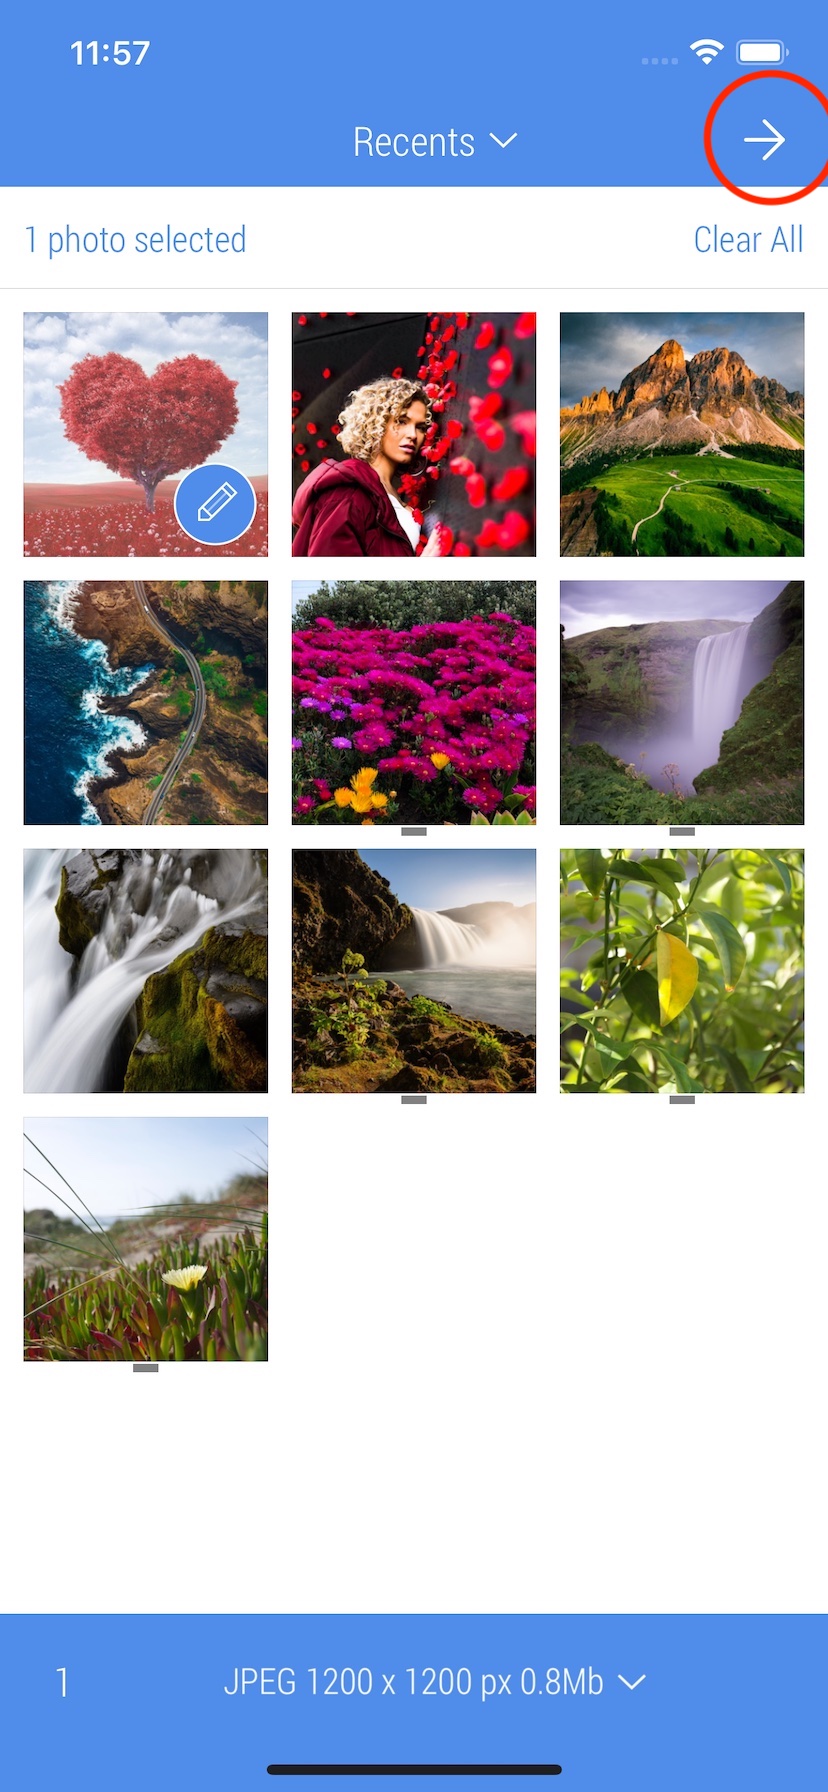
1. Select a photo and tap the upper right button to start editing
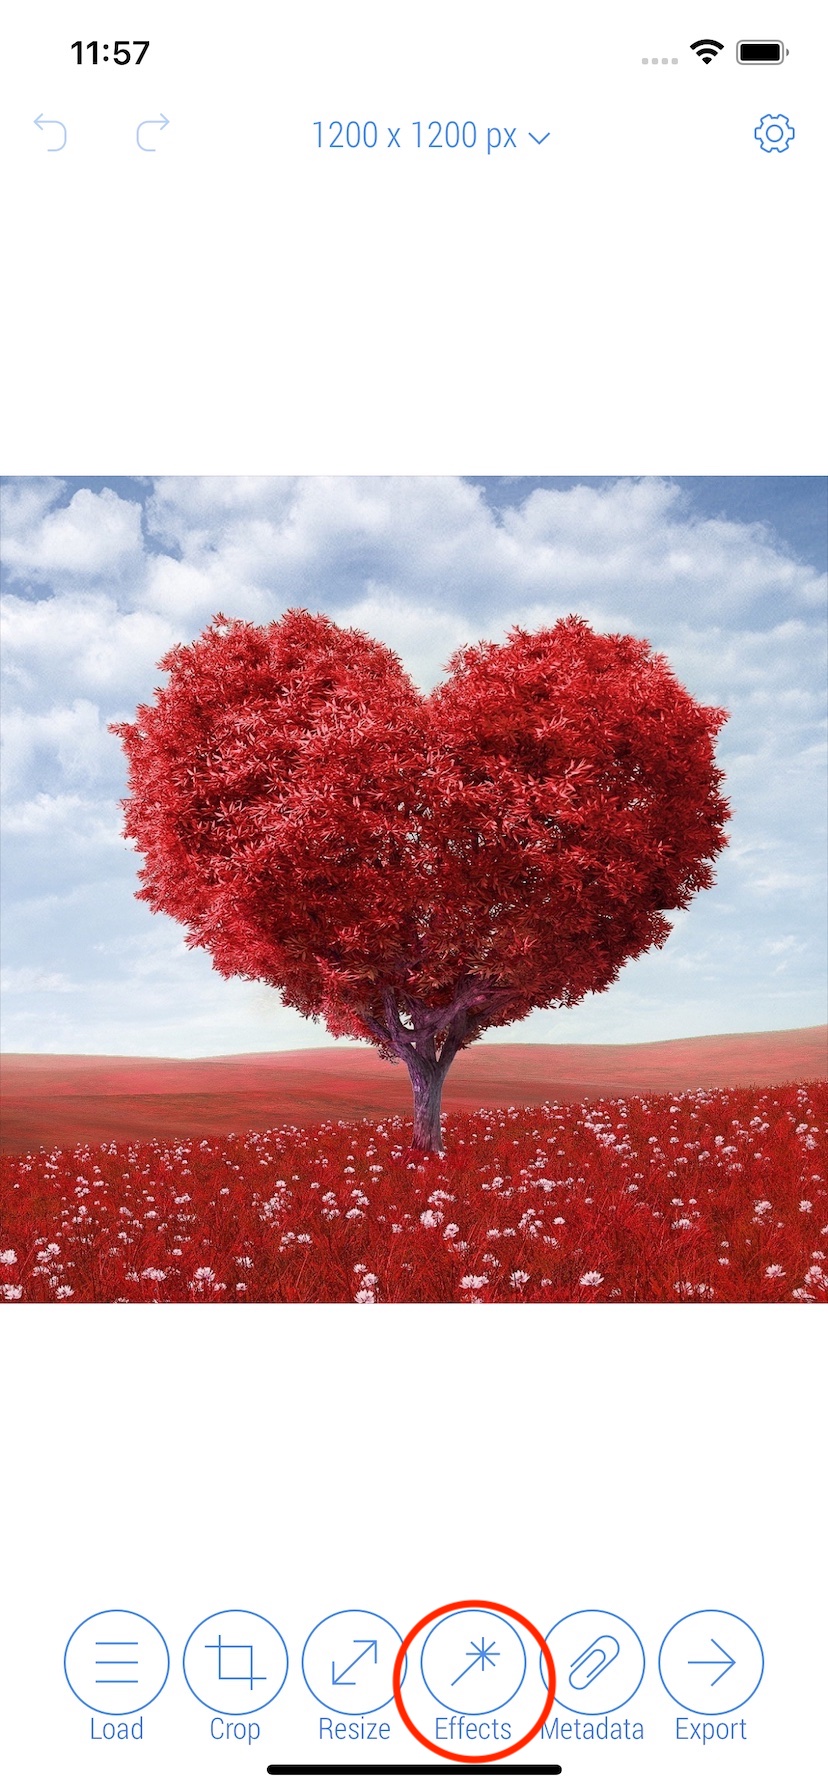
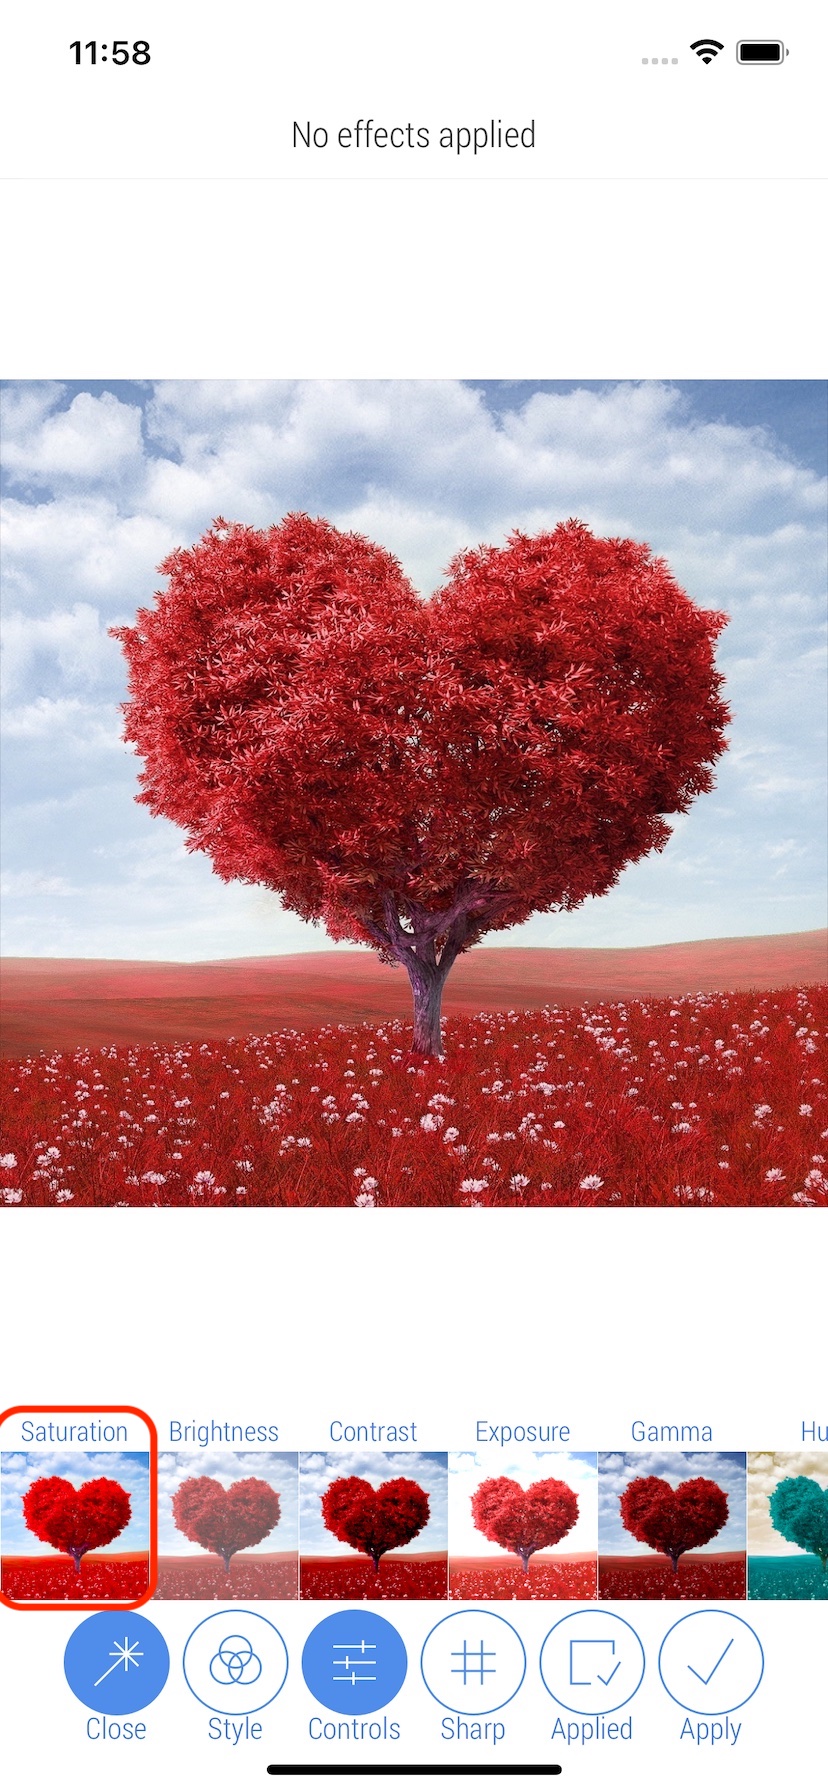
2. Tap 'Effects' button on the bottom bar
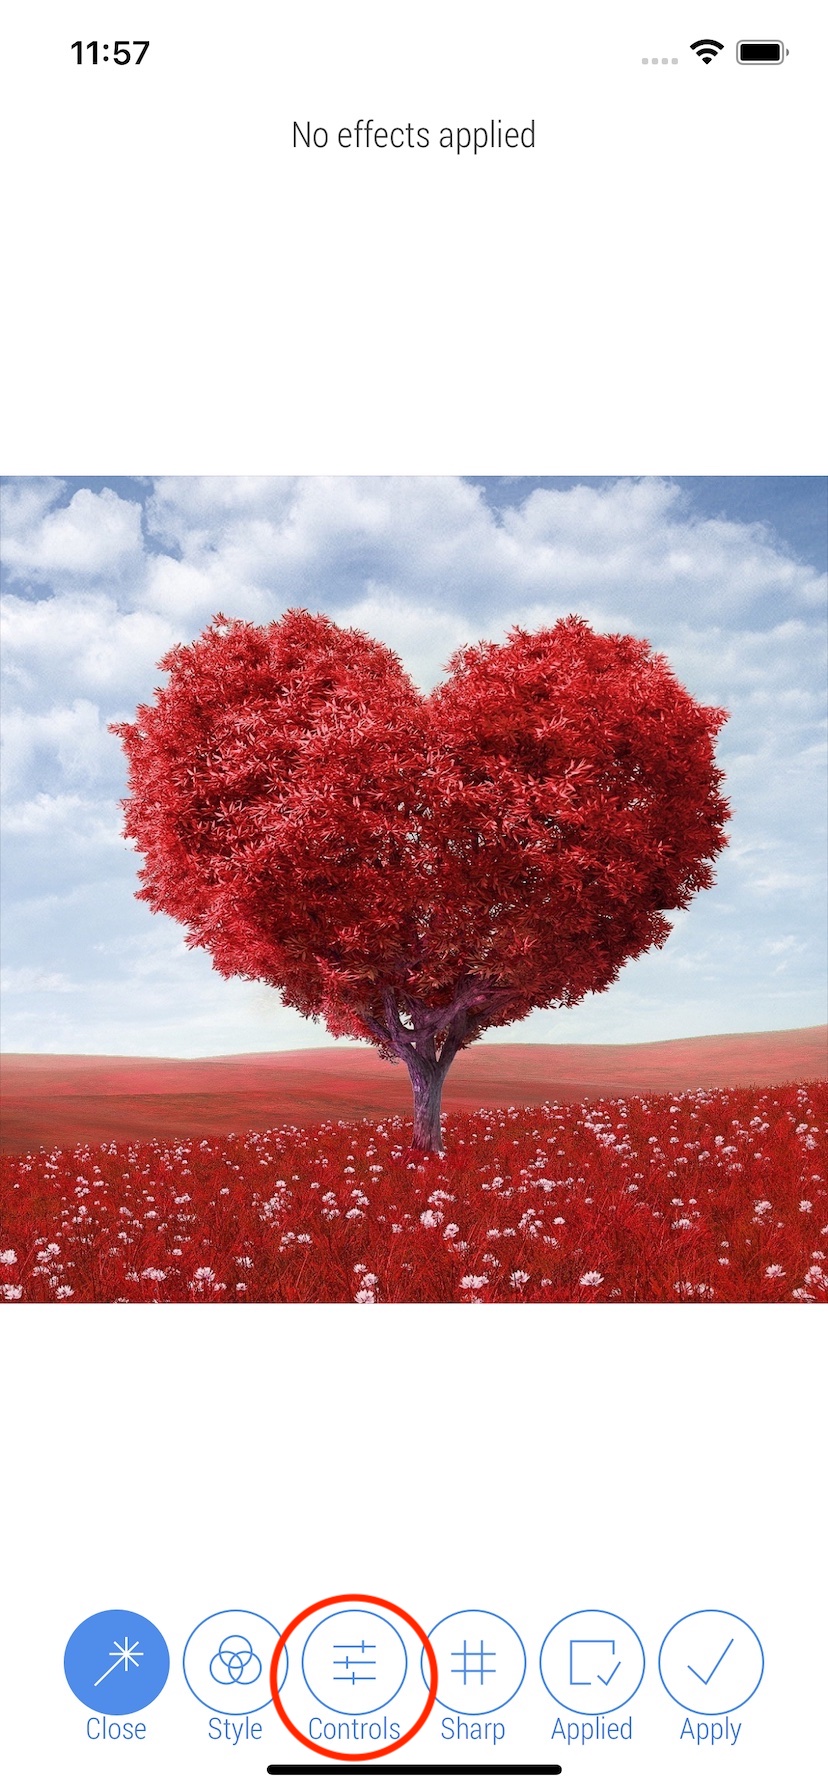
3. Tap 'Controls' button on the bottom bar to get access to such filters as 'Contrast', 'Brightness', 'Gamma', 'Tint', and more.
4. Tap 'Saturation' button to pick this filter.
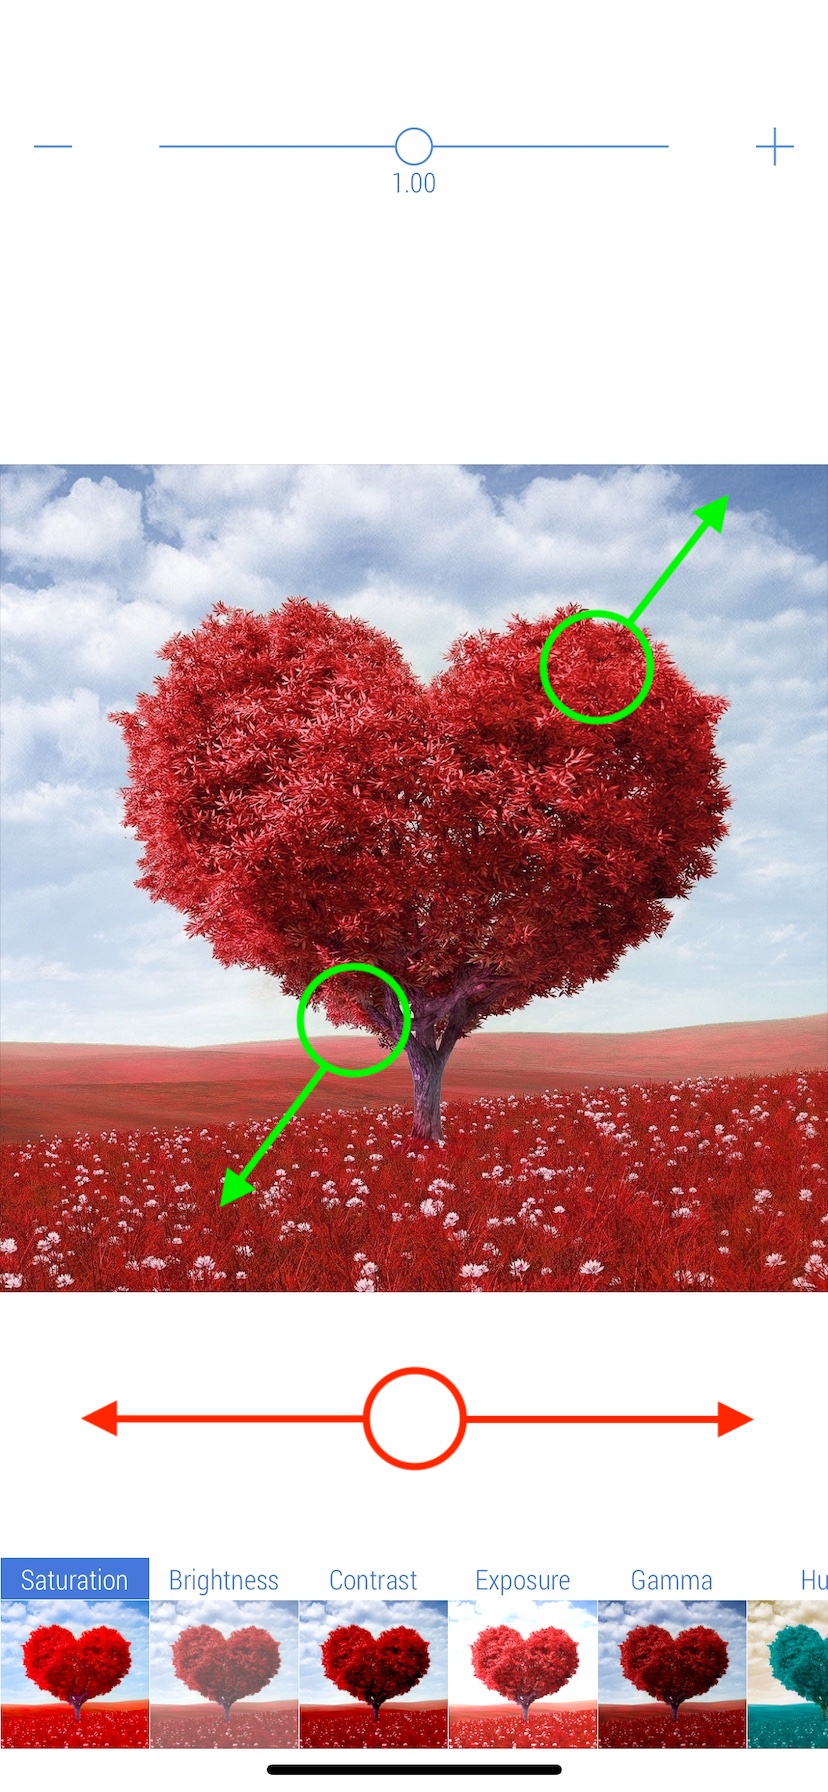
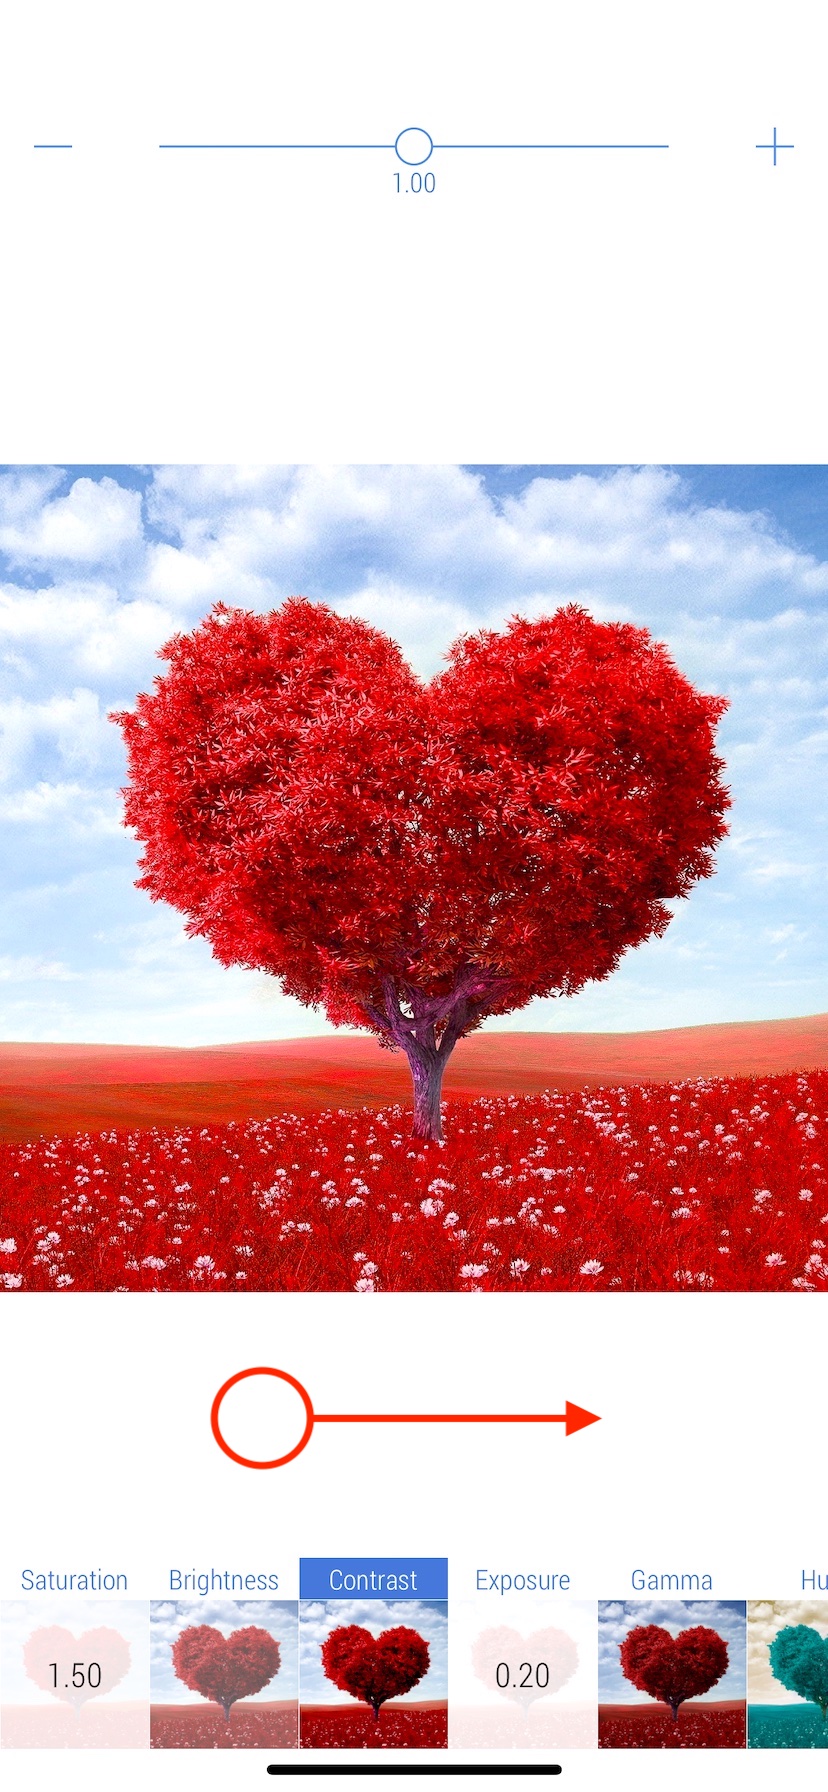
5. Use slider and '+/-' buttons on the top to set intensity of the selected filter. An alternative and more convenient way to change the intensity of the filter is to pan(move) one finger left and right across the screen. It is also possible to zoom in/out photo and scroll it when zoomed using two-finger gestures (marked green).
6. In the example, 'Saturation' is set to 1.50. Now select 'Exposure'. This action will NOT undo 'Saturation' effect.
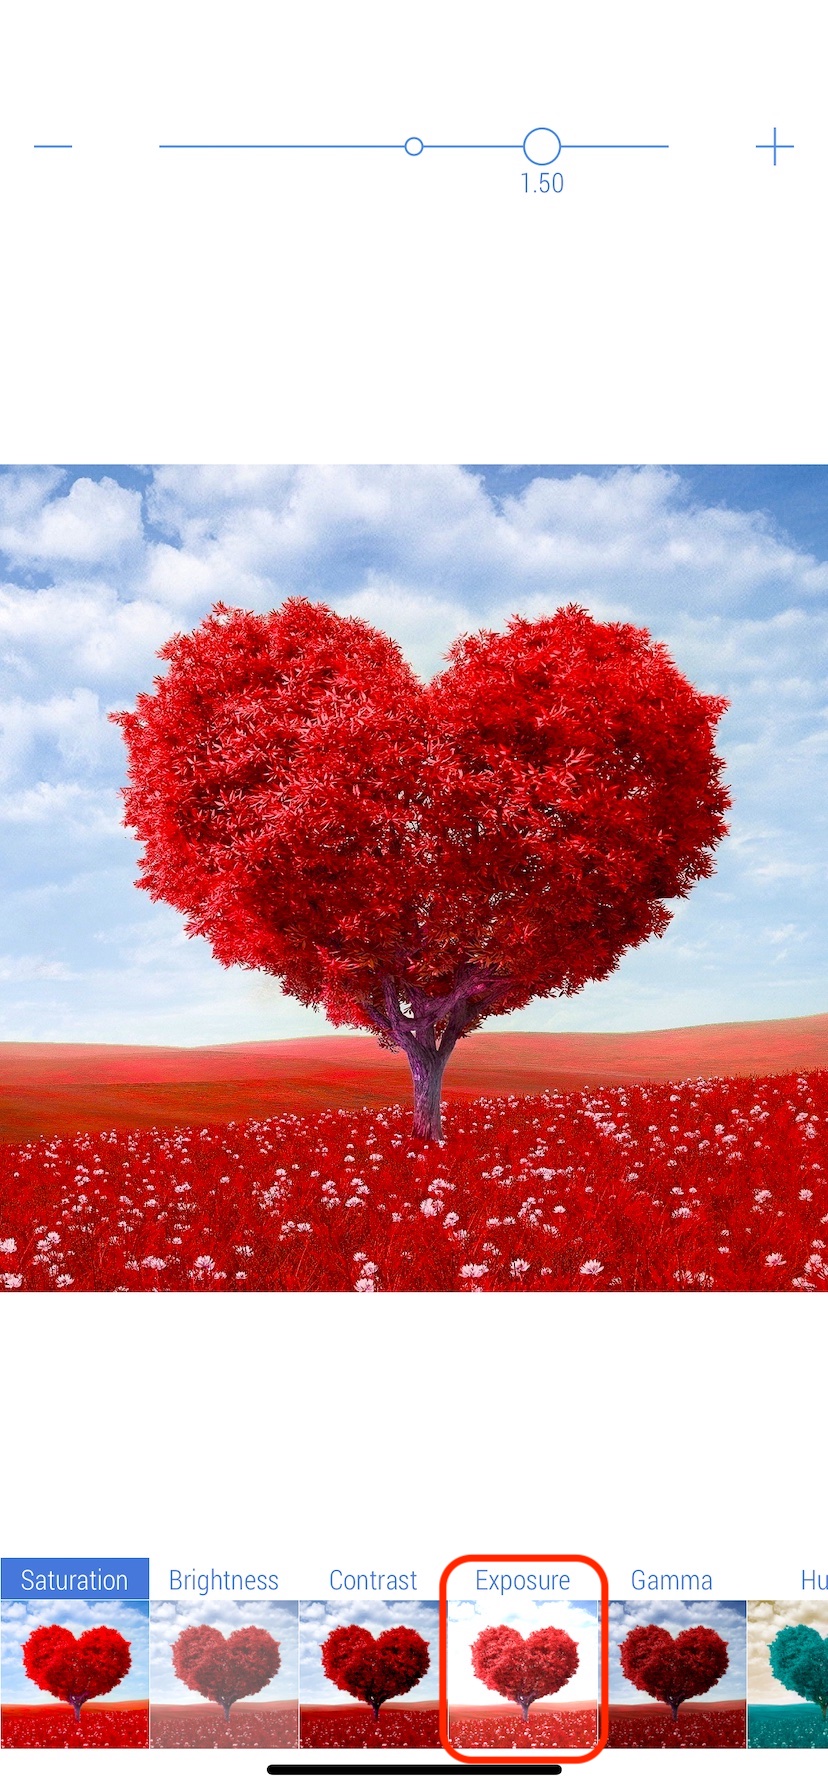
7. Swipe right on the screen to change the default 'Exposure' value.

8. In the example, 'Exposure' is set to 0.20. Now select 'Contrast'. This action will NOT undo filters that have already been applied.
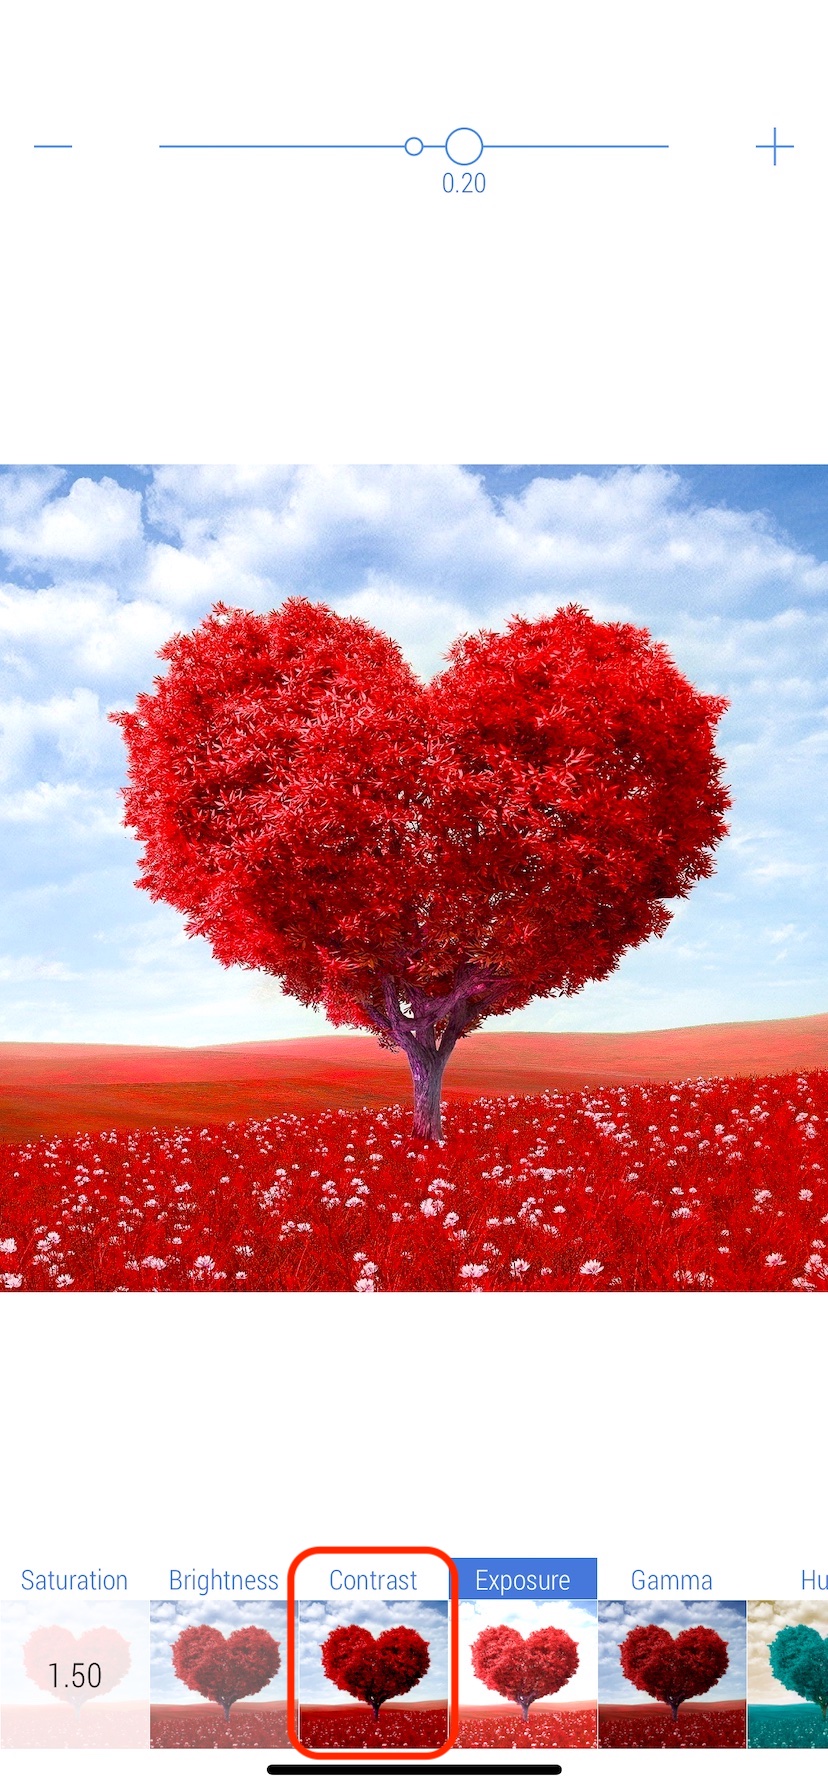
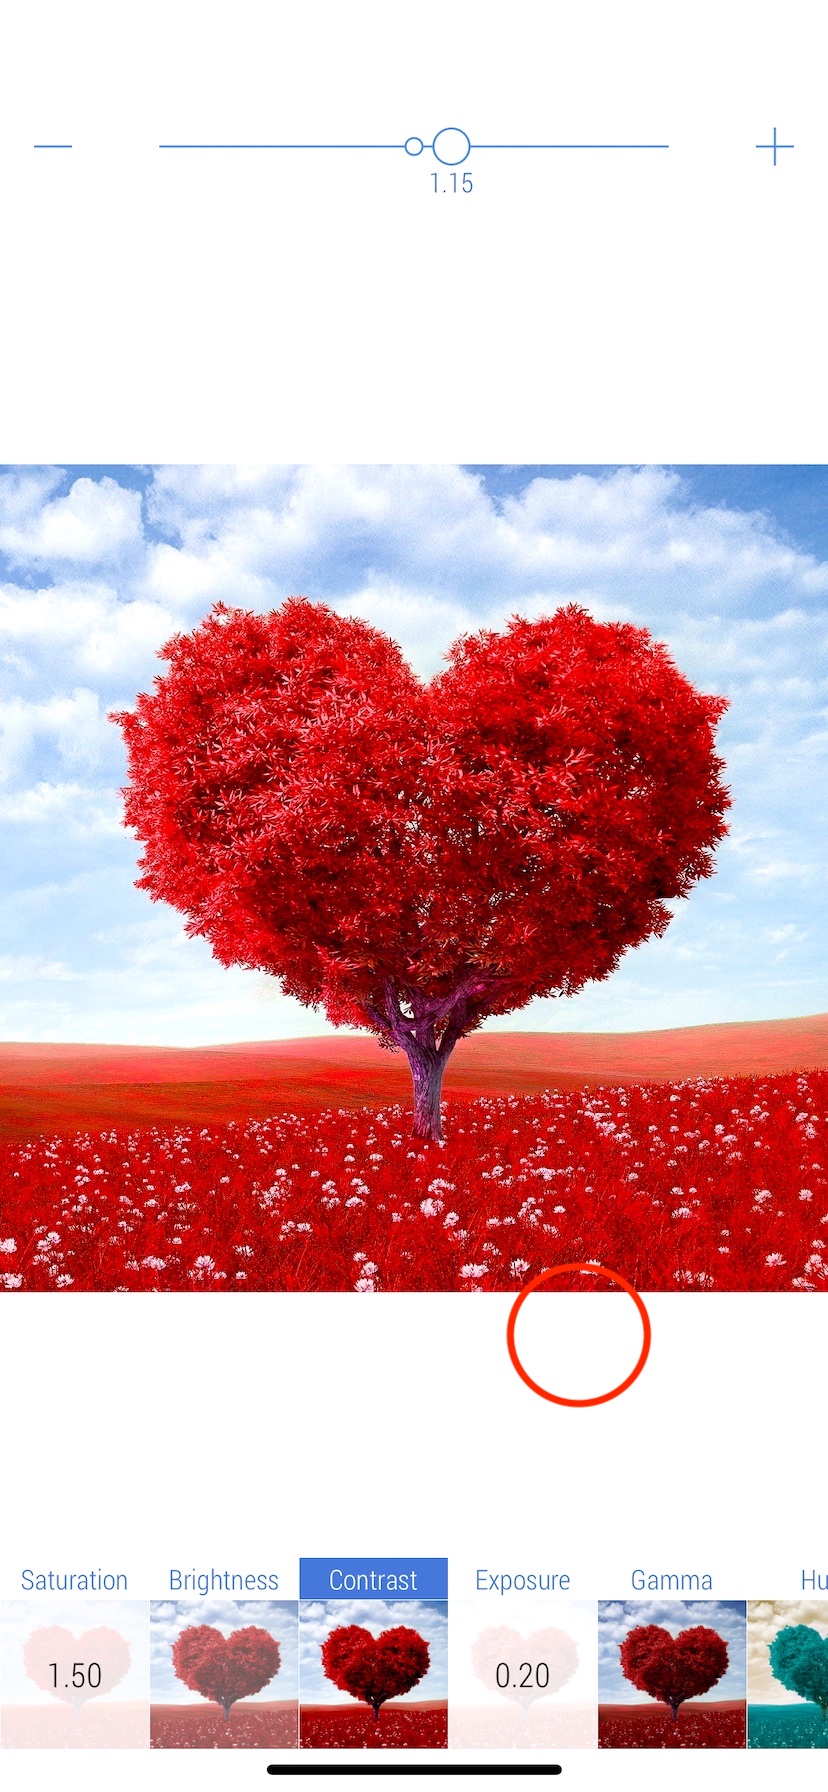
9. Swipe right on the screen to change the default 'Contrast' value.
10. In the example, 'Contrast' is set to 1.15. Keep in mind, to reset any filter to its default intensity, press and hold the filter button for a few seconds. To exit the current filter, tap the screen or tap the selected filter.
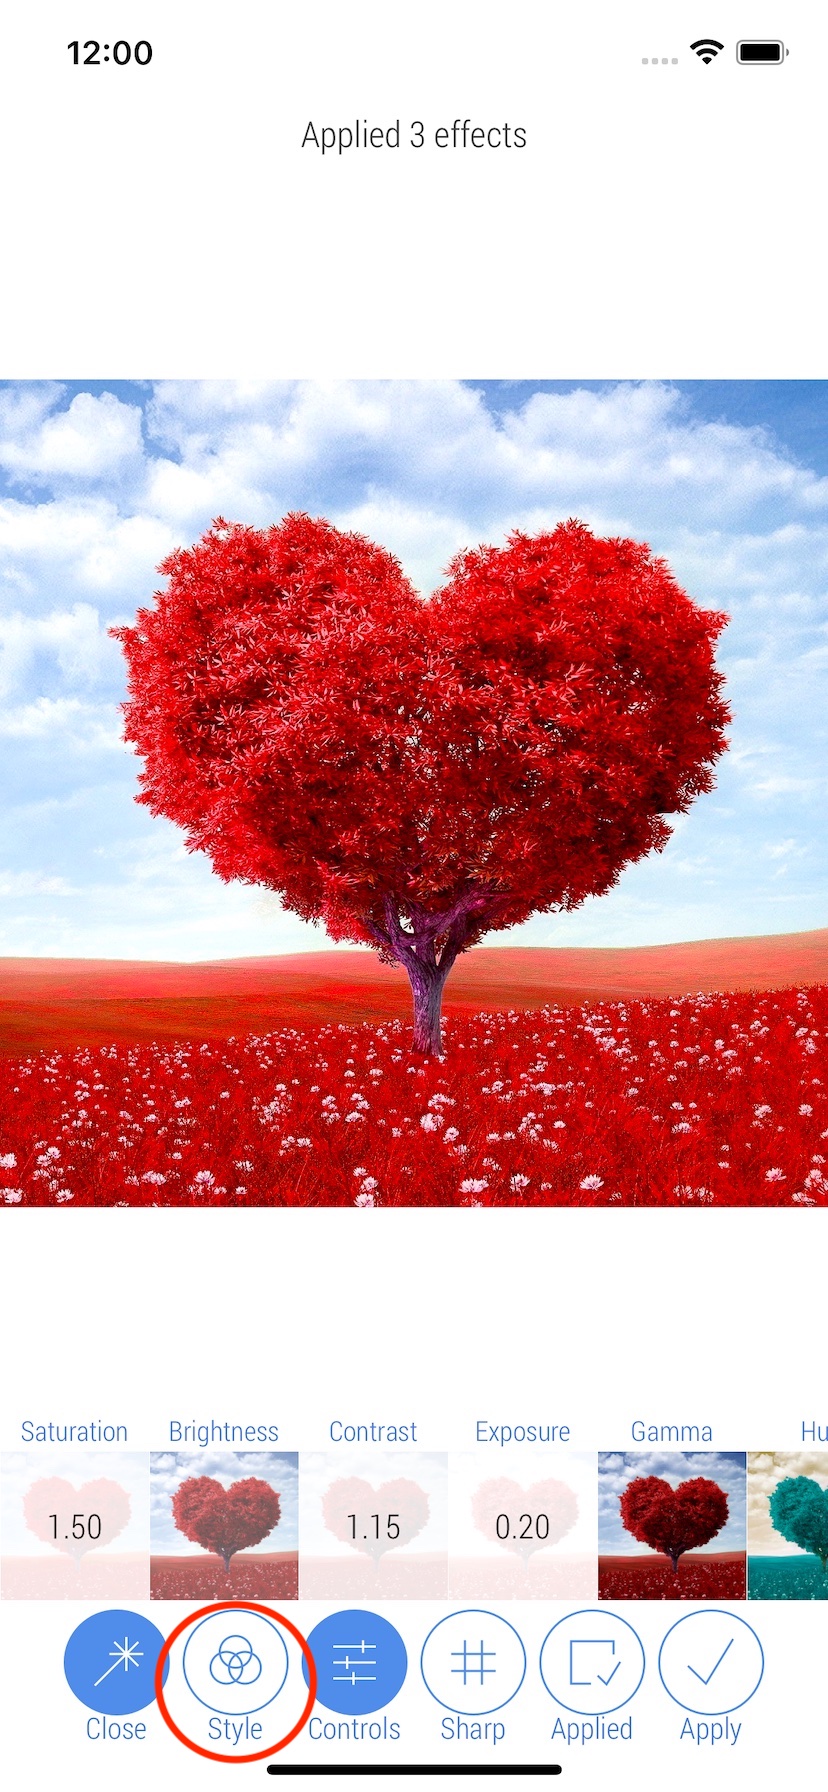
11. Tap 'Style' button on the bottom bar to get access to style effects.
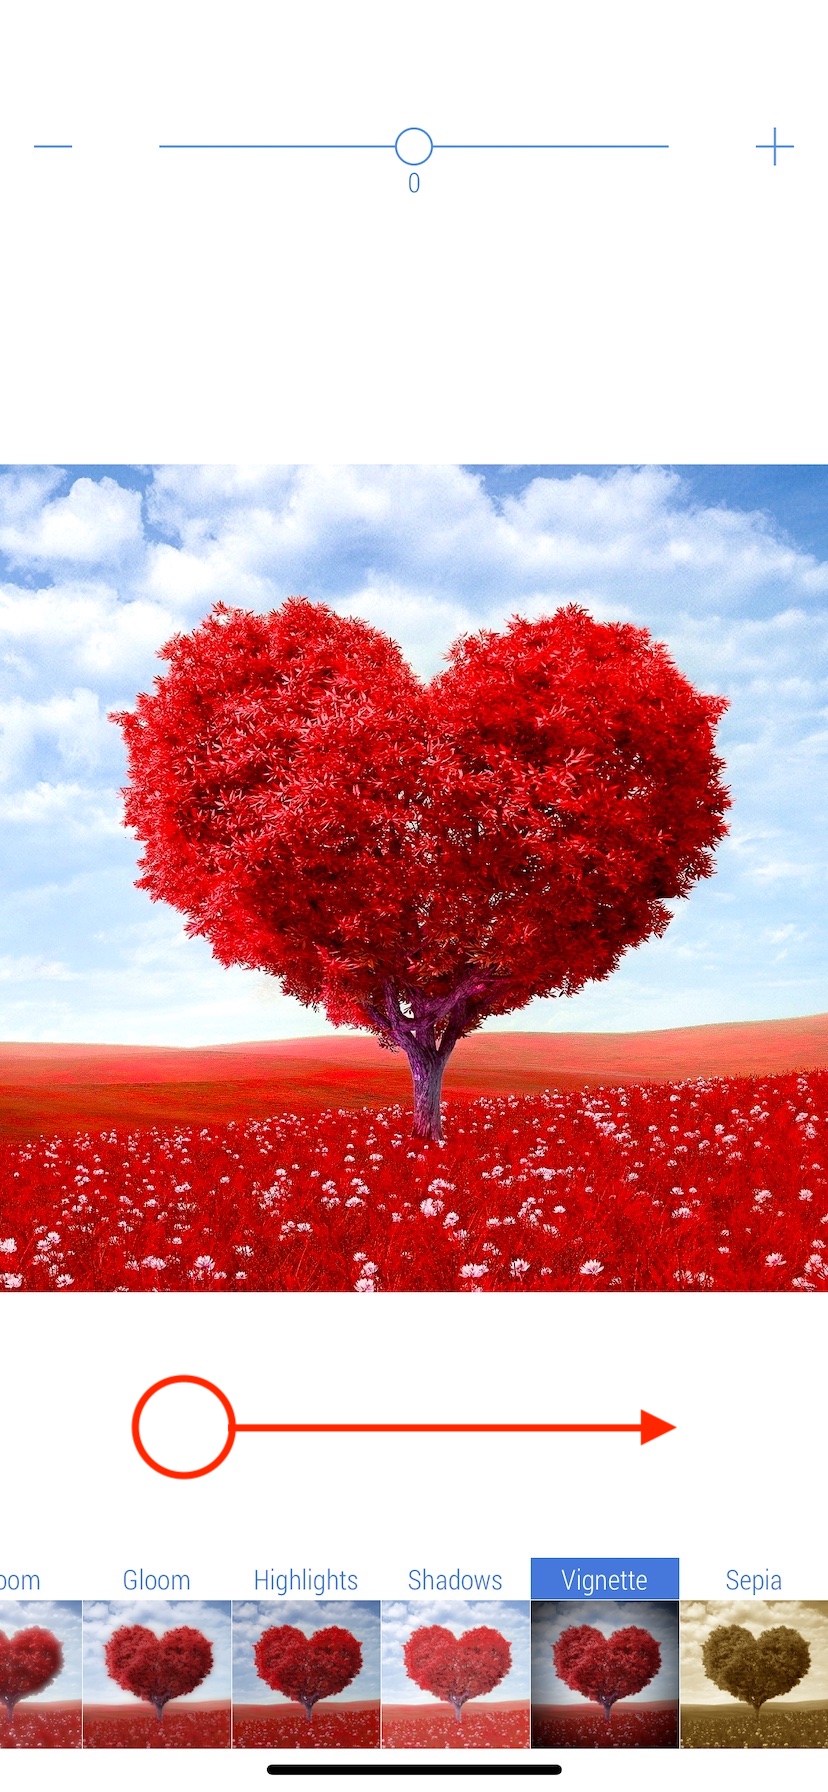
12. Tap 'Vignette' filter to select it.
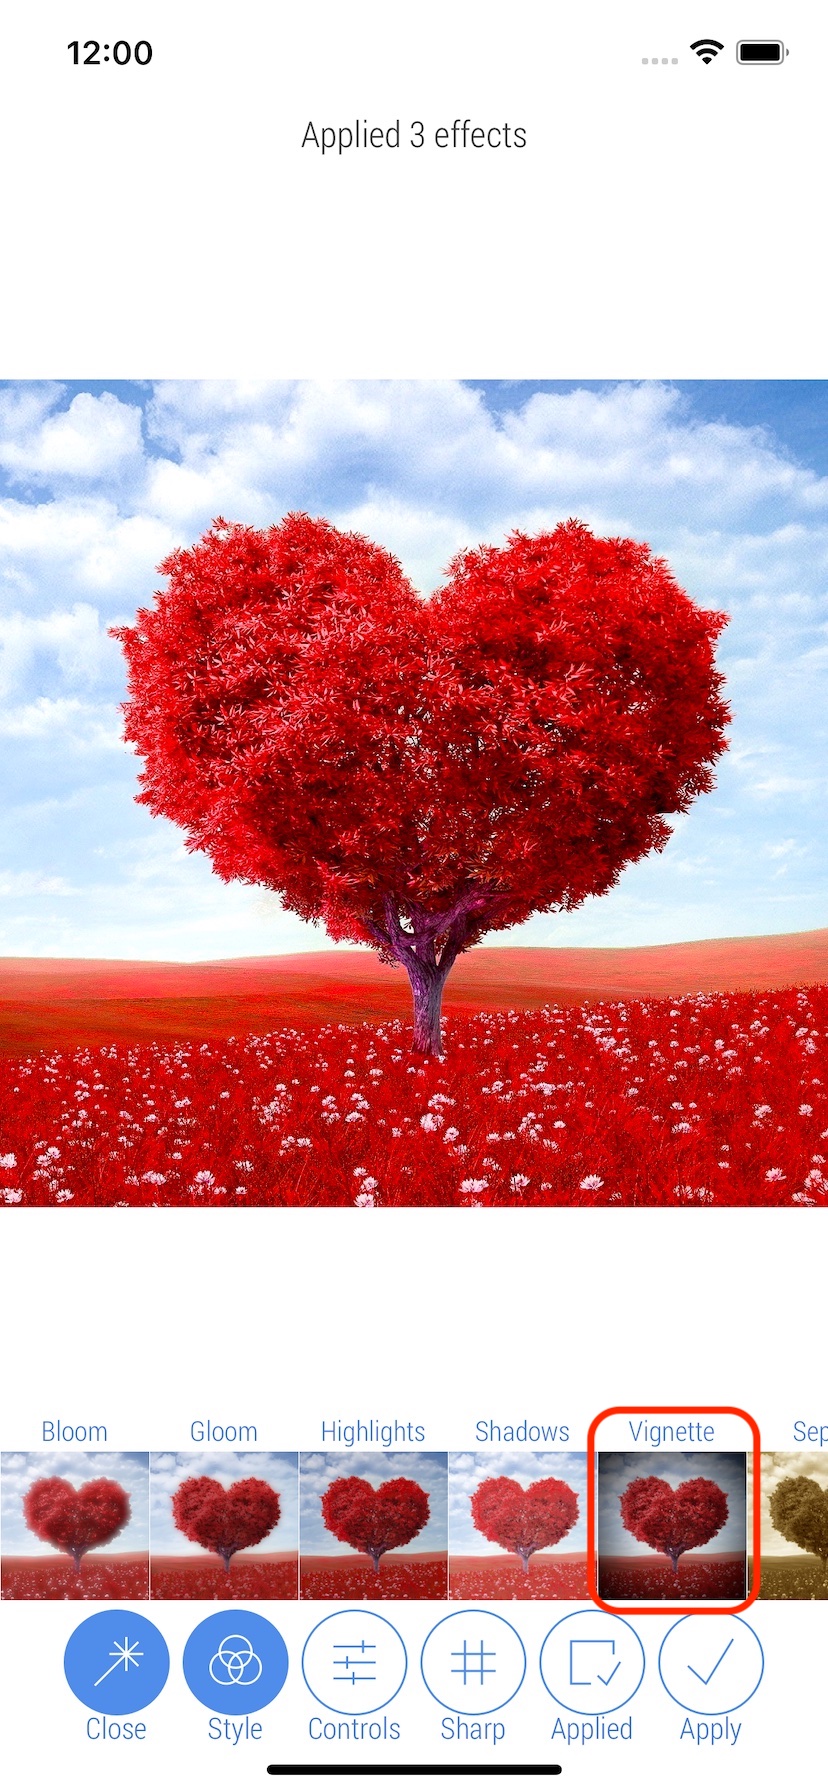
13. Swipe right on the screen to increase the intensity of the Vignette
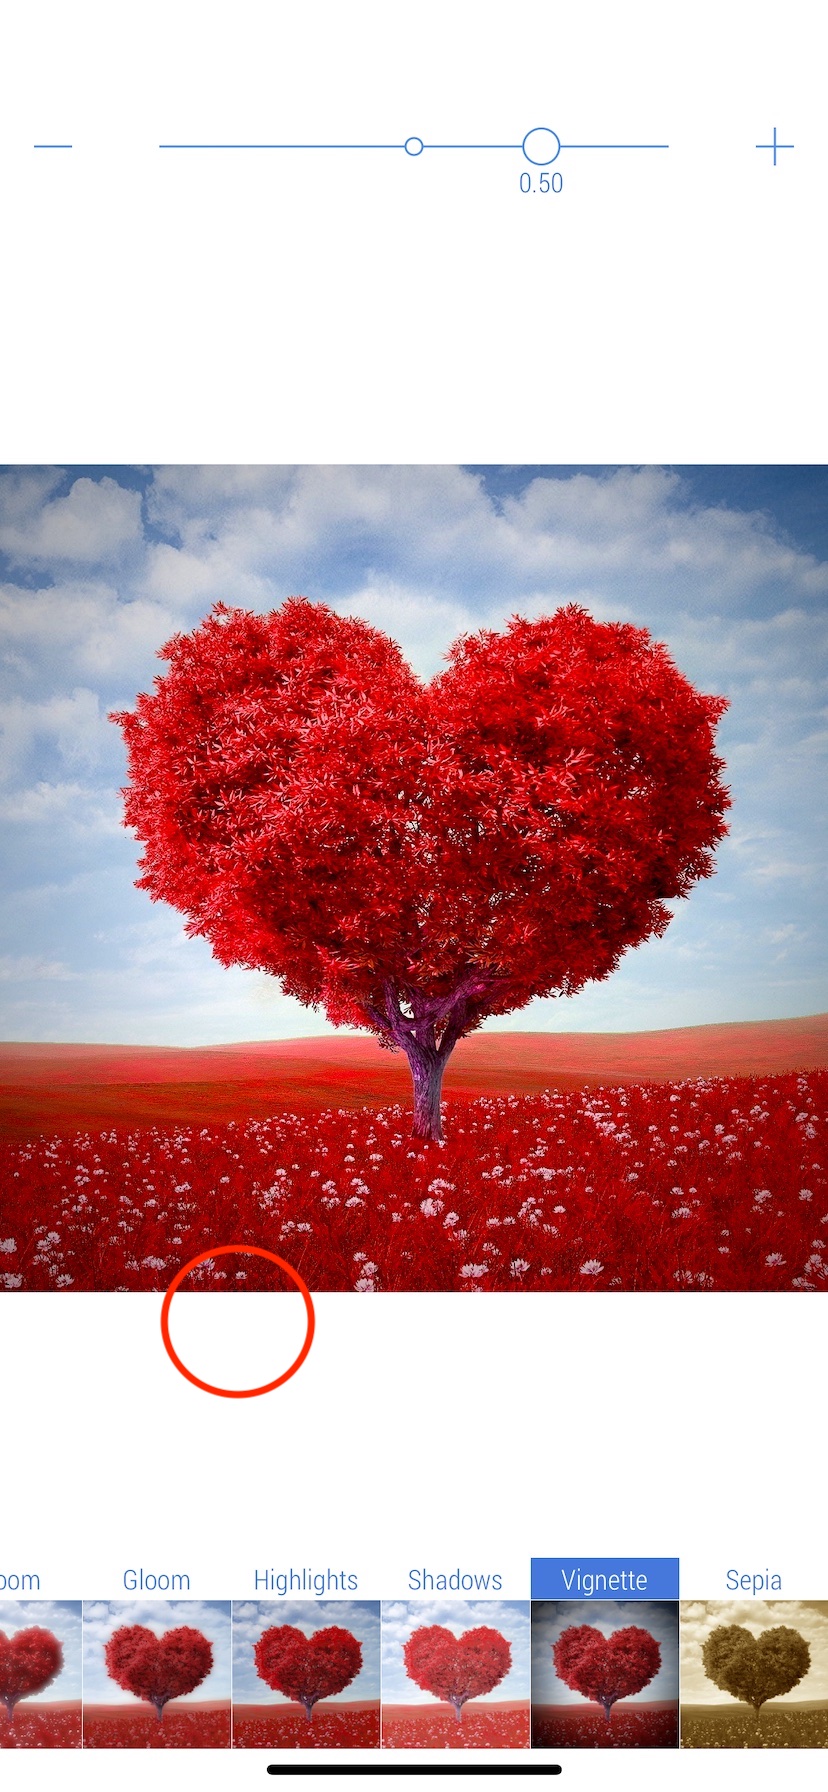
14. In the example, 'Vignette' is set to 0.50. Tap the screen to exit.
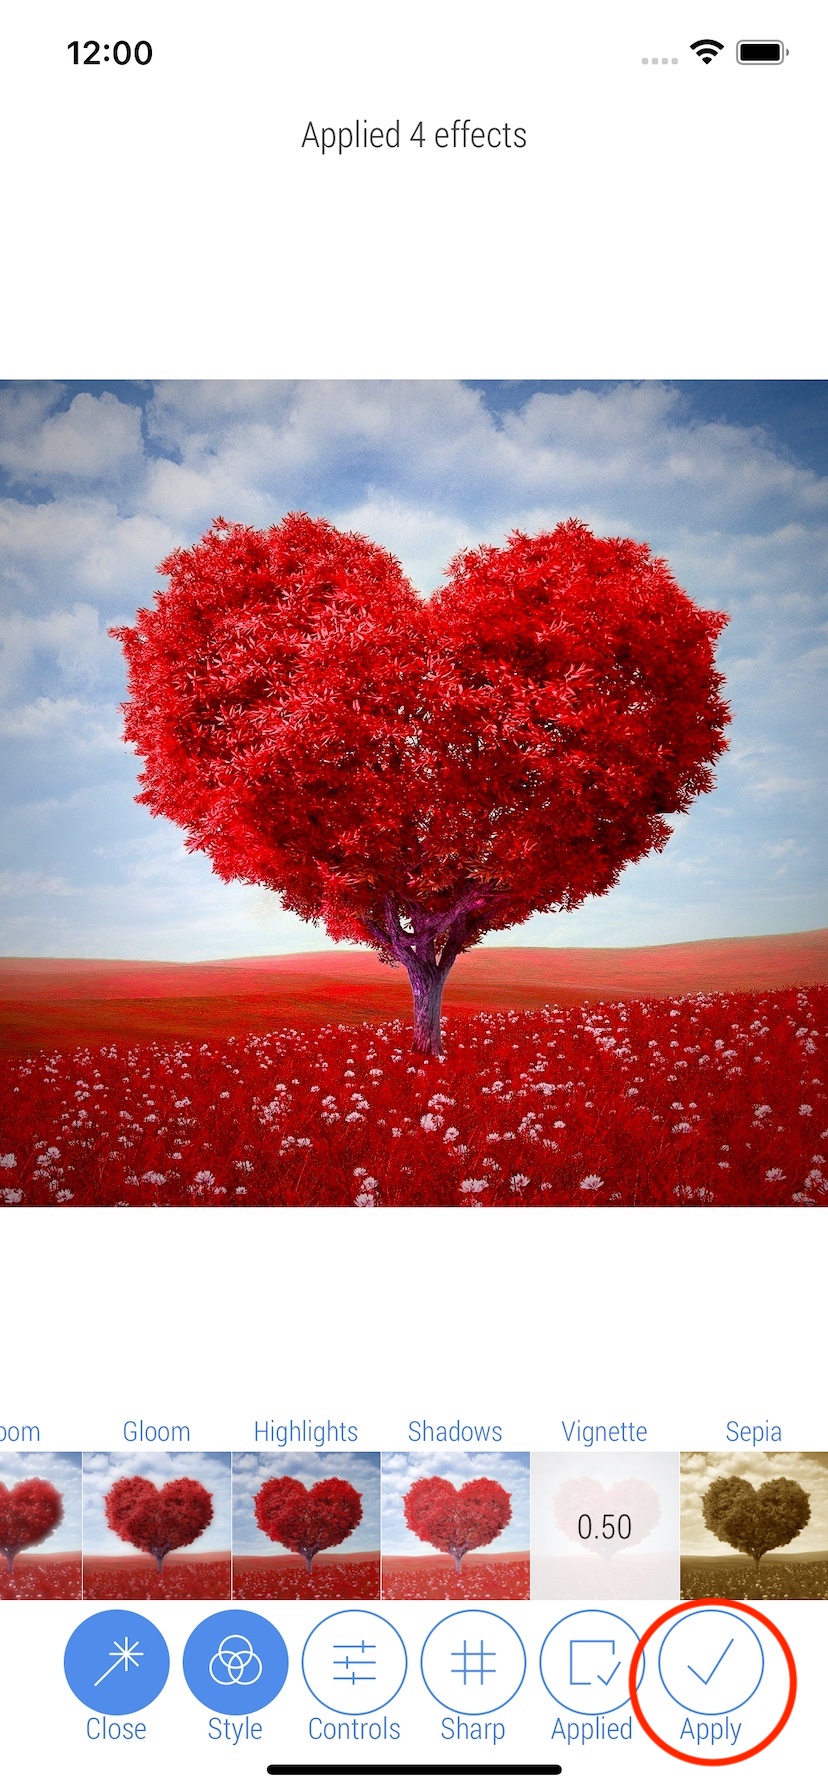
15. Tap 'Apply' button on the bottom bar to finally apply all four filters to the photo.
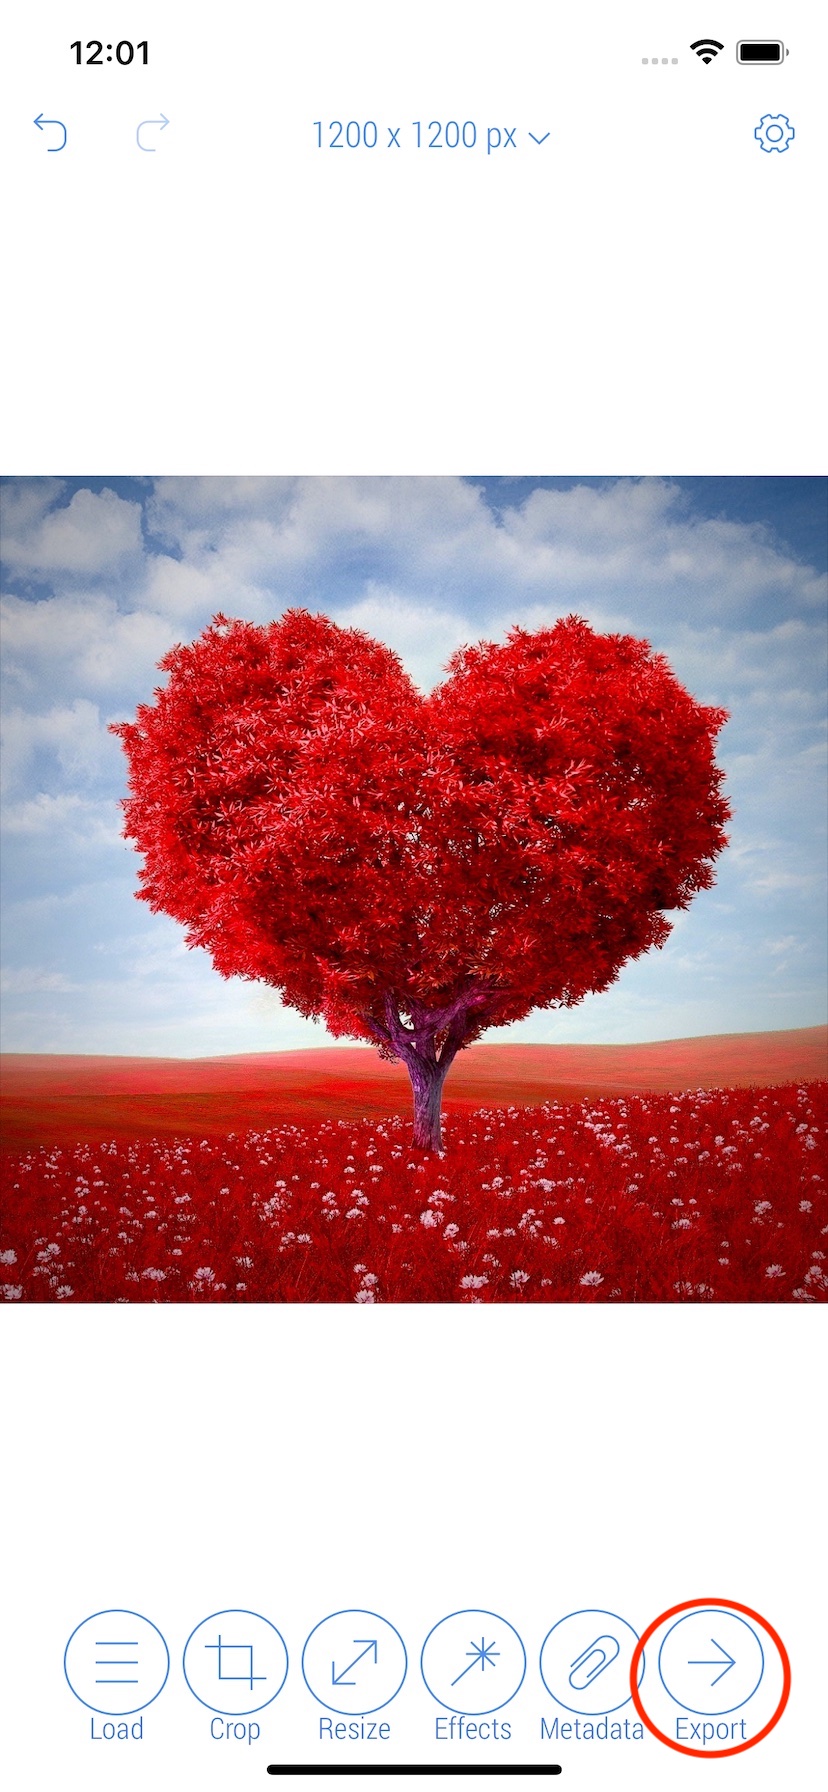
16. Tap 'Export' button to prepare the photo for sharing.
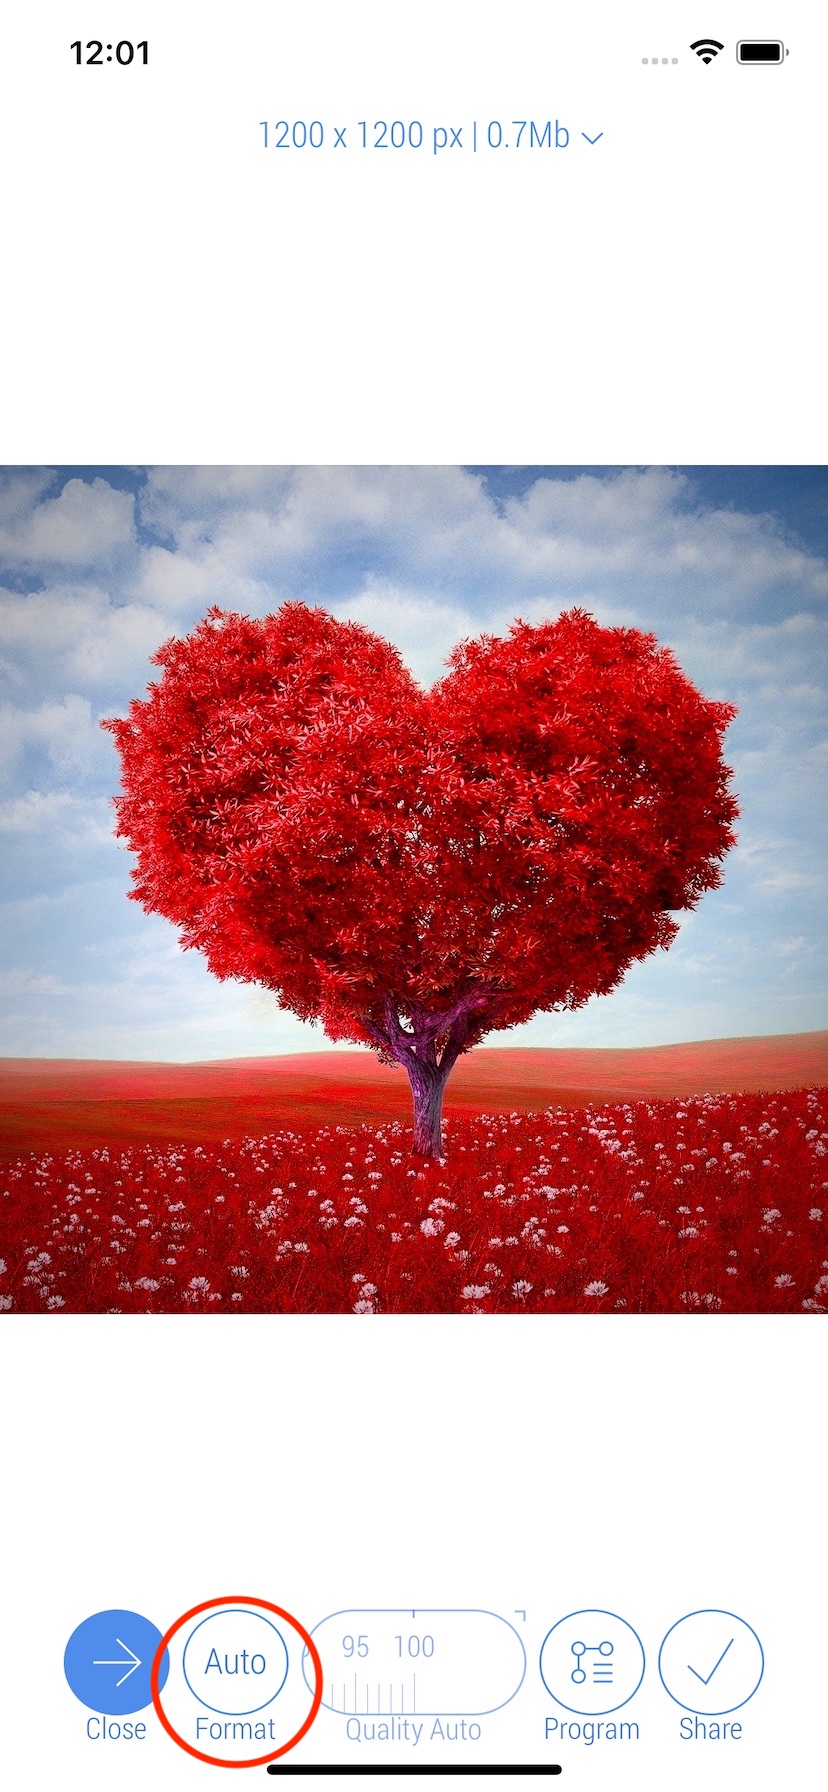
17. On the Export screen tap 'Format' button on the bottom bar to specify desired format.
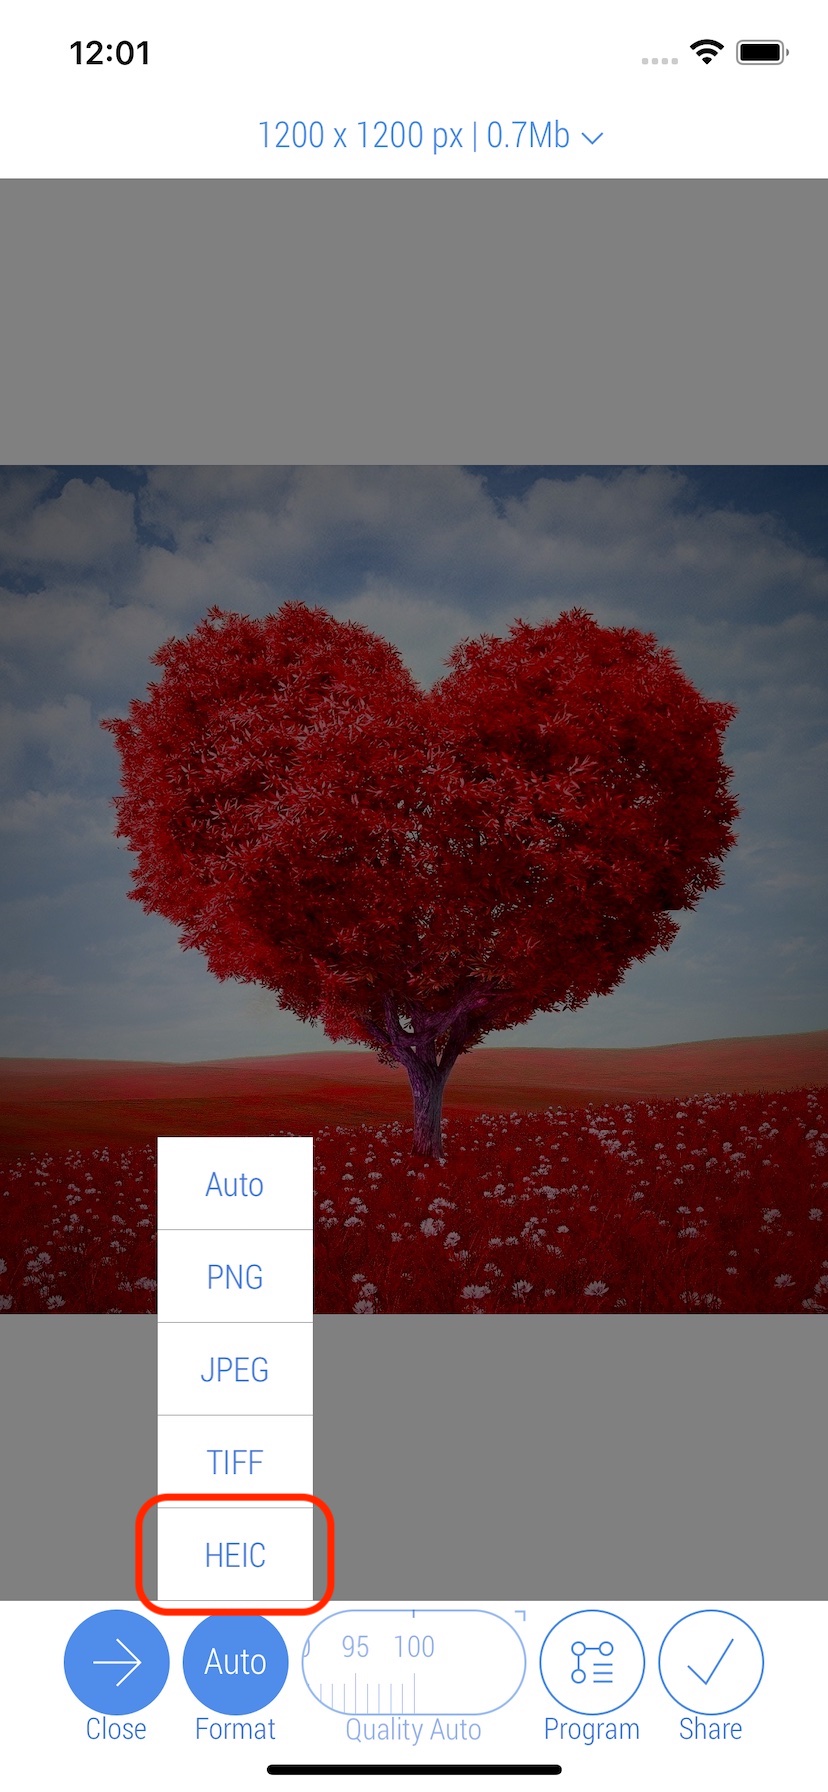
18. Select 'HEIC' format.
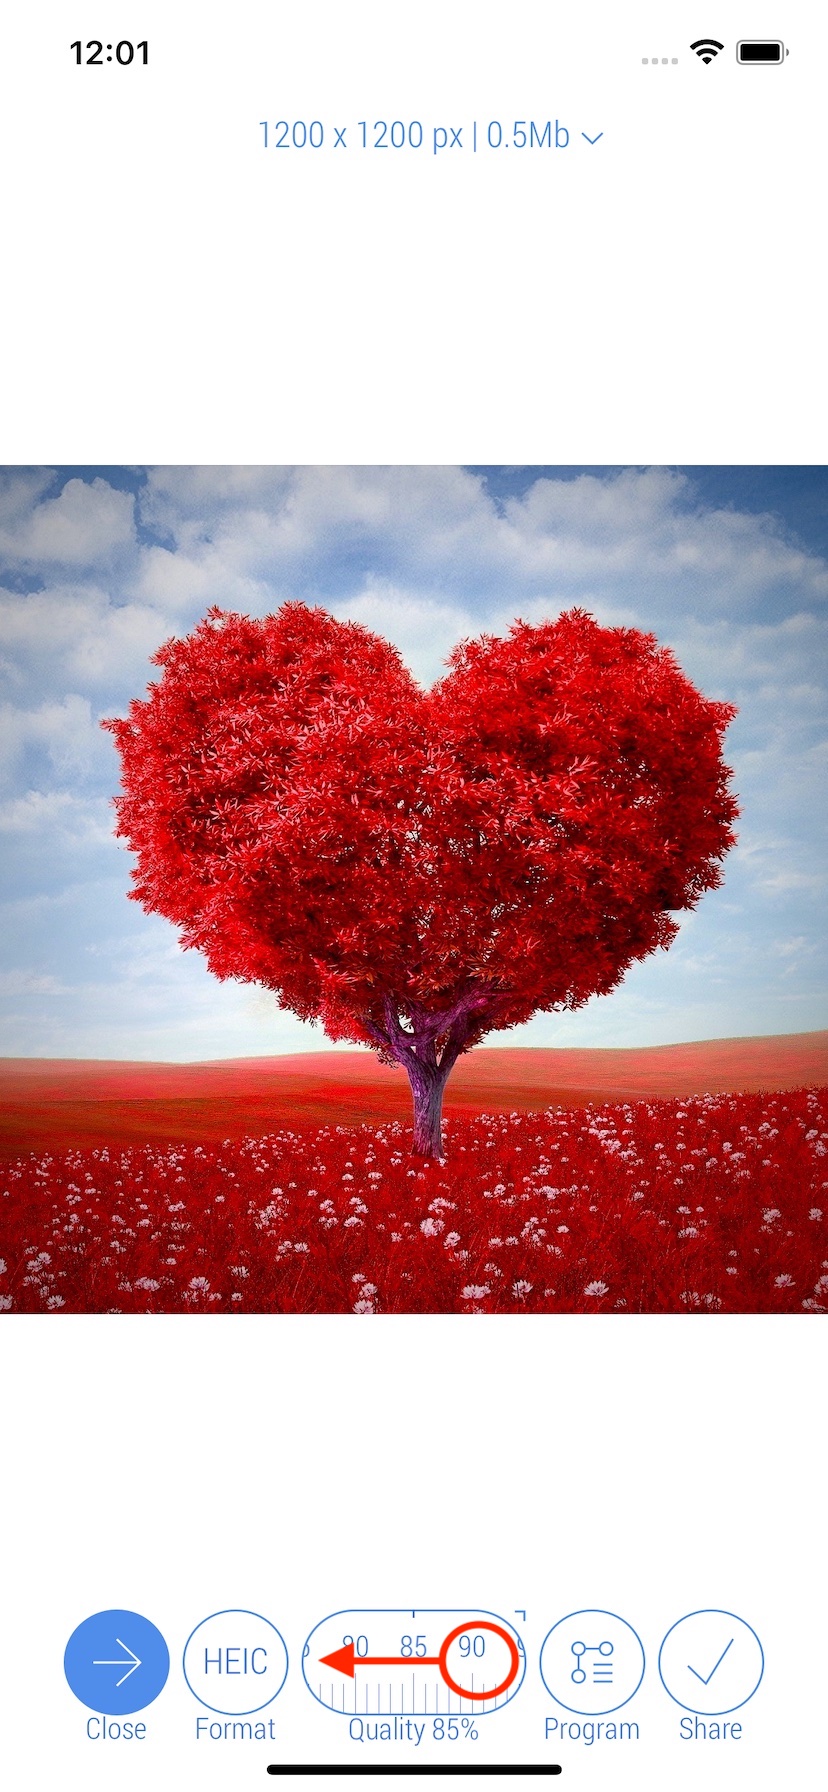
19. When 'JPEG' or 'HEIC' formats is selected, the compression quality slider is active. Swipe left or right to change the compression quality value.
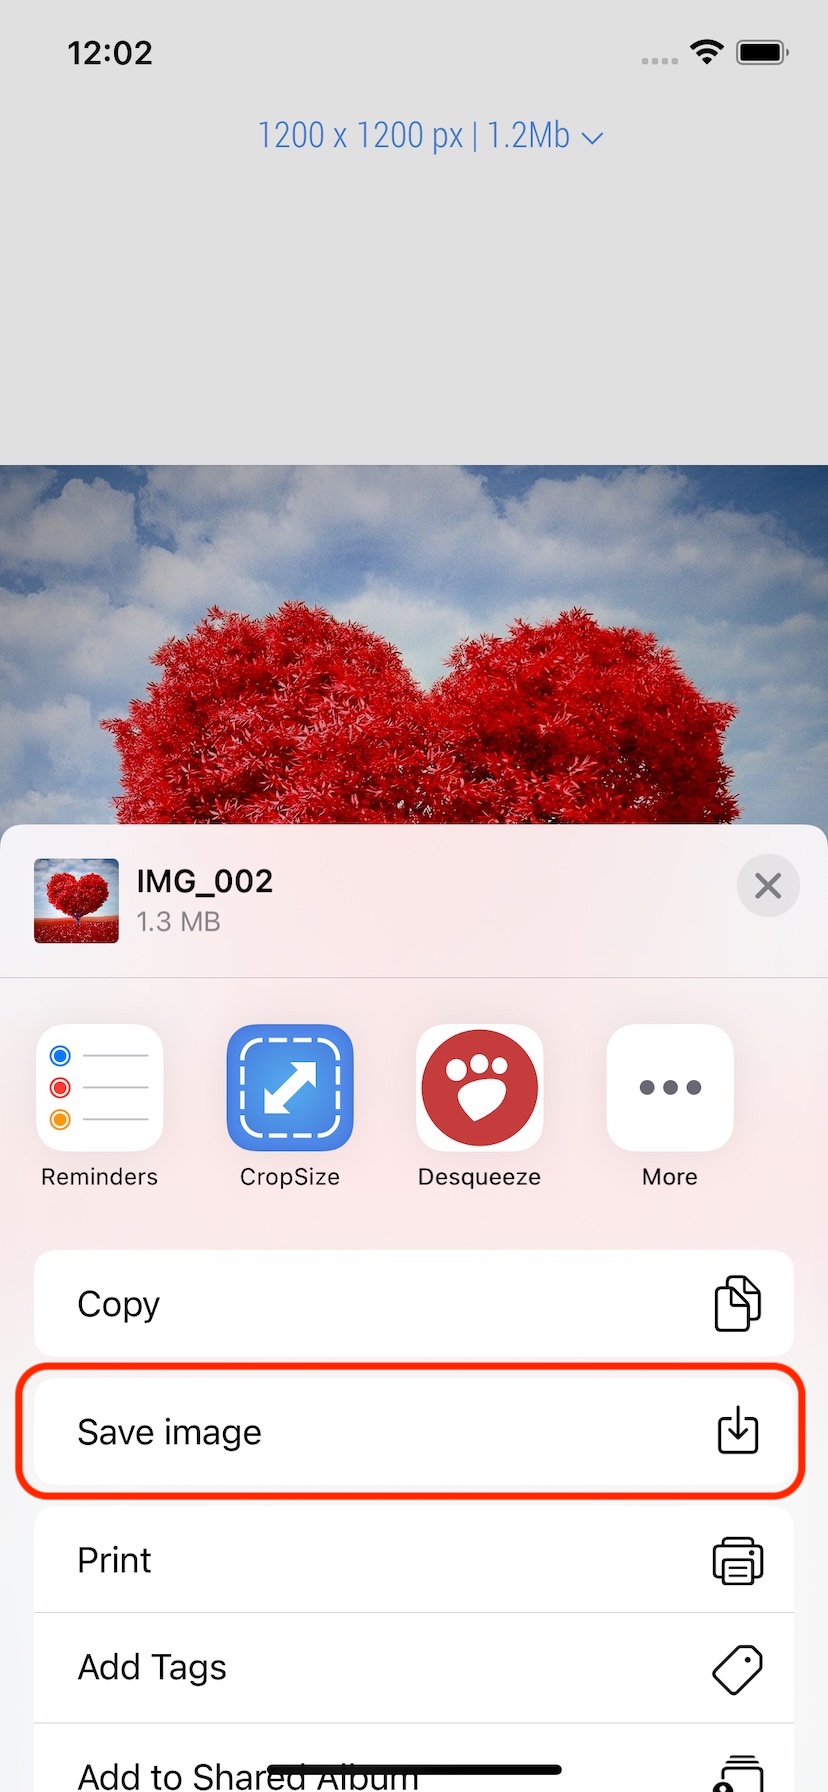
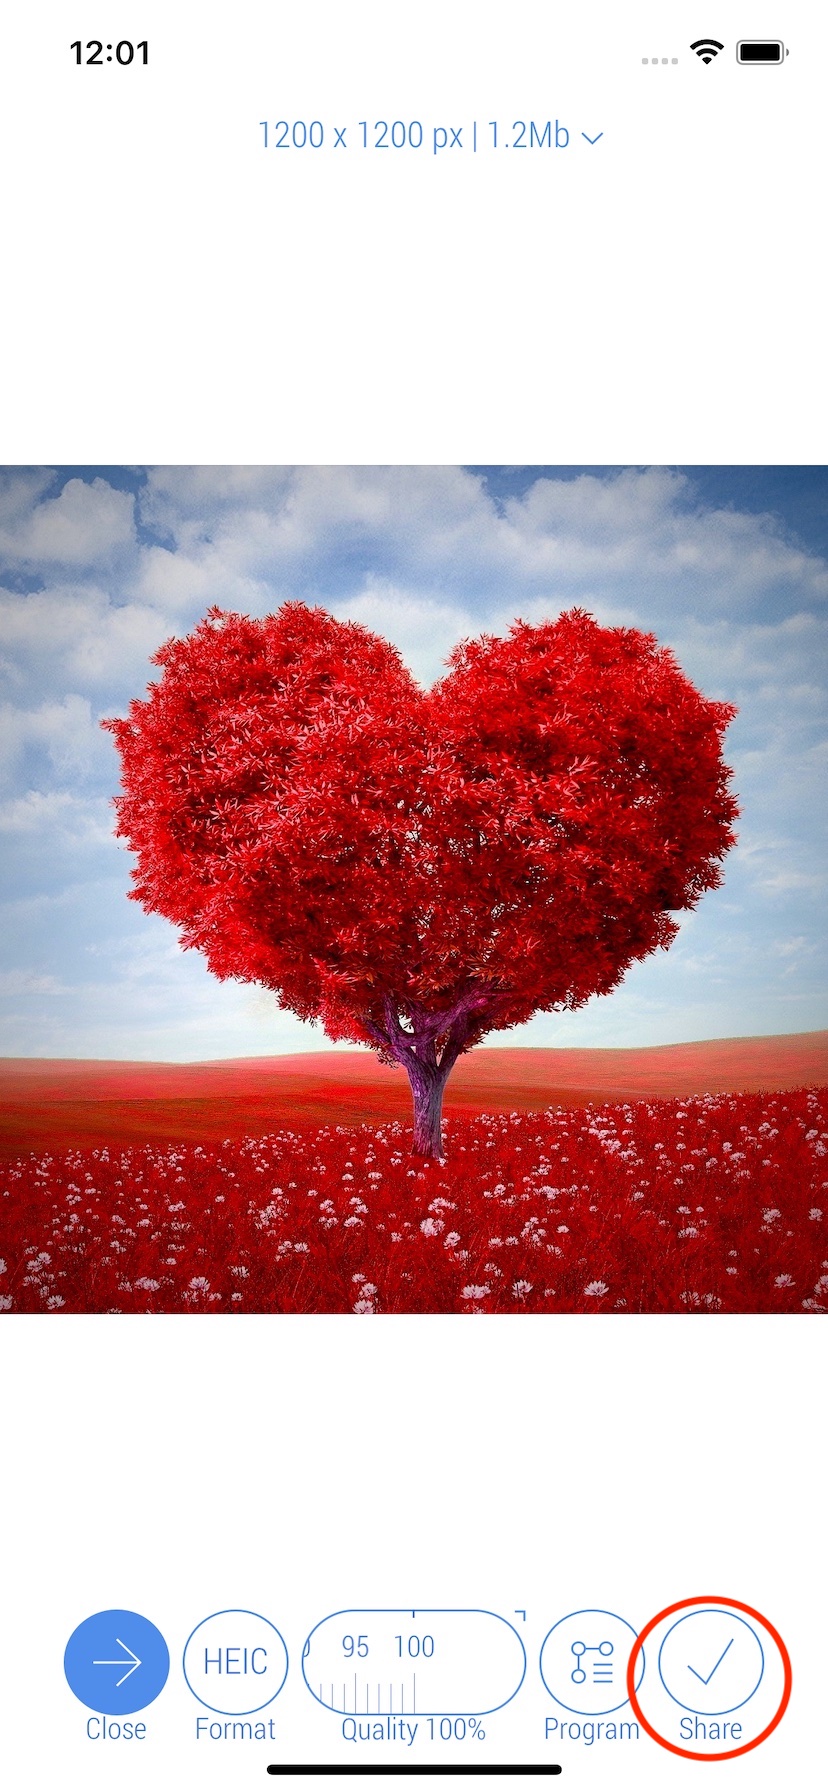
20. In the example, the compression quality is set to 100%. When all set, tap 'Share' button on the bottom bar to share the result.
21. Tap 'Save image' to save the result to the Photo Library. A link to the result will be added to 'CropSize' album, and a link to the original photo will be added to 'CropSize Originals' album of the Photo Library.